 Save to Pinterest
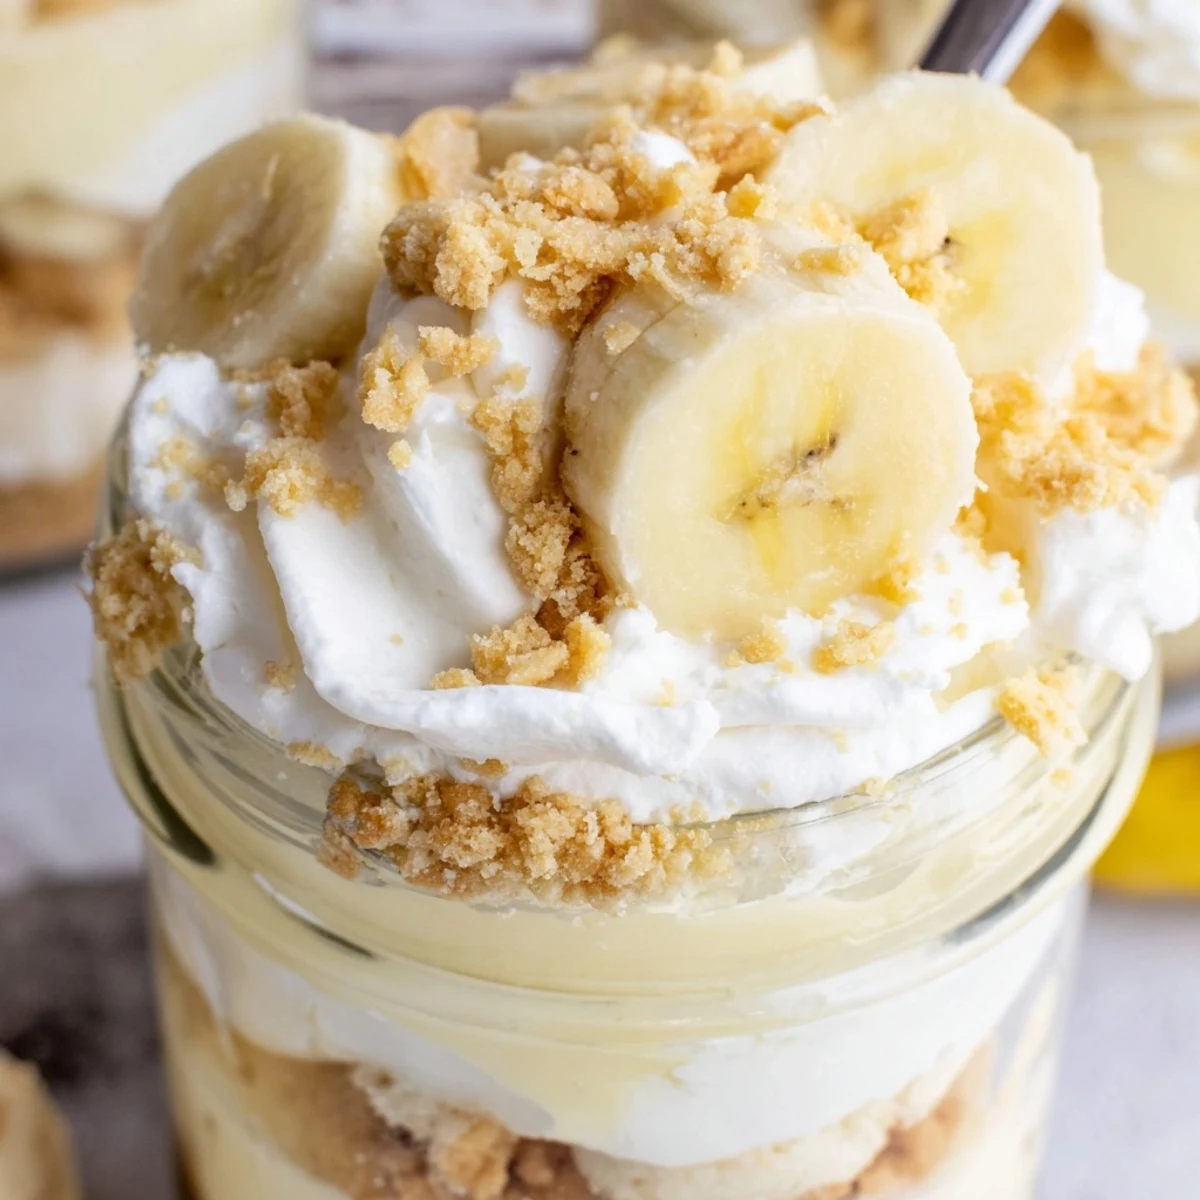
 These no-bake banana pudding cheesecake cups feature layers of creamy cheesecake filling, sweet banana pudding, and fresh sliced bananas all nestled atop a buttery vanilla wafer crust.
Ready in just 20 minutes of prep time, they chill to perfection in the refrigerator. The individual servings make them ideal for parties, potlucks, or portion-controlled indulgence.
Topped with additional wafer crumbs and fresh banana slices, each cup delivers a satisfying combination of textures and flavors.
Summer afternoons in my kitchen usually mean avoiding the oven at all costs, and these banana pudding cheesecake cups were born from exactly that desperation during a heat wave last July.
My neighbor stopped by unannounced the first time I made these, and she ended up sitting on my counter stool eating two of them while telling me about her cat's recent vet visit.
Ingredients
- Vanilla wafer cookies: Crush these finely for the crust, and save some bigger crumbs for the topping because the texture contrast is everything.
- Unsalted butter: Just enough to bind the crust together without making it greasy when pressed into the cups.
- Cream cheese: Must be fully softened or you will fight lumps forever, so set it out an hour before you start.
- Granulated sugar: Dissolves into the cream cheese for a smooth sweetness that balances the tang.
- Pure vanilla extract: The better quality you use, the more the cheesecake layer tastes like something from a real bakery.
- Heavy whipping cream: Keep this ice cold straight from the fridge so it whips up fluffy and holds its shape.
- Instant banana pudding mix: The shortcut that makes this recipe work, and nobody will judge you for using it.
- Whole milk: Cold and full fat for the creamiest pudding texture possible.
- Ripe bananas: Look for yellow with some brown spots, firm enough to slice but sweet enough to eat.
Instructions
- Build the foundation:
- Toss your crushed wafers with melted butter until it feels like damp sand, then press about two tablespoons into each cup using the back of a spoon.
- Whip the cheesecake base:
- Beat the cream cheese, sugar, and vanilla until completely smooth with no specks remaining, scraping the bowl once to catch any stubborn bits.
- Create the cloud:
- Whip your cold cream in a separate bowl until it forms stiff peaks that stand up proud when you lift the beaters.
- Fold gently:
- Combine the whipped cream with the cream cheese mixture using a spatula and a light hand, preserving all that air you just whipped in.
- Make the pudding:
- Whisk the pudding mix with cold milk for two full minutes until it thickens enough to coat a spoon and leave a trail.
- Start layering:
- Spoon half your cheesecake mixture over the crusts, dividing it evenly so every cup gets the same treatment.
- Add the fruit:
- Arrange banana slices in a single layer over the cheesecake, pressing them gently so they stay put for the next step.
- Puddle on the pudding:
- Spoon the thickened banana pudding over each banana layer, smoothing the tops with the back of your spoon.
- Finish with the remaining cheesecake mixture:
- Top each cup with the rest of that fluffy filling, spreading it to the edges for clean sides.
- Crown your creation:
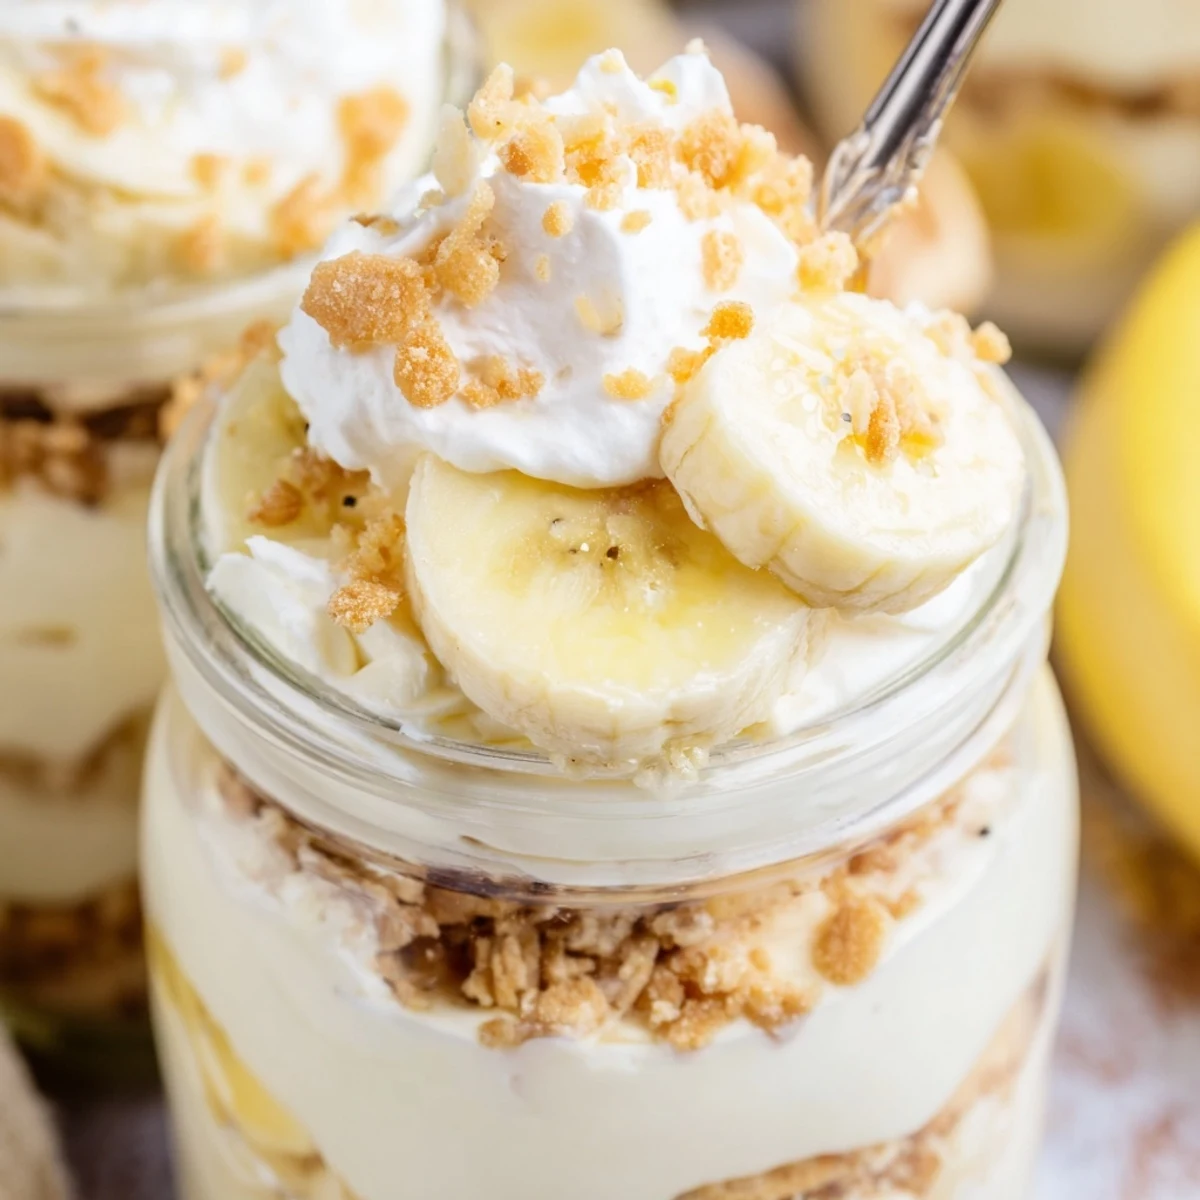
- Sprinkle wafer crumbs over the top, add fresh banana slices, and add a dollop of whipped cream if you are feeling generous.
- The hard part:
- Cover everything and slide the cups into the refrigerator for at least two hours to set properly before diving in.
 Save to Pinterest
 I brought these to a potluck last fall and watched a woman quietly eat three of them while pretending she was just helping clean up the dessert table.
Making It Your Own
A pinch of cinnamon in the crust transforms the whole dessert into something that tastes like autumn, even in the middle of summer.
Planning Ahead
You can assemble these up to a day in advance if you hold off on the banana slices and wafer topping until right before serving.
Serving Without Stress
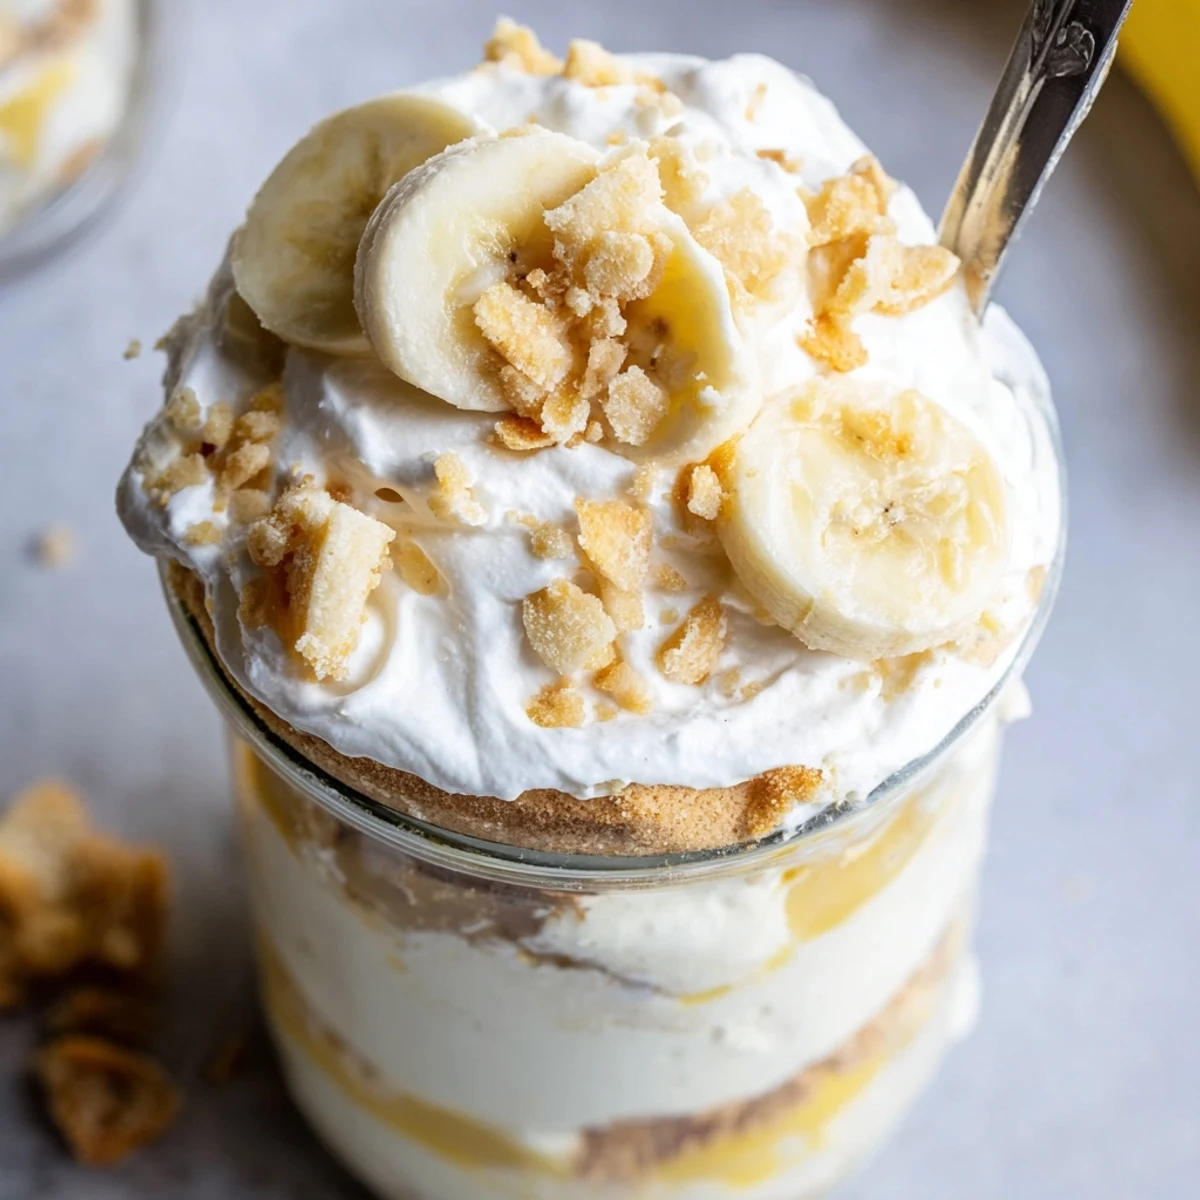
Clear cups or jars show off those beautiful layers, and people always ooh and aah when they see them lined up on a tray.
- Use a squeeze bottle for the pudding if you want perfectly clean layers without smearing.
- Keep a few extra wafers on hand for crumbling over any spots that look bare.
- Let the cups sit at room temperature for ten minutes before serving so the flavors really bloom.
 Save to Pinterest
 These cups have saved more than one last minute gathering at my house, and they might just become your quiet secret too.
Recipe Questions & Answers
- → How long do these cheesecake cups need to chill before serving?
-
The cups should refrigerate for at least 2 hours before serving. This allows the layers to set properly and the flavors to meld together for the best texture and taste.
- → Can I make these banana pudding cups ahead of time?
-
Yes, you can prepare them up to 24 hours in advance. However, add the fresh banana slices and wafer crumb topping just before serving to maintain their texture and prevent browning.
- → How do I prevent the banana slices from turning brown?
-
Toss the banana slices lightly in lemon juice before layering them. The citrus helps slow oxidation. Alternatively, add fresh banana slices right before serving for the best appearance.
- → What can I substitute for vanilla wafer cookies?
-
Graham crackers, shortbread cookies, or Biscoff cookies make excellent alternatives. Crush them similarly and mix with melted butter for the crust layer.
- → Can I use homemade banana pudding instead of instant mix?
-
Absolutely! Homemade banana pudding works wonderfully. Prepare it according to your preferred method and allow it to cool and thicken before layering in the cups.
- → Are these cups suitable for freezing?
-
Freezing is not recommended as the texture of the fresh bananas and creamy layers may become watery upon thawing. Enjoy them fresh from the refrigerator.
