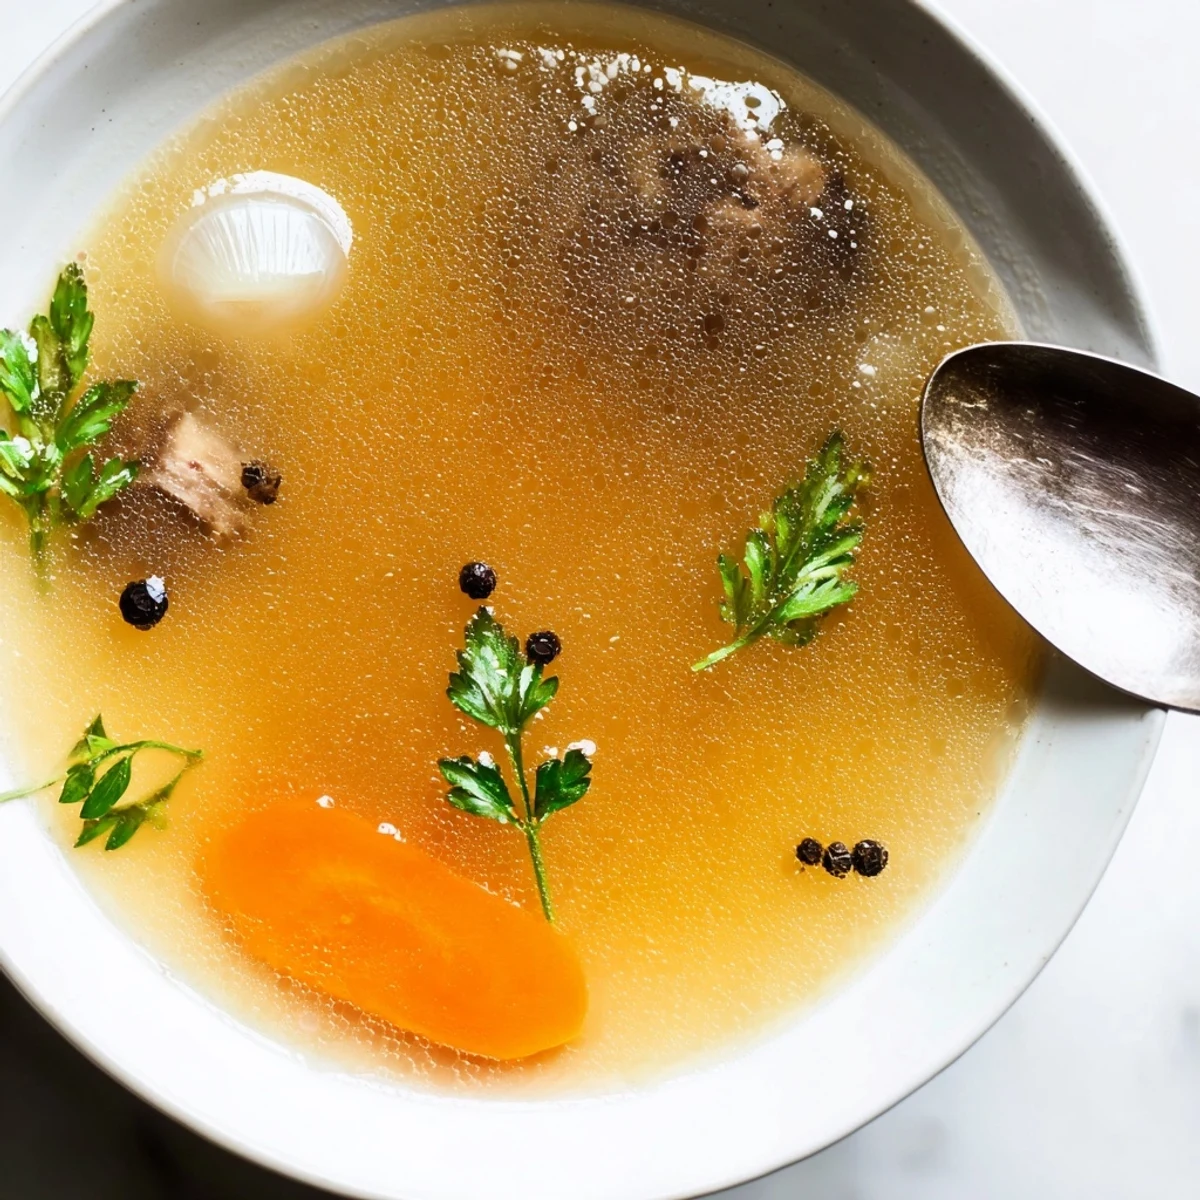
 Save to Pinterest
 Slow-simmer beef marrow and knuckle bones with carrots, celery, onion, garlic, bay leaves, parsley, peppercorns and a splash of apple cider vinegar. Simmer at a gentle bubble for 12 hours, skimming impurities during the first hour, then strain and cool. Chill to remove excess fat; store refrigerated for up to 5 days or freeze. Roast bones beforehand for deeper color and flavor; longer simmering yields richer, gelatinous body ideal for sipping or soup bases.
The smell that filled my apartment during the first blizzard of January was enough to make neighbors knock on my door asking what on earth I was cooking. It was beef bone broth, simmering away on the lowest flame like some kind of kitchen alchemy I had just discovered. Twelve hours sounds absurd until you realize most of that time you are just living your life while the stove does the work. That pot became my whole personality for a weekend and honestly I have not looked back since.
I started making this regularly after a friend who swears by it told me her grandmother called it liquid gold and served it every Sunday through winter. One rainy Tuesday I ladled steaming cups for three friends who stopped by unexpectedly and they sat around my table in silence just sipping and nodding.
Ingredients
- Beef bones (2.5 lbs marrow knuckle and oxtail): A mix gives you the best of both worlds with marrow bones lending richness and knuckle bones contributing collagen for that beautiful gelatinous set.
- Carrots (2 roughly chopped): They add a subtle sweetness that balances the deep meaty flavor so do not skip them even if you are tempted.
- Celery stalks (2 roughly chopped): These build the aromatic backbone alongside carrots and onion and they practically dissolve after twelve hours.
- Large onion (1 quartered): Leave the skin on for a golden color in your finished broth.
- Garlic cloves (4 smashed): Smashing rather than mincing lets the garlic infuse gently without turning bitter over the long cook.
- Bay leaves (2): Just two leaves work quietly in the background to round everything out.
- Fresh parsley (1 small bunch): Tossed in during the last couple of hours it keeps its fresh green character better.
- Whole black peppercorns (1 tsp): Whole peppercorns give gentle warmth without clouding the broth the way cracked pepper would.
- Apple cider vinegar (2 tbsp): This is the secret weapon that helps draw minerals out of the bones and you will not taste it at all in the final broth.
- Cold water (12 cups): Always start with cold water because it draws flavor from the bones more effectively as it heats.
- Salt to taste: Adding salt at the end rather than the beginning gives you full control over the seasoning.
Instructions
- Roast the bones for extra depth:
- Spread your bones on a baking sheet and roast at 400 degrees Fahrenheit for thirty minutes until they are deeply browned and fragrant. This step is optional but the color and flavor it adds are absolutely worth turning on the oven.
- Build the pot:
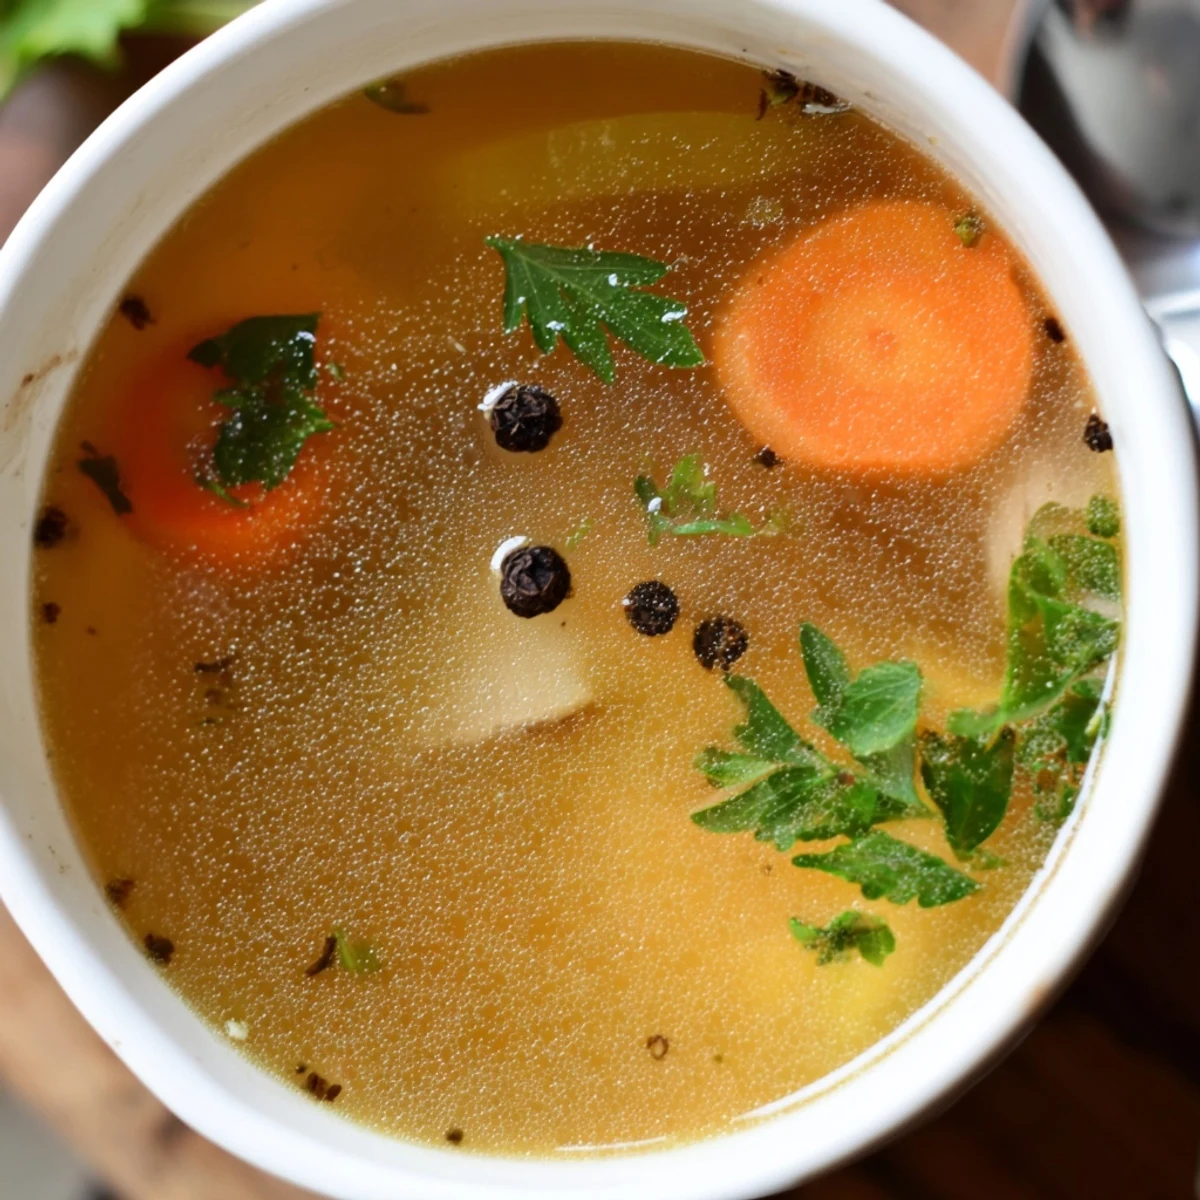
- Transfer the bones to a large stockpot and pile in the carrots celery onion garlic bay leaves parsley and peppercorns. Pour the apple cider vinegar over everything then add the cold water making sure the bones are well covered.
- Skim with patience:
- Bring the pot to a gentle simmer over medium heat and use a ladle or skimmer to remove the grey foam that rises during the first hour. This foam is just impurities and skimming it leads to a clearer cleaner tasting broth.
- Let time do the work:
- Reduce the heat to the lowest setting and let it barely bubble uncovered or partially covered for at least twelve hours. Check occasionally and add water if needed to keep the bones submerged beneath the liquid.
- Strain and season:
- Pour the broth through a fine mesh sieve or cheesecloth into a large container and discard all the solids which have given everything they had. Now stir in salt to taste starting with a teaspoon and adjusting until the broth sings on your tongue.
- Cool and store properly:
- Let the broth cool completely then refrigerate overnight so the fat solidifies into a solid layer on top that you can easily lift off. The broth beneath should jiggle like jelly which means you did it right.
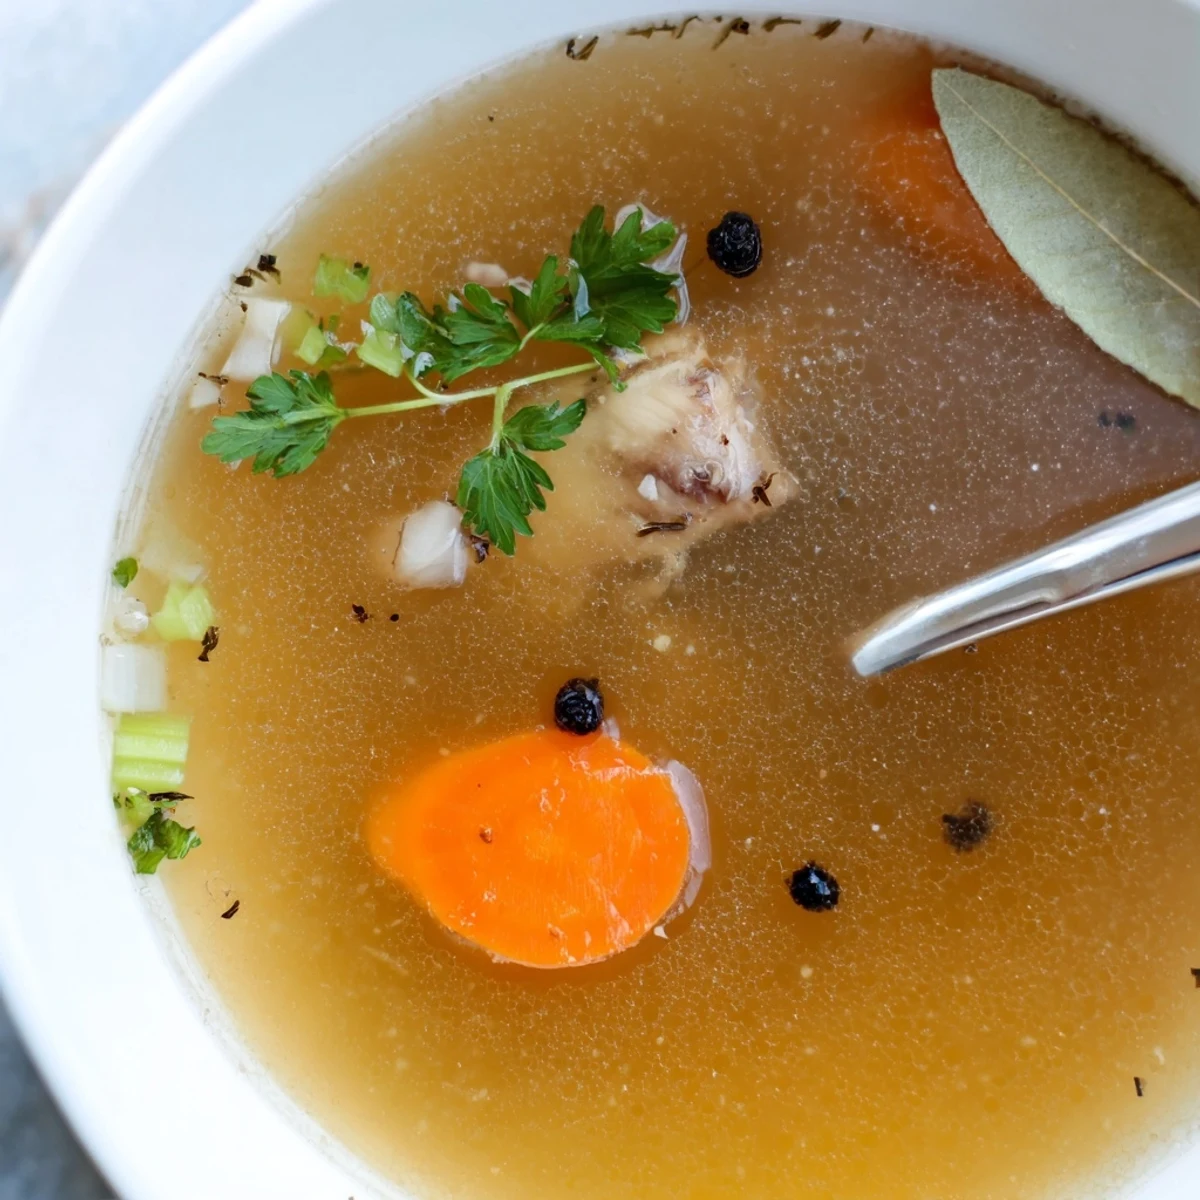
 Save to Pinterest
 There is something deeply satisfying about pulling a jar of your own bone broth from the fridge and watching it wobble like set jelly before it melts back into liquid gold on the stove. It became my small ritual of self care through a long winter.
Choosing the Right Bones
Your butcher is your best friend here so ask specifically for a mix of marrow bones and joint bones with plenty of connective tissue. I learned after a few batches that all marrow makes it too greasy while all knuckle gives a lighter broth so blending them is where the magic happens.
Making It Your Own
Once you have the basic method down you can start playing with aromatics by tossing in a sprig of rosemary or a halved leek or even a piece of dried kombu for an umami boost. My favorite variation adds a thumb of fresh ginger and a dried chili for a broth that warms you from the inside out on the coldest nights.
Storing and Using Every Drop
I freeze broth in two cup portions using glass jars leaving an inch of headspace so they do not crack. Label them with the date because even in the freezer nothing lasts forever and you will thank yourself when you reach for it three weeks later.
- Pour leftover broth into ice cube trays for small portions perfect for deglazing pans or thinning sauces.
- Reheat gently on the stove rather than in the microwave to preserve the delicate flavor.
- A warm mug of broth with a pinch of salt and a squeeze of lemon is honestly all you need some evenings.
 Save to Pinterest
 Keep a batch in your freezer and you will always be twenty minutes away from a meal that feels like someone wrapped a warm blanket around your shoulders. That is the quiet power of a good bone broth.
Recipe Questions & Answers
- → Which bones give the richest flavor and gelatin?
-
Marrow bones, knuckles and oxtail are best for body and gelatin; include a mix of marrow and joint bones to balance flavor and mouthfeel.
- → Should I roast the bones first?
-
Roasting at 400°F for about 30 minutes deepens color and adds caramelized notes, producing a more robust, savory liquid compared with unroasted bones.
- → Why add apple cider vinegar?
-
A splash of vinegar helps extract minerals and collagen from the bones during the long simmer, improving clarity and gelatin content without affecting flavor once cooked.
- → How do I achieve a clear broth?
-
Start with cold water, bring up slowly, skim foam during the first hour, avoid boiling, and strain through a fine-mesh sieve or cheesecloth for a cleaner finish.
- → How long can I store the cooled broth?
-
Refrigerated, it keeps for about 5 days; frozen in portions, it will hold quality for up to 3 months. Remove or skim solidified fat before reheating if desired.
- → Can I use a slow cooker instead of a stockpot?
-
Yes—use a low setting and ensure bones remain submerged, topping up with hot water as needed. Slow cookers offer gentle, hands-off simmering ideal for long extracts.
