 Save to Pinterest
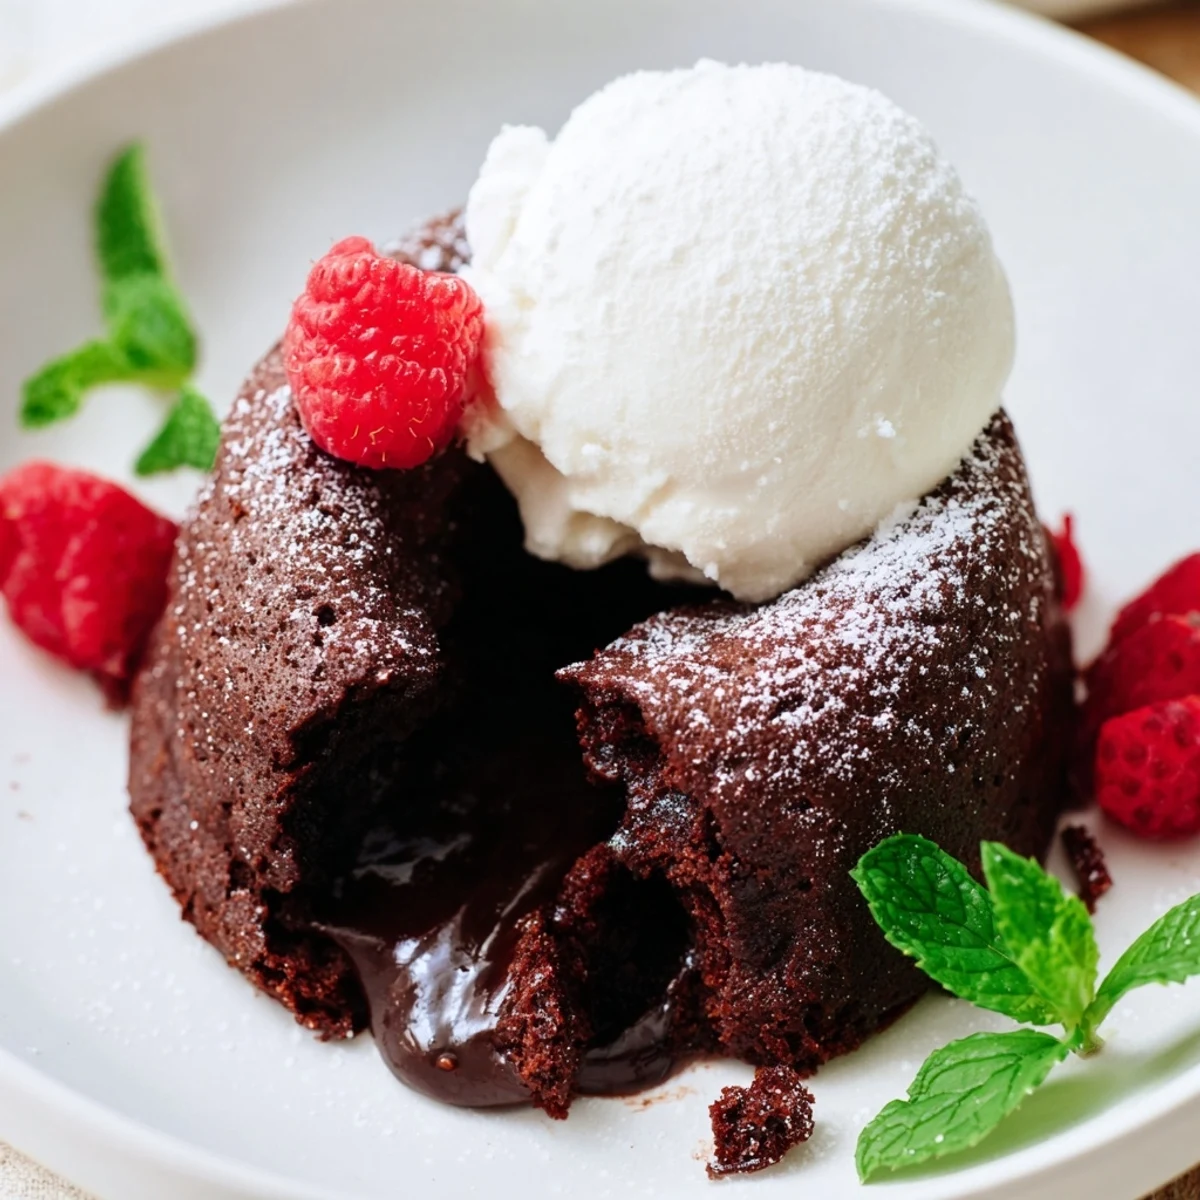
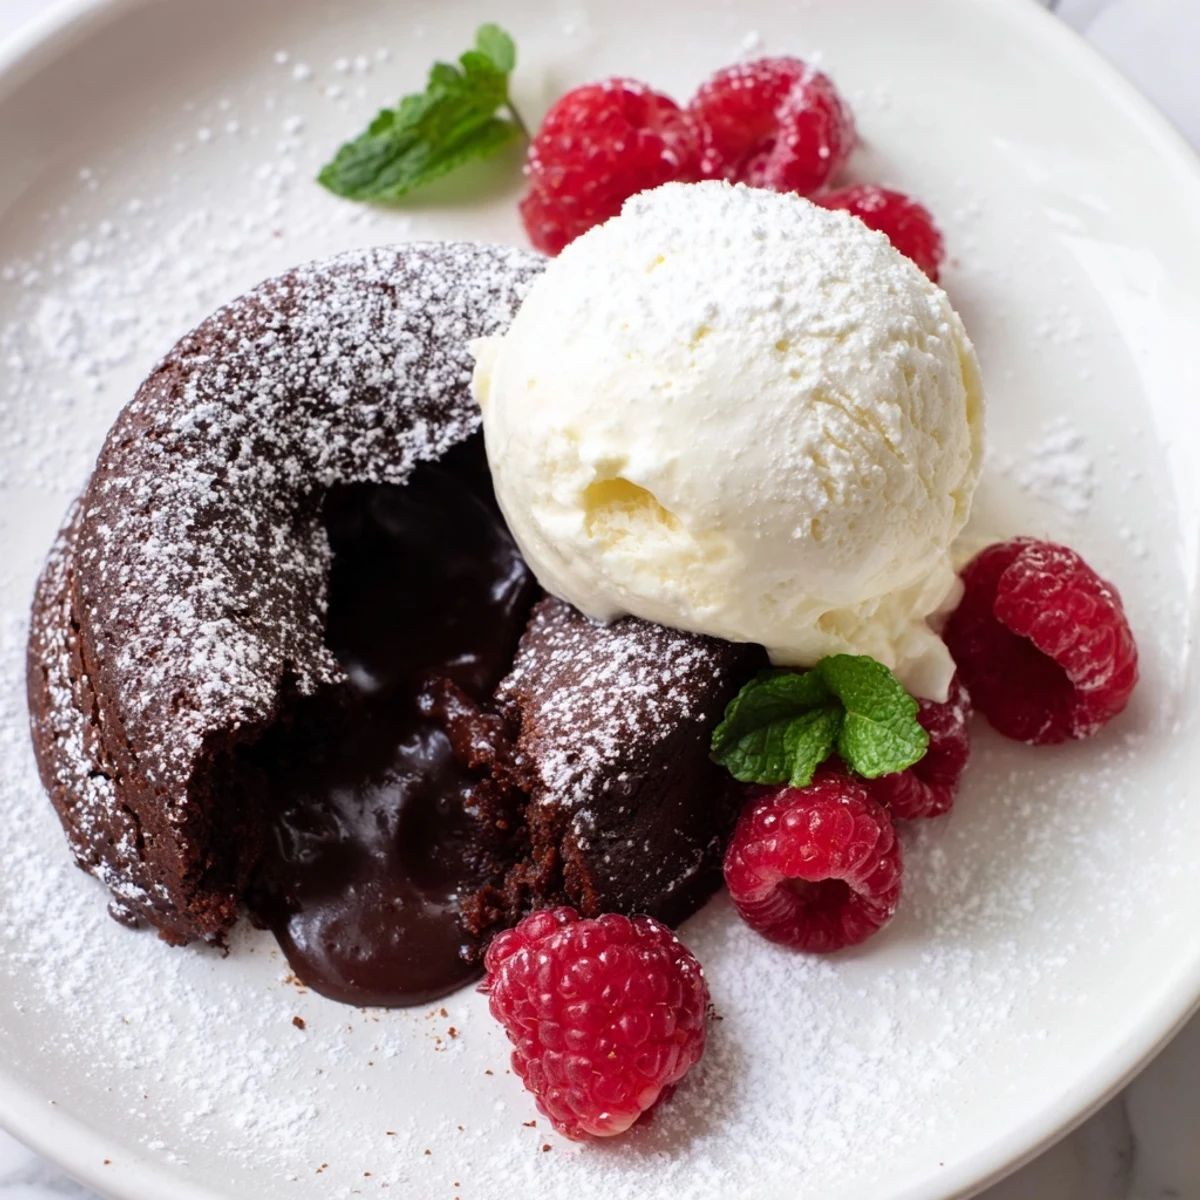
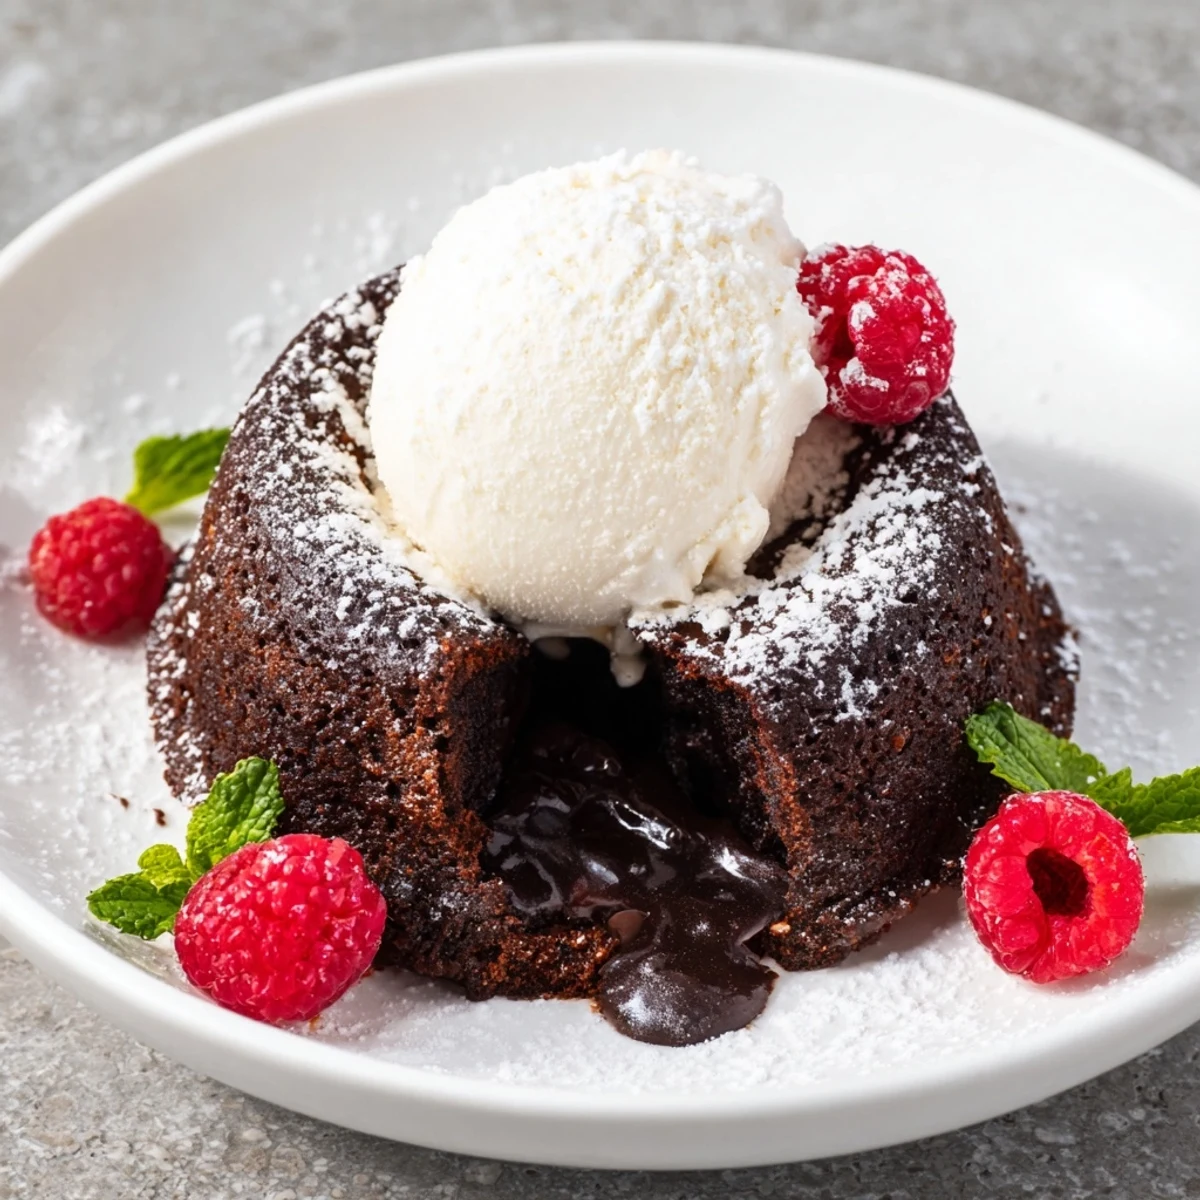
 Experience rich, molten-centered chocolate cakes baked to perfection and paired with smooth vanilla ice cream. These decadent treats balance bittersweet chocolate with a tender crumb and a warm, gooey interior. Garnish with cocoa powder or fresh berries to elevate presentation and flavor. Quick to prepare and bake, they offer a delightful finish to any meal, blending smooth textures and classic flavors for an indulgent dessert moment.
My apartment was tiny, barely big enough for the sofa bed that doubled as my dining table, but it had a decent oven and I was determined to learn something impressive. I'd invited three friends over for dinner, burned the main course, and panic-baked these chocolate cakes at the last minute. They came out looking somewhat messy, but when we broke into them and that molten center pooled onto the plates, everyone went quiet in that particular way that means something magical just happened.
Last Valentine's Day, I made these for my husband despite having absolutely zero energy for anything elaborate. We ended up eating them straight from the ramekins while watching a terrible romantic comedy in sweatpants, and honestly, it was perfect. Sometimes the most romantic dessert is the one you didn't stress over, the one that just works without demanding you be a different person than you actually are.
Ingredients
- Bittersweet chocolate: The 60-70% cocoa percentage hits that perfect sweet spot between too bitter and too sweet, and I've learned that chopping it yourself melts more evenly than chocolate chips
- Unsalted butter: Room temperature butter blends better with the melted chocolate, creating that silky smooth consistency that makes the center flow properly
- Eggs and egg yolks: Those extra yolks are doing the heavy lifting here, providing richness and structure that helps the cakes puff up dramatically while staying gooey inside
- Confectioners sugar: Unlike granulated sugar, this dissolves completely into the batter so you never get gritty spots in your molten center
- All-purpose flour: Just enough to give the cakes structure while keeping them tender, and folding it gently prevents that tough, rubbery texture from overmixing
- Salt: A small pinch might seem unnecessary, but it actually makes the chocolate taste more intensely chocolatey, like turning up the volume on flavor
- Vanilla ice cream: The temperature contrast is essential here, so use good quality ice cream that will hold its shape against the warm cake
Instructions
- Prep your ramekins:
- The butter and cocoa dusting is insurance, giving the cakes something to grab onto as they rise and making inversion clean and drama-free
- Melt the chocolate:
- Stir that chocolate and butter mixture until it's glossy and smooth, then let it cool just enough so it doesn't cook the eggs when you combine them
- Whip the eggs:
- Keep whisking until the mixture looks pale and slightly thickened, creating tiny air bubbles that help the cakes achieve that beautiful rise
- Fold everything together:
- Gently incorporate the chocolate into the eggs, then add the flour with a light hand, stopping the moment you no longer see dry streaks
- Bake to perfection:
- Watch for those set edges with a slightly jiggly center, the visual cue that means you've nailed the molten texture
- Flip immediately:
- Invert onto plates within a minute or two of removing from the oven, while the cakes are still warm enough to release cleanly from the ramekins
 Save to Pinterest
 After making these dozens of times, I've realized they're never just about the dessert itself. They're about the moment after dinner when everyone's full but still leaning in, watching plates being set down with anticipation. Some of my favorite conversations have happened around that first breaking of the cake, the collective breath when the chocolate escapes, the sudden vulnerability that dessert somehow creates in a room full of people.
Make Ahead Magic
I've kept batter in the ramekins in the fridge for up to six hours, then added a couple extra minutes to the baking time with great results. For even longer prep, you can freeze the unbaked cakes wrapped tightly for weeks, then bake from frozen, adding about three minutes to the time.
Flavor Variations
Espresso powder in the batter adds depth without making these taste like coffee, and orange zest gives them this lovely brightness that cuts through the richness. During raspberry season, I've been known to tuck fresh berries into the center before baking for a tart surprise that works beautifully with the chocolate.
Success Secrets
The difference between a good lava cake and a great one comes down to timing and attention to those small details that seem fussy but actually matter. I've learned through plenty of mistakes that patience during prep pays off in dramatic results at the table.
- Room temperature eggs incorporate more easily into the batter, creating better structure
- Tap the ramekins against the counter after filling to release any air bubbles
- Serve these immediately because the molten center continues to cook as it sits
 Save to Pinterest
 These have become my go-to celebration dessert because they feel special without requiring special skills, just attention to timing and good ingredients. Hope they bring as many moments of warm chocolate contentment to your table as they have to mine.
Recipe Questions & Answers
- → What kind of chocolate is best for these cakes?
-
Use bittersweet chocolate with 60-70% cocoa for a balanced rich and slightly bitter taste that complements the sweetness perfectly.
- → How can I tell when the cakes are done?
-
The edges should be set while the centers remain soft and gooey; bake for about 10-12 minutes for ideal consistency.
- → Can I prepare the batter in advance?
-
Yes, the batter can be made ahead and refrigerated. Bring to room temperature before baking to ensure even cooking.
- → What are good topping or garnish options?
-
Cocoa powder, powdered sugar, fresh berries, or mint leaves all add color and enhance the dessert’s flavor profile.
- → Is there a way to make these cakes gluten-free?
-
Substitute the all-purpose flour with a gluten-free flour blend to accommodate gluten sensitivities without sacrificing texture.
