 Save to Pinterest
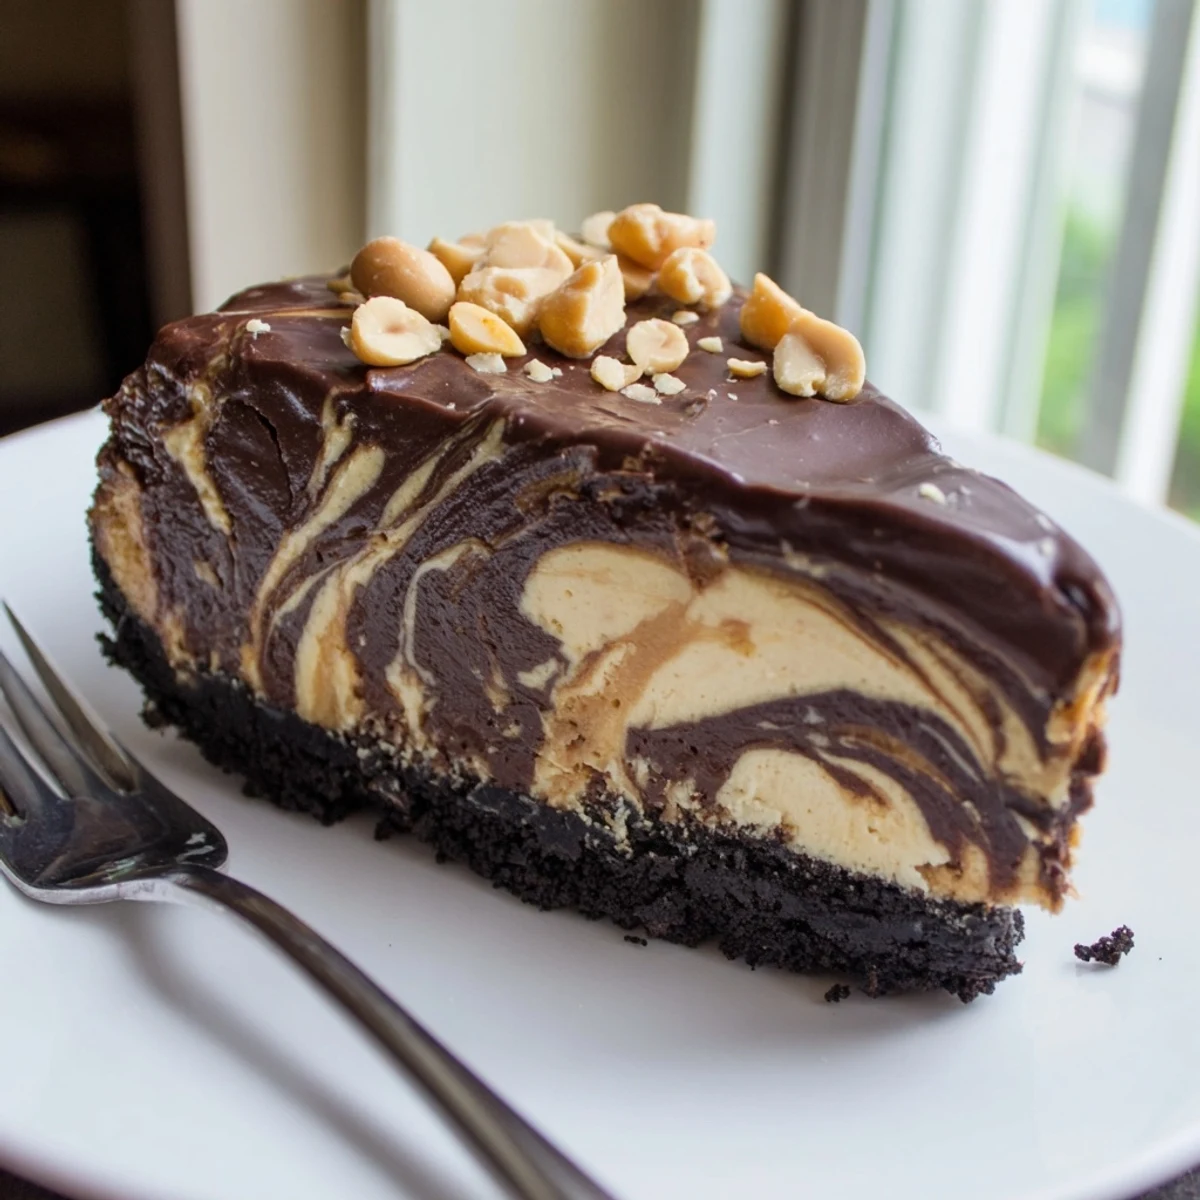
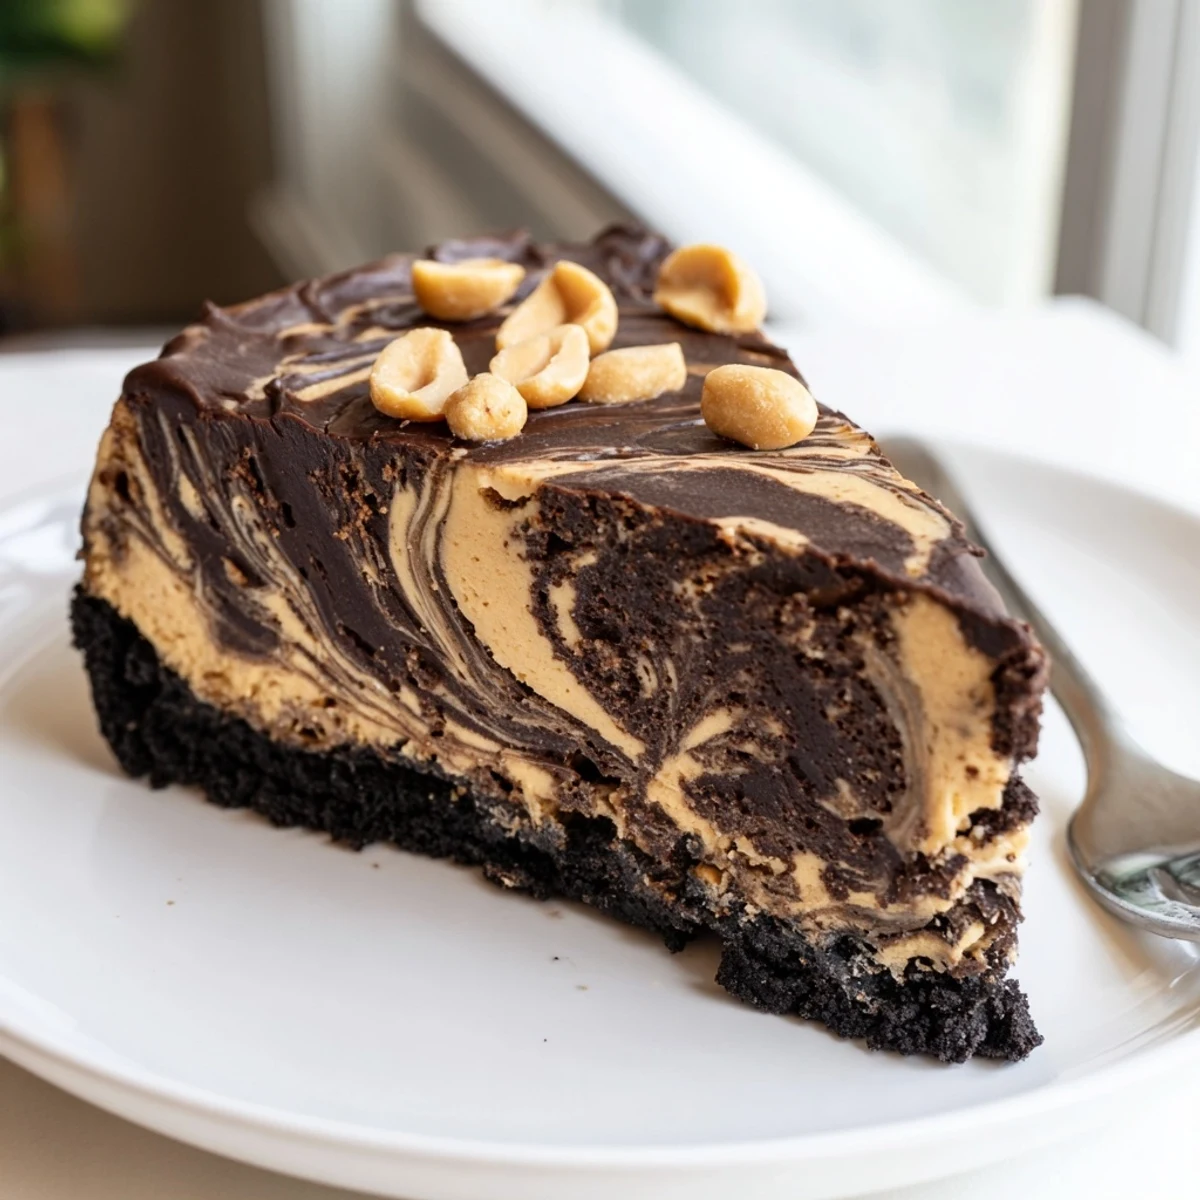
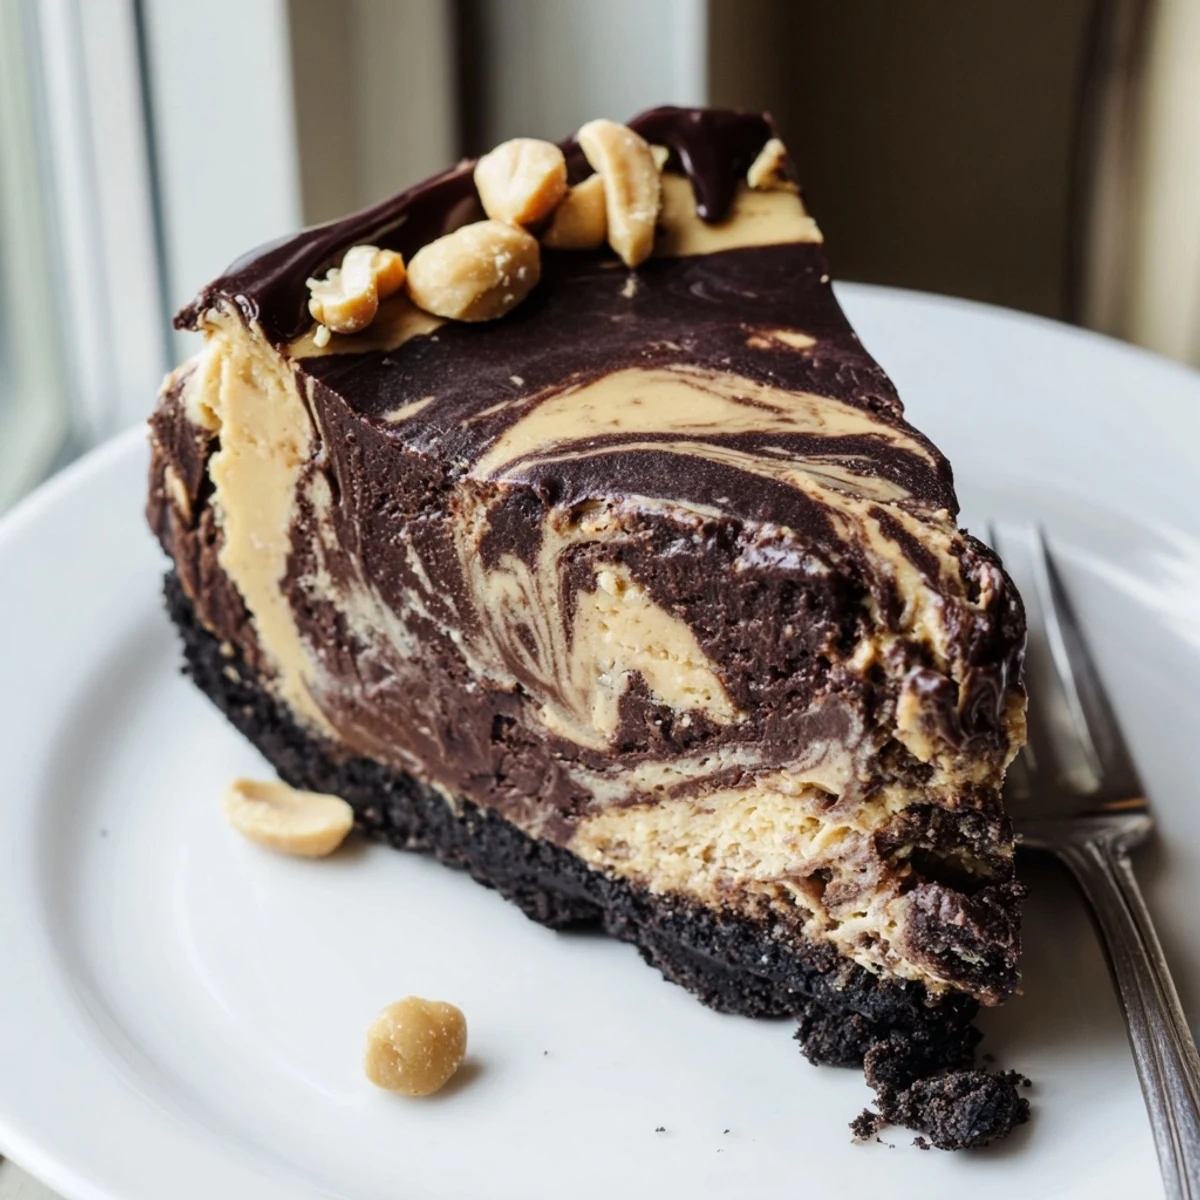
 This chocolate peanut butter cheesecake layers a buttery crushed cookie crust with a swirled filling of rich dark chocolate and creamy peanut butter. The marbled effect creates a stunning visual while delivering both flavors in every bite.
After baking low and slow, the cheesecake rests in a cooling oven then chills overnight for the silkiest texture. A glossy chocolate-peanut butter ganache crowns the top, finished with optional roasted peanuts for crunch.
Plan ahead for the chilling time — it's essential for clean slices and that perfect dense, creamy consistency.
My kitchen still smells like roasted peanuts and melted dark chocolate from three days ago, and honestly I am not mad about it. This cheesecake started as a desperate attempt to settle a debate between my partner and me over whether chocolate or peanut butter deserves the crown. Suffice it to say, the debate ended in a draw and a dirty springform pan.
I brought this to a friends potluck last winter and watched a grown man close his eyes and whisper something reverent after the first bite. Nobody touched the store bought pie sitting next to it. My friend David, who claims he does not like dessert, asked for the recipe before he even finished his slice.
Ingredients
- 200 g chocolate sandwich cookies (Oreos), crushed: The crust is the quiet hero here and crushed cookies give it a fudgy snap that graham crackers cannot match.
- 60 g unsalted butter, melted: Binds the crumbs together and adds richness without making the base greasy.
- 600 g cream cheese, softened: Cold cream cheese will leave you with lumps so let it sit out until it feels like soft butter.
- 200 g smooth peanut butter: Use a commercial brand like Skippy for consistent texture because natural peanut butter can separate and cause cracking.
- 200 g granulated sugar: Balances the richness of the cheese and peanut butter without making it cloying.
- 3 large eggs: Add them one at a time on low speed to avoid whipping too much air into the batter.
- 1 tsp vanilla extract: A quiet background note that rounds out the chocolate and peanut butter.
- 120 ml sour cream: Adds a subtle tang that keeps every bite from feeling too heavy.
- 100 g dark chocolate, melted and slightly cooled: Too hot and it will cook the batter so let it sit until it is just warm to the touch.
- 120 ml heavy cream: The base for a glossy ganache topping that sets with a beautiful sheen.
- 120 g dark chocolate, chopped: For the topping ganache, chopped fine so it melts quickly and evenly.
- 2 tbsp creamy peanut butter: Stirred into the ganache for a layered finish that ties everything together.
- Chopped roasted peanuts (optional): A crunchy garnish that adds texture contrast to every creamy bite.
Instructions
- Prepare the oven and pan:
- Preheat your oven to 160 degrees C (325 degrees F) and grease a 23 cm springform pan before lining the bottom with parchment paper so nothing sticks later.
- Build the crust:
- Toss the crushed cookies with melted butter until every crumb glistens, then press the mixture firmly and evenly into the bottom of the pan. Bake for 10 minutes until it smells toasty and let it cool while you work on the filling.
- Start the filling:
- Beat the softened cream cheese and sugar together in a large bowl until the mixture is completely smooth with no visible lumps scraping the sides as you go. Add the peanut butter and mix until it is uniformly blended and looks impossibly silky.
- Add the eggs and flavorings:
- Drop in the eggs one at a time beating on low speed after each addition so the batter stays dense rather than airy. Stir in the vanilla extract and sour cream until everything is evenly incorporated.
- Split and flavor the batter:
- Divide the filling evenly into two bowls and stir the melted dark chocolate into one half until it is a uniform deep brown. The other half stays as your peanut butter layer.
- Create the marble:
- Pour the chocolate mixture over the cooled crust and spread it flat, then gently spoon the peanut butter mixture on top. Drag a butter knife in wide S curves through both layers for a marbled effect that looks stunning once baked.
- Bake low and slow:
- Slide the pan into the oven and bake for 50 to 60 minutes until the edges are set but the center still wobbles slightly like gelatin when you gently shake the pan. This gentle jiggle means it will set perfectly in the fridge without cracking.
- Cool gradually in the oven:
- Turn off the oven, crack the door open, and leave the cheesecake inside for one hour so it cools slowly and avoids the thermal shock that causes fissures across the top.
- Chill thoroughly:
- Transfer the cheesecake to the refrigerator and let it chill for at least 4 hours or preferably overnight so the flavors deepen and the texture becomes sliceable.
- Make the ganache topping:
- Heat the heavy cream in a small saucepan until it steams but does not boil, then pour it over the chopped chocolate and stir until you have a glossy smooth ganache. Stir in the peanut butter, let it cool slightly, and spread it evenly over the chilled cheesecake.
- Garnish and serve:
- Sprinkle chopped roasted peanuts over the ganache if you want a bit of crunch, then slice with a hot clean knife for the neatest pieces and serve proudly.
 Save to Pinterest
 The moment I pulled this out of the fridge the next morning and cut the first clean slice, I stood alone in the kitchen at sunrise eating it with a fork straight from the pan. Some recipes earn their place in your permanent rotation and this one earned it in a single bite.
Storing This Cheesecake Properly
Cover the cheesecake tightly with plastic wrap or transfer slices to an airtight container and it will keep beautifully in the fridge for up to five days. I have also frozen individual slices wrapped tightly in foil and they thaw perfectly for midnight snack emergencies.
Adapting It for Dietary Needs
Going gluten free is as simple as swapping in your favorite gluten free chocolate cookies for the crust. If you need a nut free version, sunflower seed butter works surprisingly well in place of peanut butter though the flavor will be different.
Serving Suggestions and Pairings
A strong cup of black coffee or a glass of dessert wine cuts through the richness in the best way. Serve slices slightly chilled rather than ice cold for the creamiest most flavorful texture.
- A sprinkle of flaky sea salt on top of the ganache takes this into fine dining territory.
- Let slices sit at room temperature for about 15 minutes before serving so the flavors open up.
- Always dip your knife in hot water and wipe it clean between cuts for bakery worthy slices.
 Save to Pinterest
 Share this with someone who thinks they do not like cheesecake and watch them change their mind mid bite. That quiet moment of conversion is honestly the best part of making it.
Recipe Questions & Answers
- → Can I make this cheesecake ahead of time?
-
Yes, this cheesecake actually benefits from being made a day in advance. The chilling time allows the flavors to meld and the texture to set properly. It keeps well in the refrigerator for up to 4 days covered tightly.
- → Why does the cheesecake need to cool in the oven with the door cracked?
-
This gradual cooling method prevents the cheesecake from cracking. A sudden temperature drop causes the edges to contract faster than the center, leading to splits. Cracking the oven door lets it cool slowly and evenly.
- → Can I use natural peanut butter instead of smooth?
-
Standard smooth peanut butter works best for a creamy, consistent filling. Natural peanut butter tends to separate and can make the texture grainy or oily. If using natural, stir it very thoroughly before measuring.
- → How do I get clean slices when serving?
-
Use a sharp knife dipped in hot water and wiped clean between each cut. The heat melts through the filling cleanly. Always slice straight down rather than sawing through the cheesecake.
- → Can I freeze this cheesecake?
-
Yes, it freezes well for up to 2 months. Wrap it tightly in plastic wrap then foil. Thaw overnight in the refrigerator. Add the topping after thawing for the best presentation and texture.
- → What's the best way to create the swirl effect?
-
Spoon the peanut butter mixture over the chocolate layer, then drag a butter knife or skewer through both layers in figure-eight motions. Don't overmix — a few gentle passes create a beautiful marble pattern.
