 Save to Pinterest
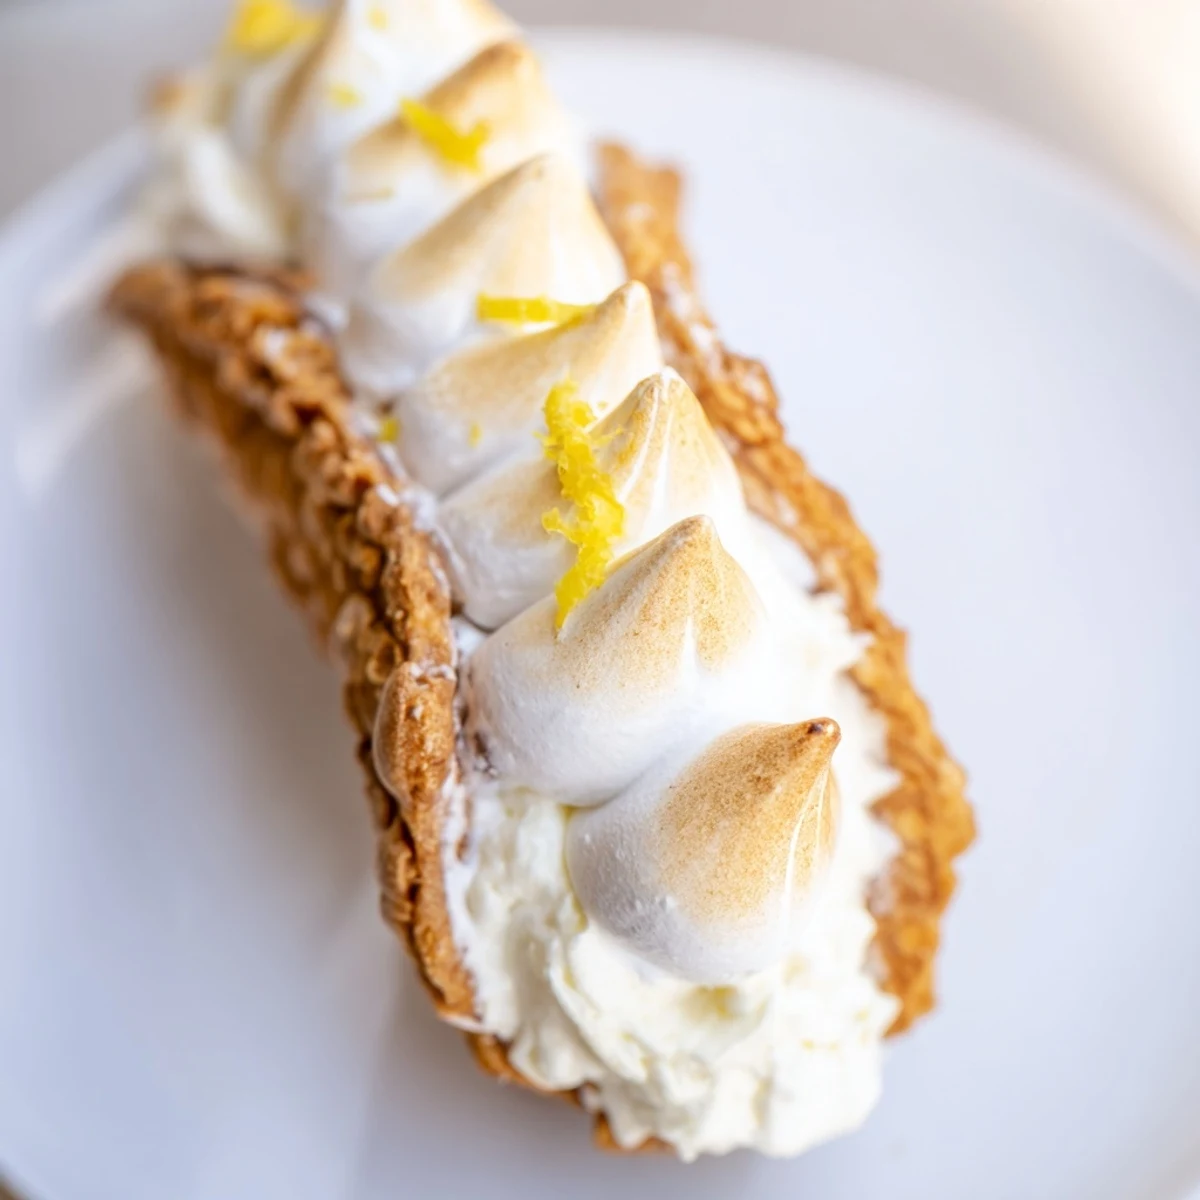
 These delightful Italian pastries feature crispy cannoli shells filled with a bright, creamy lemon ricotta mixture and crowned with soft, toasted meringue. The combination of tangy lemon zest and juice with rich ricotta creates a perfectly balanced filling, while the hand-torched meringue adds a beautiful golden finish and delightful texture contrast. Ready in just 40 minutes, these elegant treats are perfect for entertaining or a special weekend dessert at home.
The idea came to me during a summer dinner party when my friend Sarah mentioned she loved lemon meringue pie but found it too heavy for dessert. I looked at the box of cannoli shells I bought on impulse earlier that day, and something clicked. What if I could capture that bright lemon curd flavor and pillowy meringue topping in a crispy, handheld Italian pastry? The first batch disappeared so quickly I barely got a taste myself.
Last week I made these for my neighbors birthday celebration, and her six year old daughter took one bite and announced it tasted like sunshine. Watching people discover that first crunch through the meringue into the tangy cream belownever gets old. I always make extra now because somehow word gets around and friends start showing up right around dessert time.
Ingredients
- 8 store-bought cannoli shells: Save yourself the time and buy good quality shells, focusing your energy on the spectacular filling instead
- 1 cup (240 g) ricotta cheese, drained: Whole milk ricotta gives the best texture, and draining it for an hour prevents any weeping in your final cream
- 1/2 cup (120 ml) heavy cream: This transforms the ricotta into something impossibly light and luxurious
- 1/4 cup (50 g) granulated sugar: Split between the filling and meringue, this provides just enough sweetness to let the lemon shine through
- 1 tablespoon finely grated lemon zest: Use a microplane and really get into the yellow zest for maximum essential oils
- 3 tablespoons fresh lemon juice: Fresh is absolutely non-negotiable here, nothing else captures that bright, acidic punch
- 1/2 teaspoon vanilla extract: Divided between the cream and meringue, it rounds out all the sharp citrus notes beautifully
- Pinch of salt: A tiny pinch makes all the flavors pop and keeps the sweetness from becoming cloying
- 2 large egg whites: Room temperature whites whip up faster and hold their shape better
- 1/4 teaspoon cream of tartar: This stabilizes your meringue, ensuring those gorgeous stiff peaks that hold their shape
Instructions
- Prepare the lemon cream base:
- In a medium mixing bowl, combine the ricotta, half the sugar, all the lemon zest and juice, half the vanilla, and that pinch of salt. Beat with an electric mixer until completely smooth and no lumps remain, about 2 minutes.
- Whip the heavy cream:
- In a separate chilled bowl, whip the heavy cream until stiff peaks form. You know its ready when you lift the beaters and the cream stands up tall without collapsing at all.
- Combine the fillings:
- Gently fold about one third of the whipped cream into the ricotta mixture to lighten it, then fold in the remaining cream until no white streaks show. The texture should be airy and creamy.
- Fill the cannoli shells:
- Scoop the lemon cream into a piping bag fitted with a large star tip. Pipe into both ends of each shell until completely filled, twisting the bag as you go to keep the cream moving forward.
- Make the meringue:
- In a scrupulously clean bowl, beat the egg whites and cream of tartar until soft peaks form. Gradually rain in the remaining sugar while beating, then continue until stiff glossy peaks form and the sugar has completely dissolved.
- Add the vanilla finish:
- Beat in the remaining vanilla extract just until combined. The meringue should look thick and glossy, almost like marshmallow fluff but with more structure.
- Top the cannoli:
- Spoon or pipe the meringue over both filled ends of each cannoli, creating little clouds that cover the cream completely. Work quickly as the meringue starts to break down after about 15 minutes.
- Toast to perfection:
- Using a kitchen torch, wave the flame over the meringue until golden brown spots appear. Rotate the cannoli to toast all sides, taking care not to burn the delicate peaks.
 Save to Pinterest
 My mother-in-law still talks about the first time she tried these, insisting she tasted a hint of her childhood lemon ice cream stand in Brooklyn. Sometimes food connects us to memories we did not even know we were holding onto. That is the kind of recipe worth keeping.
Making Ahead Without Sorrow
I learned through trial and error that you can prepare both the lemon cream and meringue up to 24 hours in advance, storing them separately in airtight containers in the refrigerator. Just give the cream a quick whisk before piping to restore its airy texture.
When Life Gives You Extra Meringue
Any leftover meringue can be dollopped onto a parchment-lined baking sheet and baked at 200°F for 2 hours until completely dry. These little meringue cookies keep for weeks in an airtight container and make the perfect afternoon coffee companion.
The Art of Torch Work
Keep your torch moving in small circles about 2 inches from the surface of the meringue. You want golden brown spots, not an even tan color, so embrace the uneven beauty of hand-toasted peaks.
- Work over a heatproof surface in case any drips occur
- Always check that your butane canister is full before starting
- The meringue continues to cook slightly for a minute after torching
 Save to Pinterest
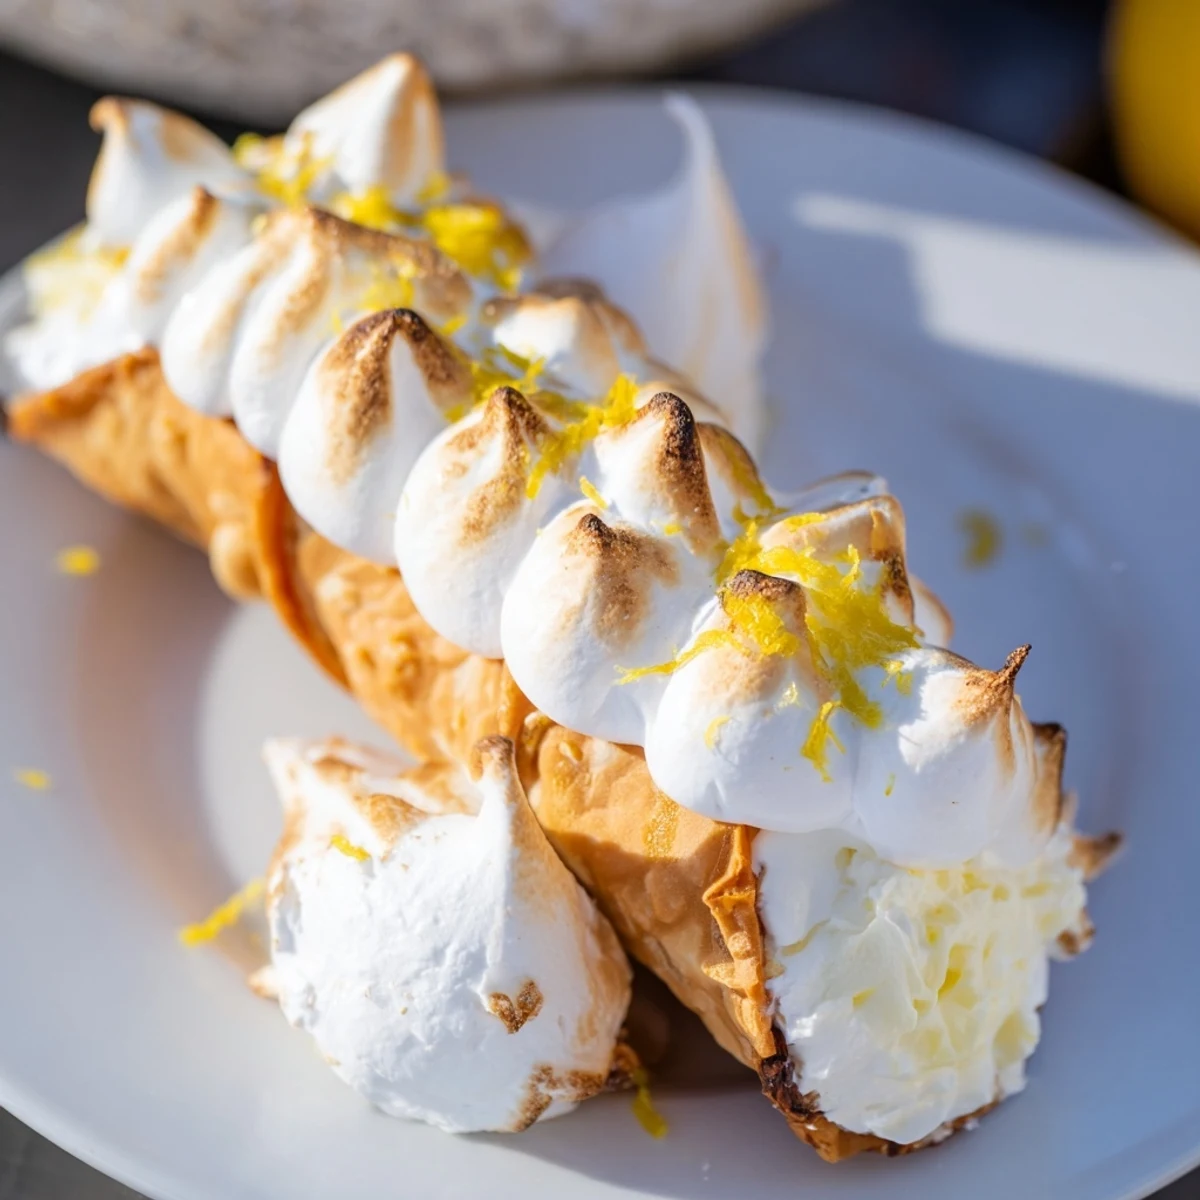
 There is something deeply satisfying about biting through that crisp shell into cool cream and warm, toasty meringue all at once. These little Italian pastries have become my go-to for bringing a little unexpected joy to the table.
Recipe Questions & Answers
- → Can I make the filling ahead of time?
-
Yes, prepare the lemon cream filling up to 2 days in advance and store it in an airtight container in the refrigerator. Keep the meringue separate and assemble just before serving to maintain the crispy texture of the shells.
- → Do I need a kitchen torch for the meringue?
-
A kitchen torch provides the best control for toasting the meringue, but you can also use your oven's broiler. Place the filled cannoli on a baking sheet and broil for 1–2 minutes, watching closely to prevent burning.
- → Can I use homemade cannoli shells?
-
Absolutely! Homemade shells will add extra time but yield wonderful results. If making from scratch, ensure they're completely cooled before filling to prevent sogginess.
- → How do I prevent the shells from getting soggy?
-
Fill the cannoli just before serving to maintain maximum crispness. The moisture from the filling and meringue will soften the shells over time, so assembly right before eating is ideal.
- → Can I substitute the ricotta cheese?
-
While traditional ricotta provides the classic flavor and texture, you can use mascarpone for a richer, creamier filling. Drain any excess liquid from your chosen cheese to prevent a watery mixture.
