 Save to Pinterest
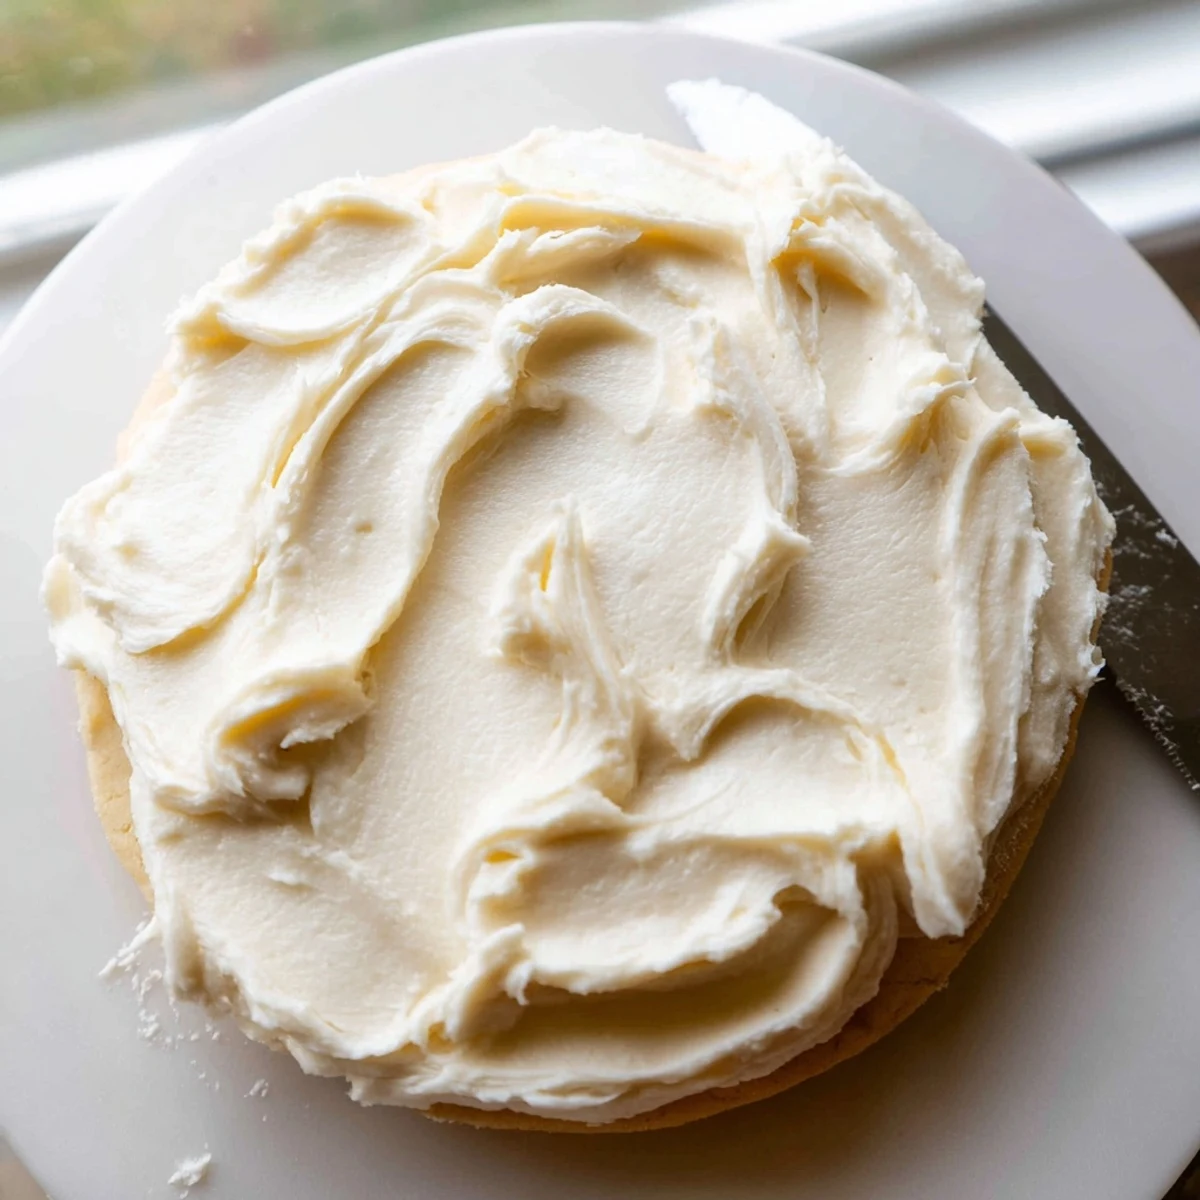
 This luscious vanilla buttercream comes together in just 10 minutes with basic pantry staples. The frosting whips up light and fluffy, spreading smoothly over cooled sugar cookies while maintaining its shape for decorating. After application, it develops a delicate crust that protects your designs without becoming rock-hard.
Adjust the consistency effortlessly—add milk for thinner icing perfect for flooding, or incorporate more powdered sugar for stiffer peaks ideal for piping borders and detailed work. The formula yields enough to decorate approximately two dozen cookies, though you'll find plenty of uses for any leftovers on cupcakes, brownies, and layer cakes.
The first time I made this frosting, I was rushing to finish decorated cookies for a school bake sale at 11pm. My kitchen was a disaster of sprinkles and food coloring, but when I tasted that first buttery spoonful, I actually stopped what I was doing and closed my eyes for a second. Sometimes the simplest recipes surprise you the most.
My daughter requested these for her birthday instead of cake, and I ended up making three batches because friends kept wandering into the kitchen and "taste testing" until we nearly ran out. Now it is our tradition to frost cookies together while watching holiday movies, even if half the frosting ends up on our faces instead of the cookies.
Ingredients
- Unsalted butter: Softened butter is absolutely crucial here—I once tried melting it slightly and ended up with a weird soupy mess
- Powdered sugar: Sifting first prevents those tiny lumpy bits that ruin an otherwise smooth frosting
- Whole milk: Heavy cream makes it too thick and water makes it too thin, milk is the sweet spot
- Pure vanilla extract: The real stuff makes a difference you can actually taste
- Salt: Just a pinch balances all that sugar and makes the vanilla pop
Instructions
- Cream that butter:
- Beat the softened butter on medium speed until it looks like fluffy clouds and slides off the beaters easily
- Add the sugar gradually:
- Start on low speed or you will be wearing powdered sugar, then scrape down the bowl before moving on
- Make it magic:
- Pour in the milk, vanilla, and salt then beat on medium-high until the frosting turns pale and practically jumps off the spatula
- Find your perfect texture:
- Add milk one teaspoon at a time for thinner frosting or powdered sugar for thicker, and trust your instincts
- Decorate everything:
- Work quickly once the frosting is on cookies because it starts forming that lovely crust pretty fast
 Save to Pinterest
 Last Christmas my neighbor brought over her grandmother is sugar cookies and we spent the whole afternoon at my kitchen table frosting them while the snow fell outside. We made such a mess with sprinkles and colored frosting but those cookies were the most beautiful things I had ever seen.
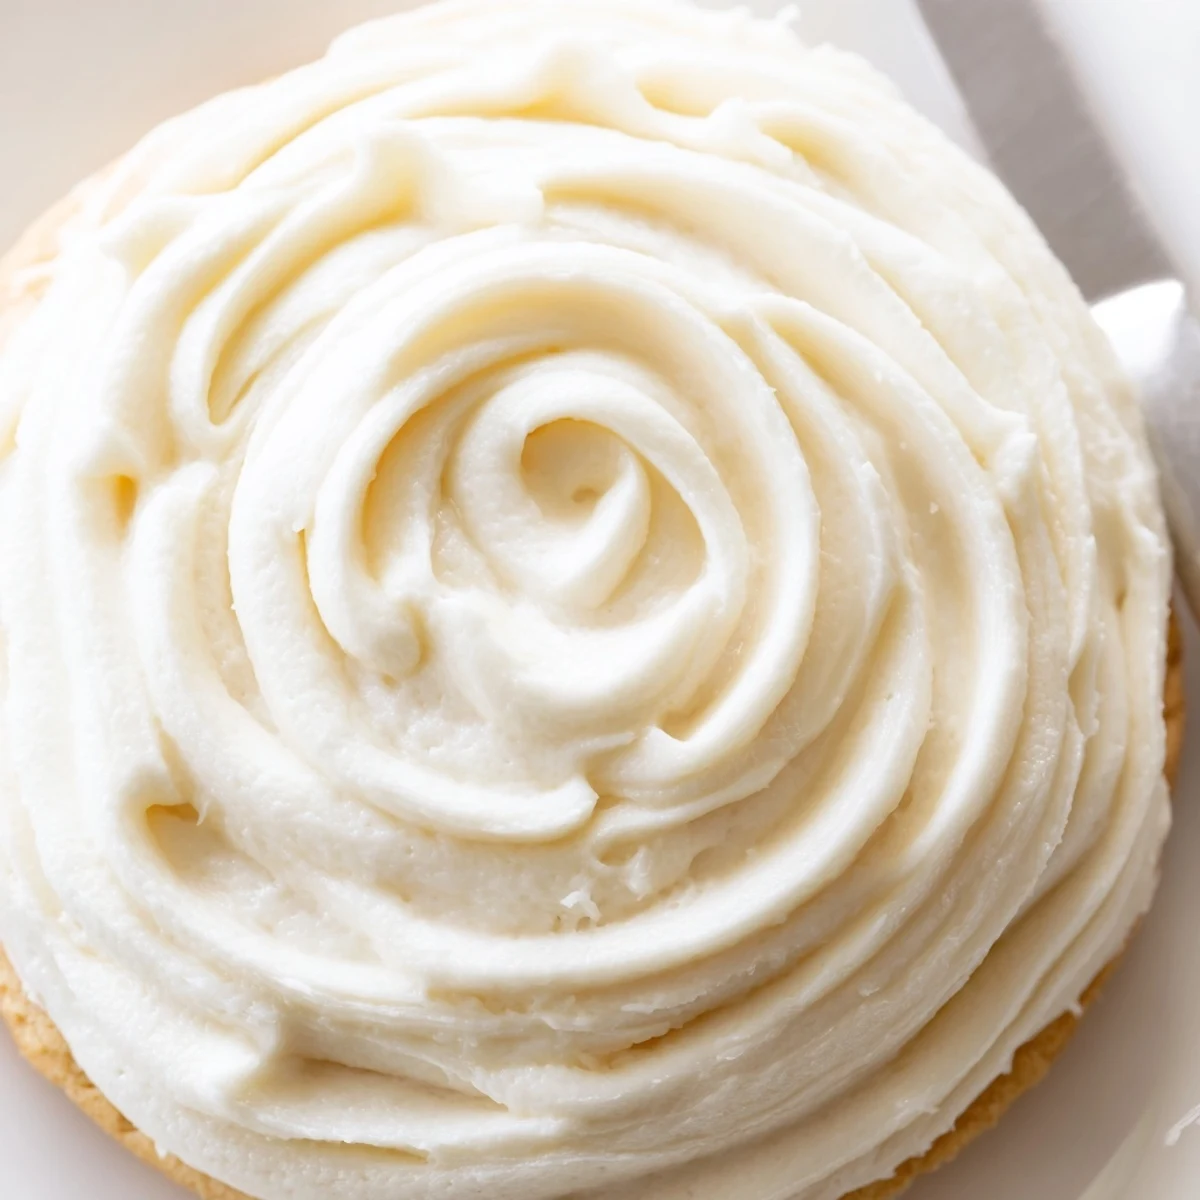
Getting The Right Texture
Humidity actually affects frosting more than you would expect. On rainy days I need less milk, and in dry winters I add a touch more. The perfect consistency should hold a soft peak when you lift the beaters but still look smooth and glossy in the bowl.
Color Without Compromise
Gel food coloring is absolutely worth it over liquid drops which can thin out your frosting. Start with a tiny amount on a toothpick because you can always add more but you cannot take it back. Pastels are harder to achieve than they look, so add color gradually and give it a minute to deepen.
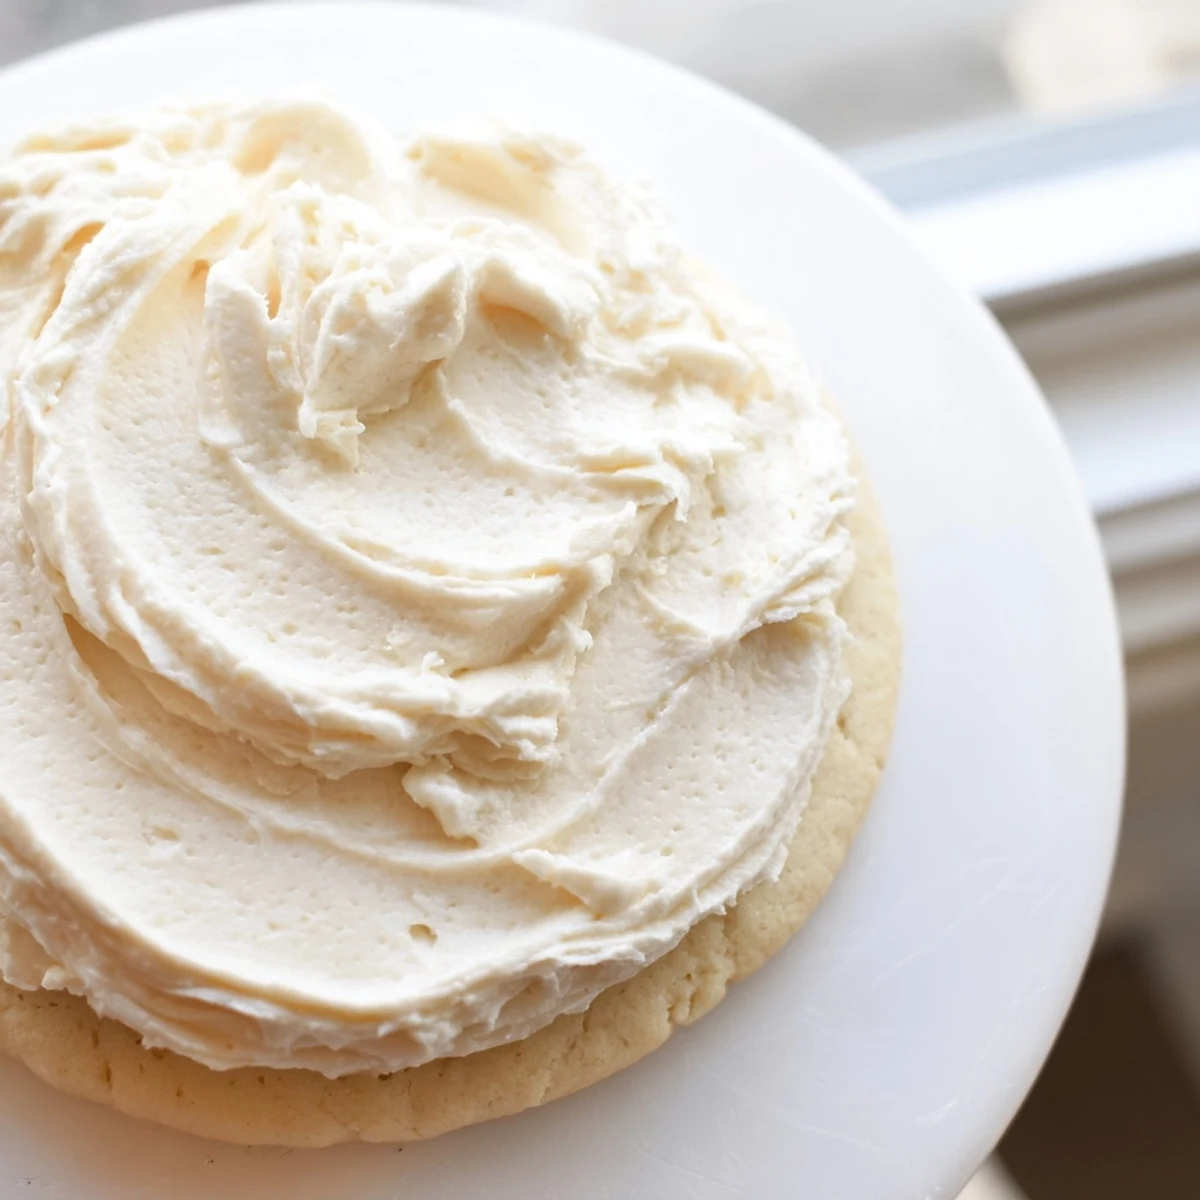
Storage And Make Ahead Magic
This frosting keeps beautifully in the refrigerator for up to a week. When you are ready to use it again, let it come to room temperature naturally and give it a quick whip with the mixer to bring back that fluffy texture.
- Frosting can be frozen for up to three months in airtight containers
- Always frost completely cooled cookies or the frosting will melt right off
- Bring refrigerated frosting to room temperature for at least an hour before rewhipping
 Save to Pinterest
 There is something deeply satisfying about a perfectly frosted sugar cookie, and this recipe makes it easy every single time. Happy baking.
Recipe Questions & Answers
- → How long does the frosting take to set?
-
Allow frosted cookies to rest at room temperature for 1–2 hours. The surface develops a slight crust that's dry to the touch while remaining creamy underneath.
- → Can I make the frosting ahead of time?
-
Yes, store unused frosting in an airtight container in the refrigerator for up to 1 week. Bring to room temperature and re-whip with an electric mixer before using.
- → How do I achieve different colors?
-
Add gel food coloring drop by drop after step 3, mixing thoroughly between additions. Gel coloring provides vibrant hues without thinning the consistency like liquid food coloring can.
- → What's the best way to apply the frosting?
-
Ensure cookies are completely cooled before frosting. Use an offset spatula for smooth spreading or transfer to a piping bag fitted with your favorite tip for detailed decorations and borders.
- → Can I freeze the frosted cookies?
-
Once the frosting has fully set, arrange cookies in a single layer on a baking sheet and freeze until firm. Transfer to an airtight container separated by parchment paper for up to 3 months.
- → Why did my frosting turn out too thin or thick?
-
Humidity and ingredient temperatures affect consistency. If too thin, add sifted powdered sugar one tablespoon at a time. If too thick, incorporate milk one teaspoon at a time until you reach the desired texture.
