
 Save to Pinterest
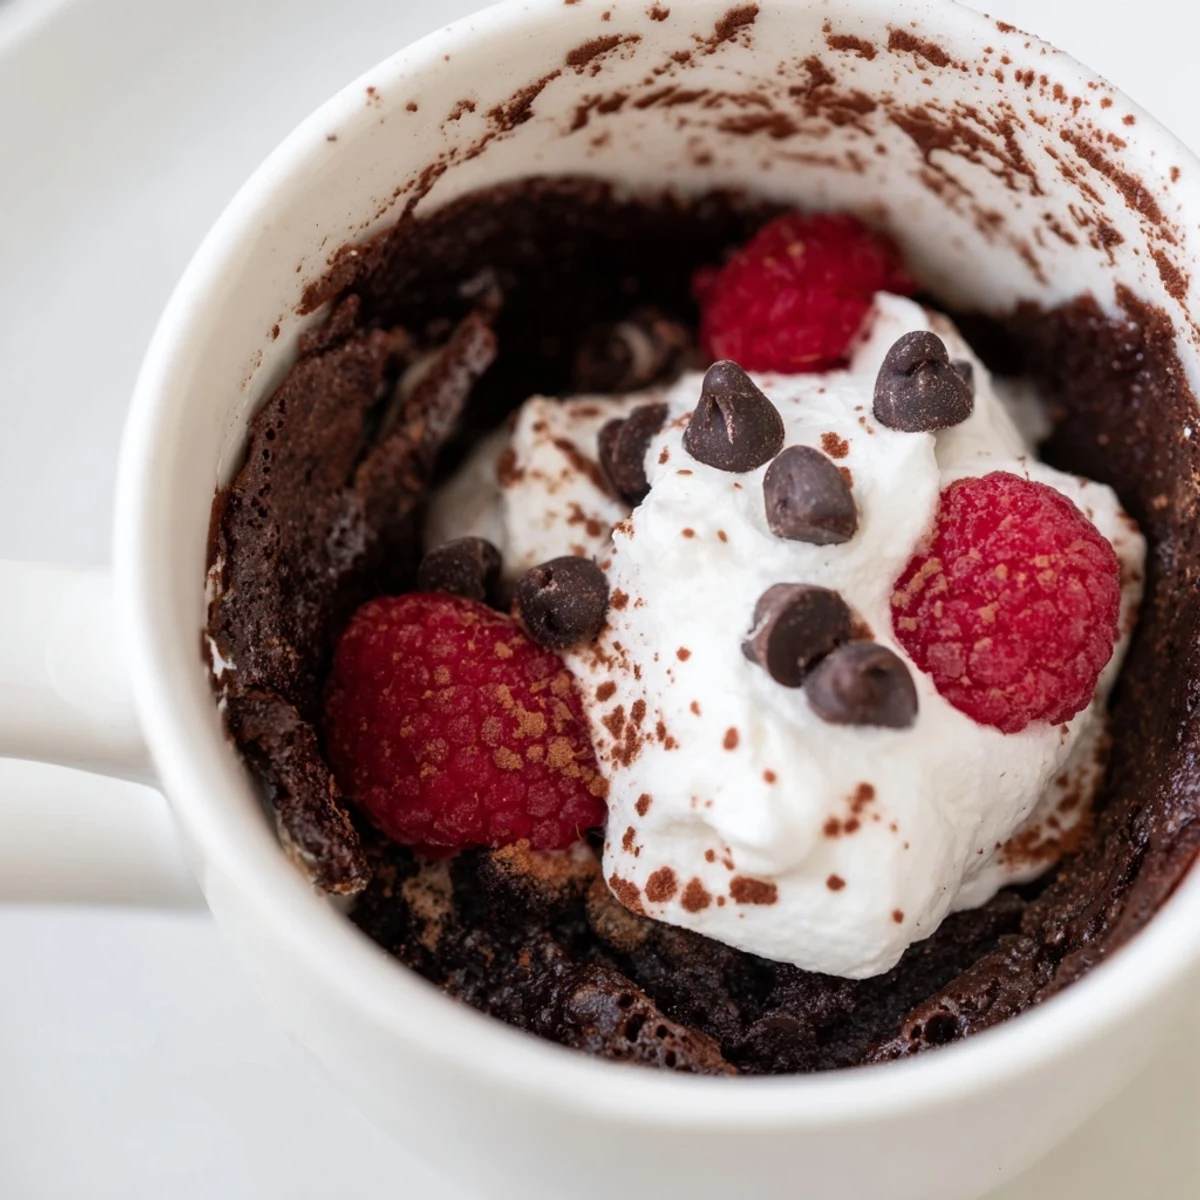
 This gluten-free chocolate mug cake is the ultimate quick-fix dessert for anyone craving something rich and chocolaty without the fuss of traditional baking. Using a simple blend of gluten-free flour, cocoa powder, and pantry staples, you'll have a warm, decadent treat in under 7 minutes.
Simply mix the dry and wet ingredients directly in a microwave-safe mug, pop it in the microwave for about 2 minutes, and enjoy. It's perfectly portioned for one and easily customizable with chocolate chips or a dollop of whipped cream on top.
There is something almost magical about a chocolate craving hitting at midnight and knowing you can have a warm, gooey cake in your hands before the oven would even finish preheating. This gluten free chocolate mug cake saved me during a particularly rainy week when my oven was broken and my sweet tooth was relentless. The batter comes together with nothing more than a spoon and a mug, and the microwave does all the heavy lifting. It is dangerously easy to memorize, which means you will probably never need to look at this recipe again after making it once.
My neighbor stopped by one evening while I was testing this recipe for the third time that week, and she leaned against the kitchen doorway laughing because the whole apartment smelled like a bakery. She insisted on trying one, then immediately pulled out her phone to text the recipe to her sister who eats gluten free.
Ingredients
- Gluten-free all-purpose flour blend (3 tablespoons): This is the backbone of the cake, and a good blend with xanthan gum already included saves you from a crumbly mess.
- Unsweetened cocoa powder (2 tablespoons): Use a quality brand you would drink in hot chocolate, because the cocoa flavor is front and center here.
- Granulated sugar (3 tablespoons): It sweetens the batter and helps form that slightly crusty top that makes mug cakes feel special.
- Baking powder (1/4 teaspoon): Just enough lift to keep the cake from turning into a dense hockey puck.
- Salt (pinch): A tiny amount rounds out the sweetness and deepens the chocolate flavor noticeably.
- Milk, dairy or non-dairy (3 tablespoons): Any milk works, so use whatever you have in the fridge.
- Neutral oil (2 tablespoons): Oil keeps the cake moist in a way butter cannot match at microwave speed, and canola or light olive oil both disappear into the flavor completely.
- Pure vanilla extract (1/4 teaspoon): A small splash that makes the chocolate taste more complex without stealing the spotlight.
- Chocolate chips (1 tablespoon, optional): Folded into the batter, they create little pools of melted chocolate throughout the cake.
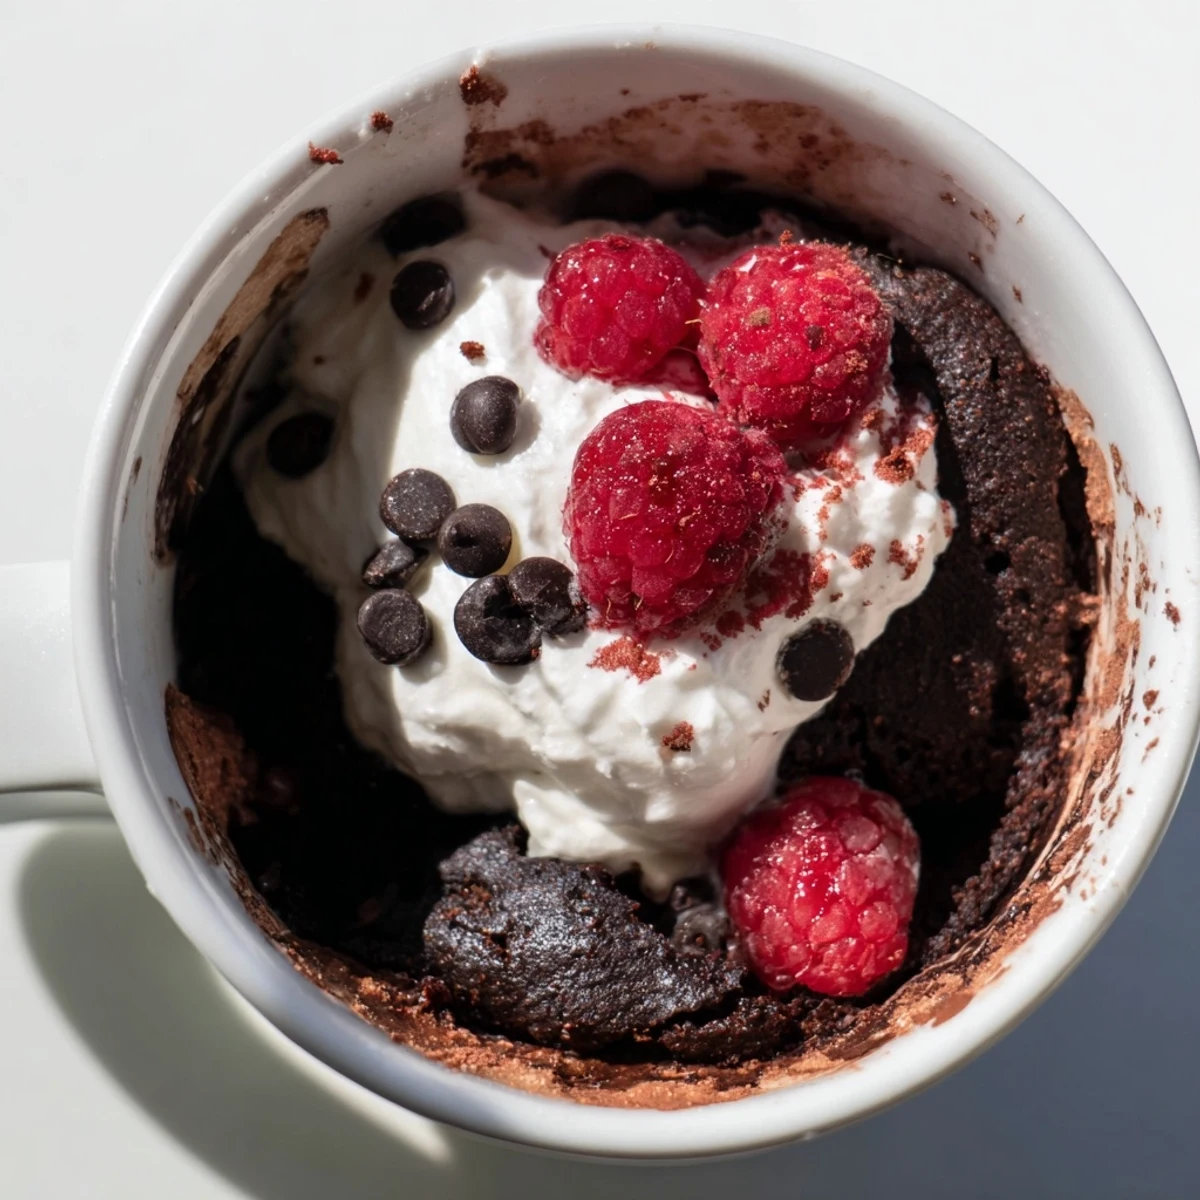
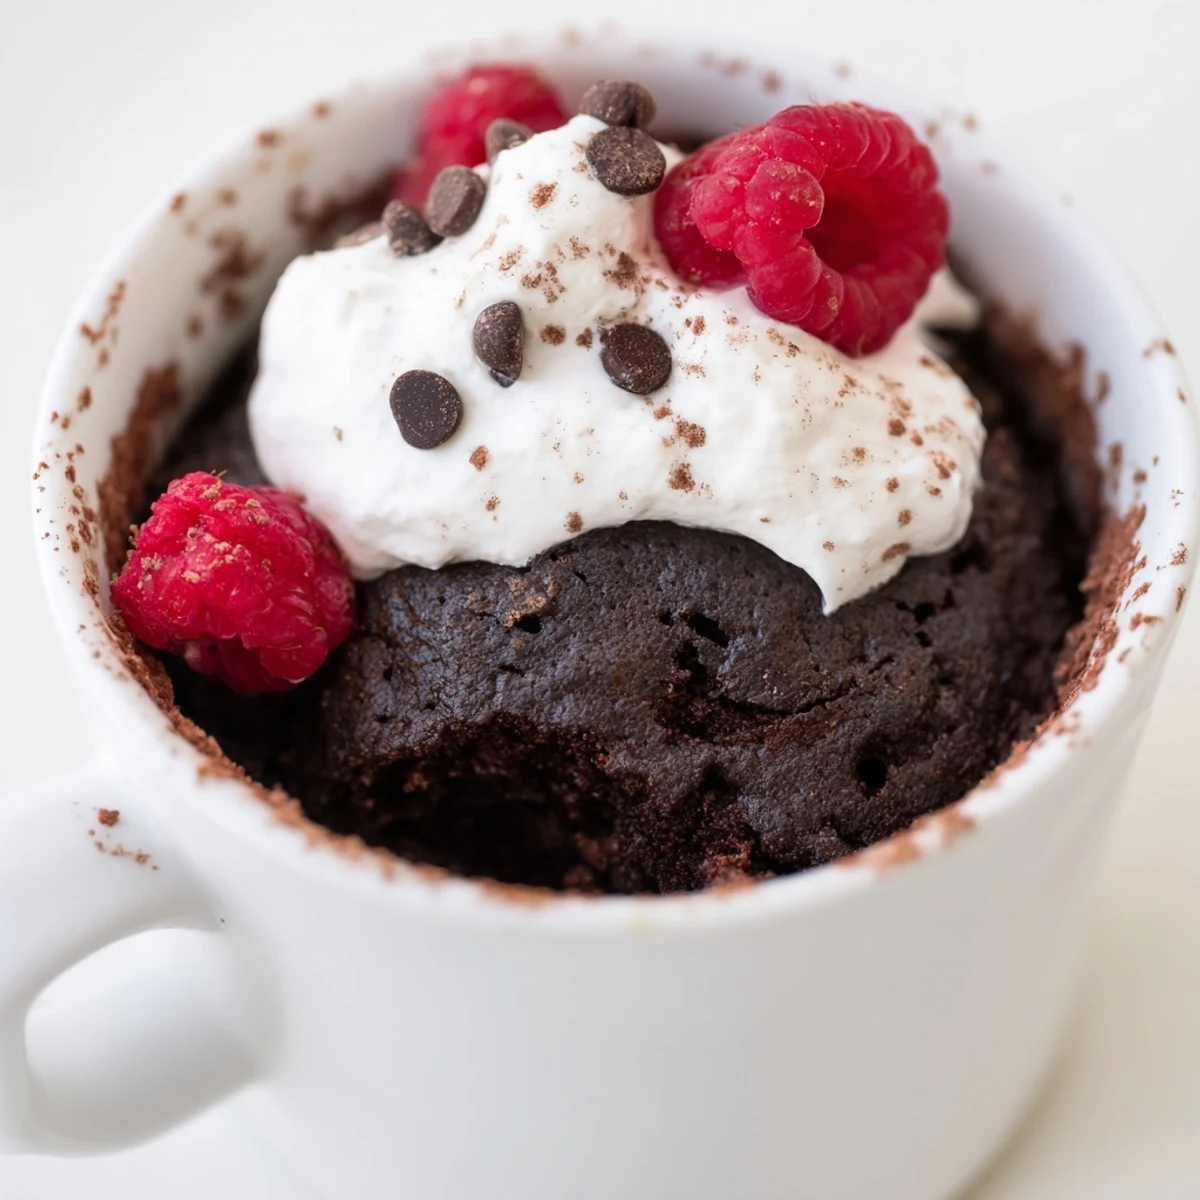
- Whipped cream or berries (for serving, optional): A dollop of whipped cream or a handful of fresh berries turns this from a snack into a proper dessert.
Instructions
- Build the dry foundation:
- In a microwave-safe mug of at least twelve ounces, whisk together the gluten-free flour, cocoa powder, sugar, baking powder, and salt until no lumps remain and the color is uniform.
- Add the wet ingredients:
- Pour in the milk, oil, and vanilla extract, then stir thoroughly, scraping the bottom and sides of the mug, until you have a smooth batter with no dry pockets hiding in the corners.
- Sneak in extras:
- Fold in the chocolate chips if you are using them, and consider tucking one extra chip right into the center of the batter for a molten surprise.
- Zap it to perfection:
- Microwave on high for one minute and thirty seconds to two minutes, watching through the door until the cake rises, sets, and springs back lightly when you press the top with your finger.
- Let it breathe:
- Allow the cake to cool for one to two minutes, during which it will pull away from the sides slightly and firm up to the perfect texture before you add any toppings.
 Save to Pinterest
 One night I made this for myself after a long day, ate it standing at the counter in my socks, and realized it was the most peaceful five minutes I had experienced all week.
Choosing the Right Mug Matters
Use a mug that holds at least twelve ounces, because the batter will rise dramatically in the microwave and overflow is a real headache to clean. Straight-sided mugs cook more evenly than tapered ones, which is a small detail that makes a noticeable difference in texture.
Making It Your Own
Peanut butter is a stunning addition if you drop a teaspoonful into the center of the batter before microwaving, creating a hidden layer that melts into the chocolate. A pinch of cinnamon or espresso powder stirred into the dry ingredients adds warmth and depth without any extra effort.
Storing and Reheating
Mug cakes are best eaten immediately, but if you have leftovers, cover the mug with a small plate and reheat gently in ten-second bursts.
- Do not refrigerate the cake, because it dries out quickly and the texture becomes grainy.
- If you want to prep ahead, mix the dry ingredients in the mug and cover it, then add the wet ingredients when you are ready to cook.
- Always let it rest a full minute after microwaving before digging in, as the center holds heat longer than you expect.
 Save to Pinterest
 Keep this recipe tucked in your back pocket for late-night cravings, unexpected guests, or any evening that simply deserves chocolate.
Recipe Questions & Answers
- → Can I make this mug cake dairy-free as well?
-
Yes, simply substitute the milk with almond, soy, or oat milk and use dairy-free chocolate chips. The texture and flavor remain wonderfully rich and satisfying.
- → Why did my mug cake turn out rubbery?
-
Overcooking is the most common cause. Microwave strengths vary, so start with 1 minute 30 seconds and check for doneness. The cake should still look slightly moist on top and spring back gently when touched.
- → What size mug should I use?
-
Use a microwave-safe mug that holds at least 12 ounces. The batter will rise during microwaving, so leaving some room at the top prevents overflow and mess.
- → Can I mix the dry ingredients ahead of time?
-
Absolutely. You can pre-measure the dry ingredients and store them in a small airtight container or zip-top bag. When you're ready, just add the wet ingredients, stir, and microwave for a nearly instant dessert.
- → How do I know when the mug cake is fully cooked?
-
Gently press the center of the cake with your finger. If it springs back and doesn't leave an indent, it's done. The top may still look slightly wet, but it will continue to set as it cools for a minute or two.
- → Can I add a gooey center to this mug cake?
-
Yes, tuck a small piece of chocolate or a spoonful of chocolate chips into the center of the batter before microwaving. As the cake cooks, the center melts into a delicious molten pocket.