 Save to Pinterest
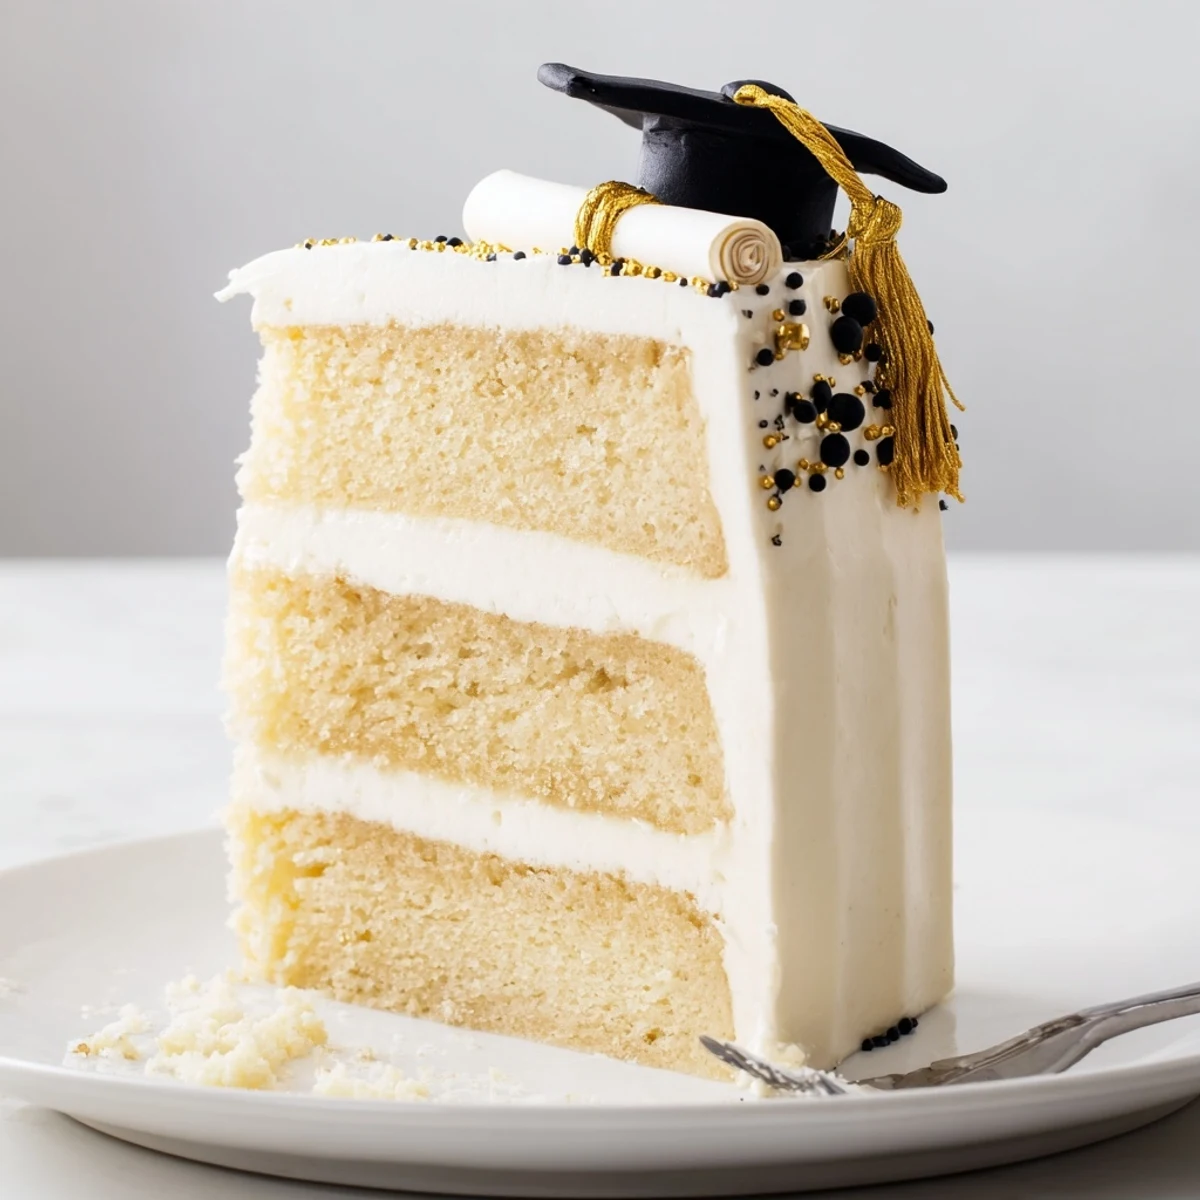
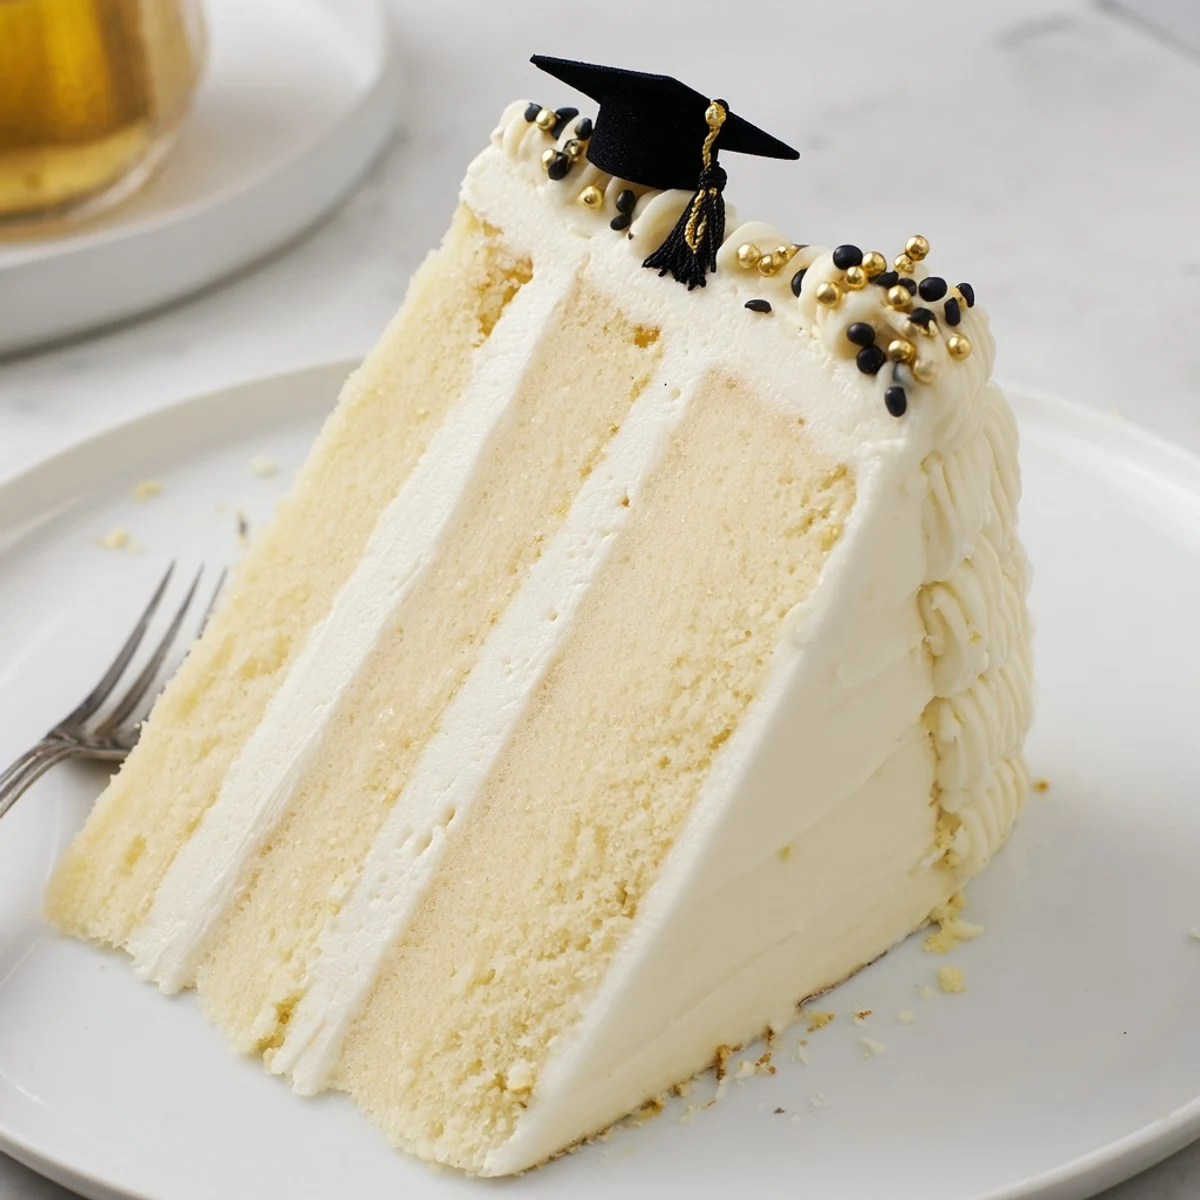
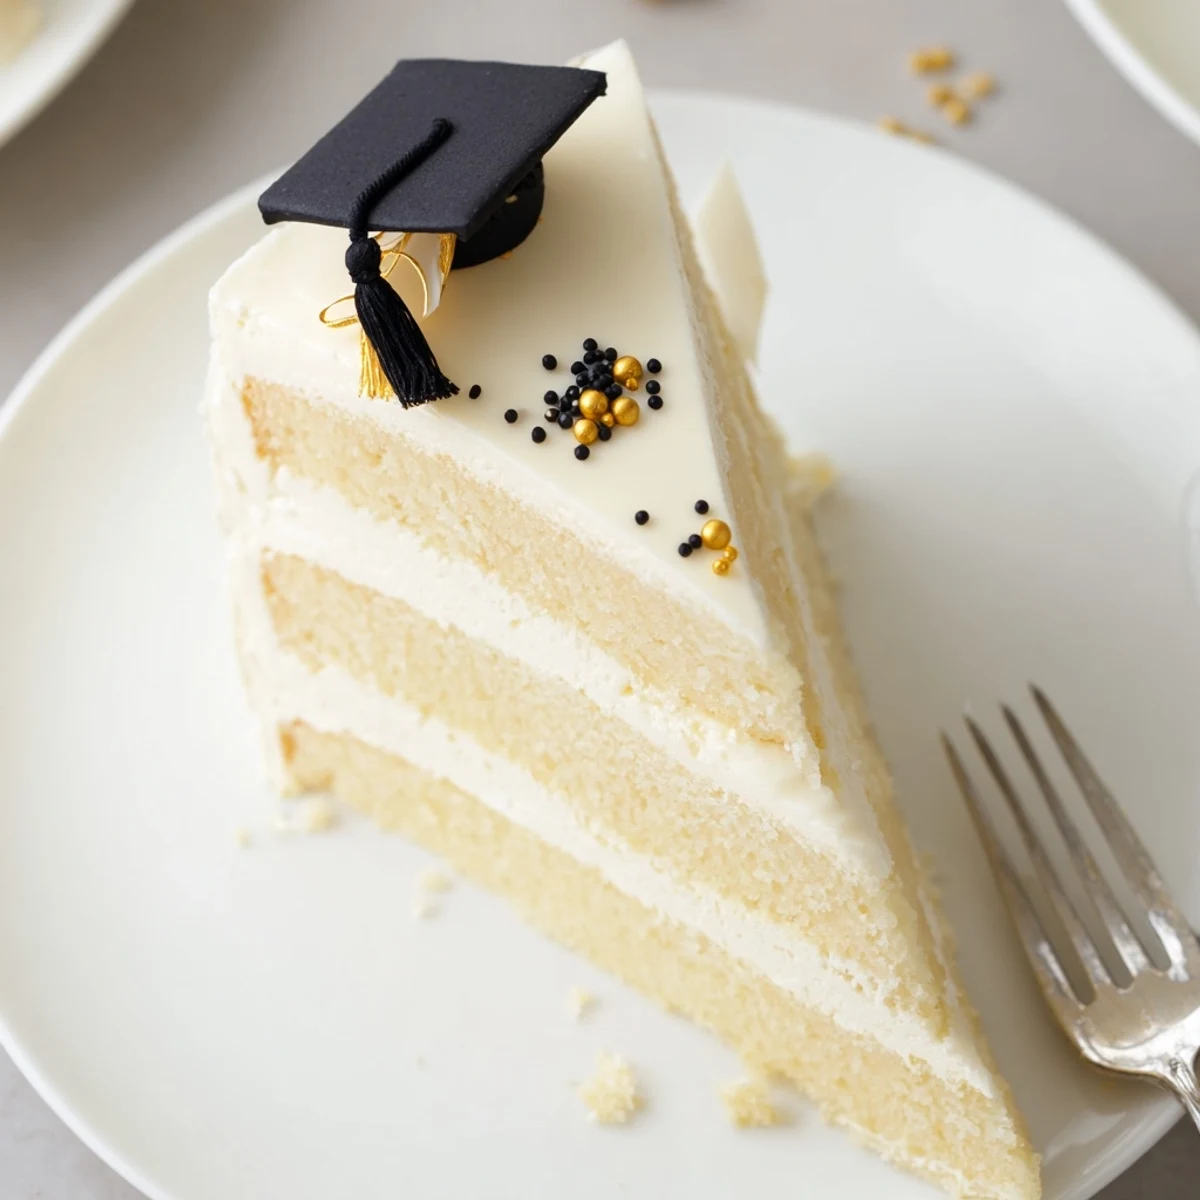
 This three-layer vanilla cake yields twelve slices of moist sponge made with butter, eggs, and milk. Layers are filled and covered with silky vanilla buttercream whipped with heavy cream for lightness. Bake three 8-inch rounds, level and stack, then smooth with an offset spatula for clean sides. Decorate with fondant caps, edible pearls or school colors; swap cocoa or use gluten-free flour as needed.
My kitchen smelled like a vanilla factory had exploded the morning of my sisters graduation, and I was still in my pajamas frantically leveling cake layers at six a.m. The cake had to be perfect, or at least perfect enough that photos wouldnt reveal my shaky frosting job. Somewhere between the second and third layer, my dog wandered in and sat directly under the counter, clearly waiting for a disaster he could benefit from. That cake turned out lopsided and ridiculous, and my sister loved it so much she cried.
Ive made this cake seven times since that first chaotic morning, once for a neighbors kid who just finished kindergarten, and once for a friend who finally defended her dissertation at age forty. Every single time, someone asks for the recipe before the last slice disappears.
Ingredients
- All-purpose flour (2 3/4 cups, 340 g): The backbone of the sponge, and you really do need to measure by weight if you want consistent layers that dont dome or sink.
- Baking powder (1 tablespoon): Sounds like a lot, but trust it, these layers need that lift to stay tall and proud under the weight of all that buttercream.
- Salt (1/2 teaspoon): Just enough to keep the sweetness honest without making anyone guess what that weird flavor is.
- Unsalted butter, softened (1 cup, 225 g for cake; 1 1/2 cups, 340 g for buttercream): Set it out the night before, because cold butter will ruin your morning and your batter.
- Granulated sugar (2 cups, 400 g): Creaming this with butter is where the magic starts, and you will know its ready when the mixture looks almost white and impossibly fluffy.
- Large eggs (4): Room temperature eggs blend in seamlessly and wont cause the batter to curdle or look broken.
- Vanilla extract (2 teaspoons for cake, 2 teaspoons for buttercream): Use the real stuff here, not imitation, because this cake relies on vanilla as its primary personality.
- Whole milk (1 cup, 240 ml): Whole milk gives the crumb a tenderness that low fat milk simply cannot replicate.
- Powdered sugar, sifted (6 cups, 720 g): Sifting is nonnegotiable unless you enjoy lumpy frosting that crunches when people bite into it.
- Heavy cream (1/4 cup, 60 ml): This thins the buttercream to a spreadable dream without making it too soft to hold its shape.
- Fondant or modeling chocolate in school colors: Optional but transforms a plain beautiful cake into something that makes people gasp when you carry it in.
- Edible gold pearls or sprinkles: A little sparkle goes a long way toward making this feel like a celebration and not just a Tuesday.
Instructions
- Preheat and prepare your pans:
- Set your oven to 350 degrees F (175 degrees C), grease three 8 inch round pans, and line the bottoms with parchment paper so nothing sticks when you flip them later.
- Whisk your dry ingredients:
- In a medium bowl, whisk the flour, baking powder, and salt together until evenly distributed and you see no clumps hiding in the corners.
- Cream butter and sugar:
- In a large bowl, beat the softened butter and granulated sugar on medium high speed for three to four minutes until the mixture turns pale, light, and fluffy enough that you might mistake it for clouds.
- Add eggs and vanilla:
- Drop in the eggs one at a time, mixing well after each addition so everything stays emulsified, then pour in the vanilla extract and let it bloom into the batter.
- Alternate flour and milk:
- Add the flour mixture in three parts, alternating with the milk in two parts, starting and ending with flour, and mix only until just combined so you dont overwork the gluten.
- Divide and bake:
- Split the batter evenly among your three prepared pans, smooth the tops with a spatula, and bake for twenty five to thirty minutes until a toothpick slid into the center comes out clean.
- Cool the layers:
- Let the cakes rest in their pans for ten minutes, then gently turn them out onto wire racks and let them cool completely, because warm cake plus buttercream equals a melty mess you cannot fix.
- Make the buttercream:
- Beat the softened butter until creamy, then gradually add sifted powdered sugar on low speed before pouring in the heavy cream, vanilla extract, and a pinch of salt, then whip on high for three minutes until it looks thick and luxurious.
- Assemble the cake:
- Level any domed cake layers with a serrated knife, place the first layer on your cake stand, spread an even layer of buttercream, repeat with the remaining layers, and frost the entire outside smoothly.
- Decorate with personality:
- Arrange fondant graduation caps, diplomas, edible gold pearls, or any decorations that match the graduates school colors, and pipe on their name or class year to make it unmistakably theirs.
 Save to Pinterest
 The moment that makes this recipe worth every dirty dish is watching the graduate see their name written on something you built from flour and butter and care. It becomes the center of the party, the thing everyone photographs before they dare cut into it.
What If You Want Chocolate Instead
Swap out three quarters of a cup of flour for an equal amount of unsweetened cocoa powder and proceed exactly as the recipe directs. The chocolate version tastes deeply rich without losing the tender crumb that makes this cake so special, and it pairs beautifully with the same vanilla buttercream for a striking contrast when you cut into it.
Serving and Pairing Ideas
This cake is sweet enough on its own but shines next to a glass of sparkling cider for younger graduates or champagne for the adults. I have also served it with fresh strawberries on the side, and the slight tartness cuts through the richness in a way that makes people go back for seconds without hesitation.
Making It Gluten Free
A good one to one gluten free flour blend works beautifully here, though you may notice the crumb is slightly more delicate, so handle the layers gently when assembling. Let the frosted cake chill in the refrigerator for thirty minutes before serving, because that set time helps everything hold together on the plate.
- Check your fondant and sprinkles labels carefully, because some commercial brands sneak in gluten containing starches.
- Let the cake sit at room temperature for twenty minutes before slicing so the buttercream softens back to its proper texture.
- Always make a small test cake first if you are baking for someone with serious dietary restrictions, just to be safe.
 Save to Pinterest
 Every graduation deserves a cake that tastes like someone cared enough to build something from scratch, and this one carries that kind of love in every single slice. Frost it imperfectly, decorate it boldly, and watch it disappear.
Recipe Questions & Answers
- → How do I keep the sponge moist?
-
Use room-temperature butter and eggs, avoid overmixing after adding flour, and alternate the flour with milk. Bake until a toothpick emerges clean and cool briefly in pans before transferring to a wire rack to retain moisture.
- → Can I use cake flour instead of all-purpose?
-
Yes. Cake flour produces a finer, tender crumb; reduce leavening slightly and fold gently to preserve the light texture.
- → How do I prevent domed cake tops?
-
Ensure even oven temperature, tap pans to release air, avoid overfilling, and rotate pans midway through baking. Level tops with a serrated knife or cake leveler once cooled.
- → What's the best way to get a smooth buttercream finish?
-
Beat butter until very soft, add sifted powdered sugar gradually, then incorporate cream and vanilla. Crumb-coat, chill, and apply a final coat; use an offset spatula and bench scraper for smooth sides.
- → How can I color buttercream for school colors?
-
Use gel or paste colorants a tiny amount at a time to avoid thinning the frosting. Knead colors thoroughly and refrigerate briefly if the buttercream becomes too soft to pipe or smooth.
- → What are storage and make-ahead tips?
-
Assemble and refrigerate a finished cake covered for up to 3 days; bring to room temperature before serving. You can bake layers and make buttercream ahead—wrap cooled layers tightly and assemble on the day of the event for best texture.
