 Save to Pinterest
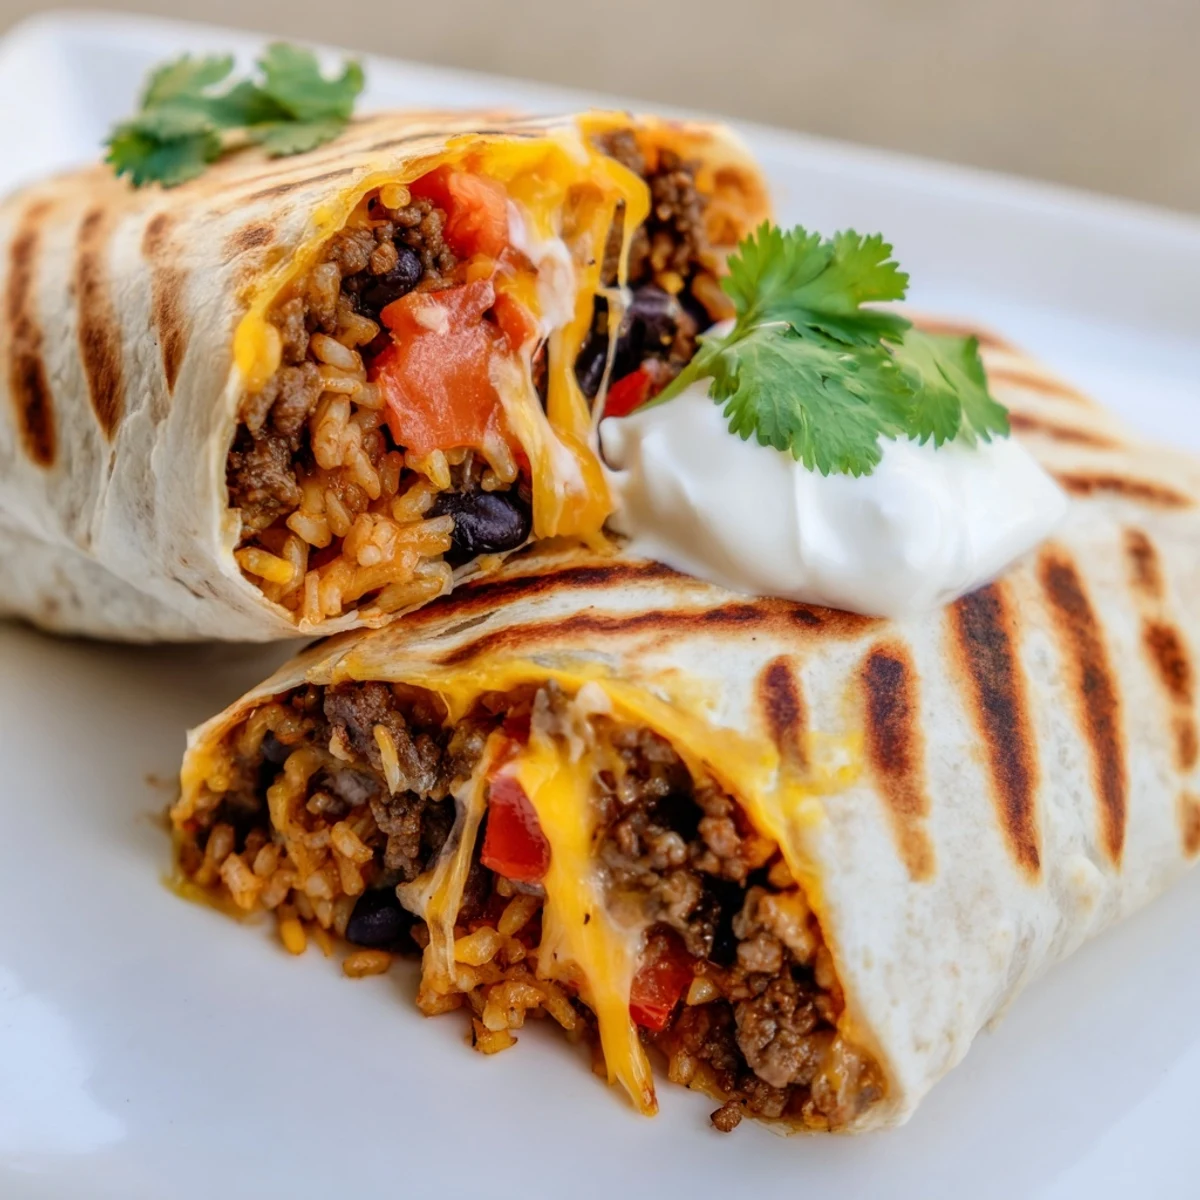
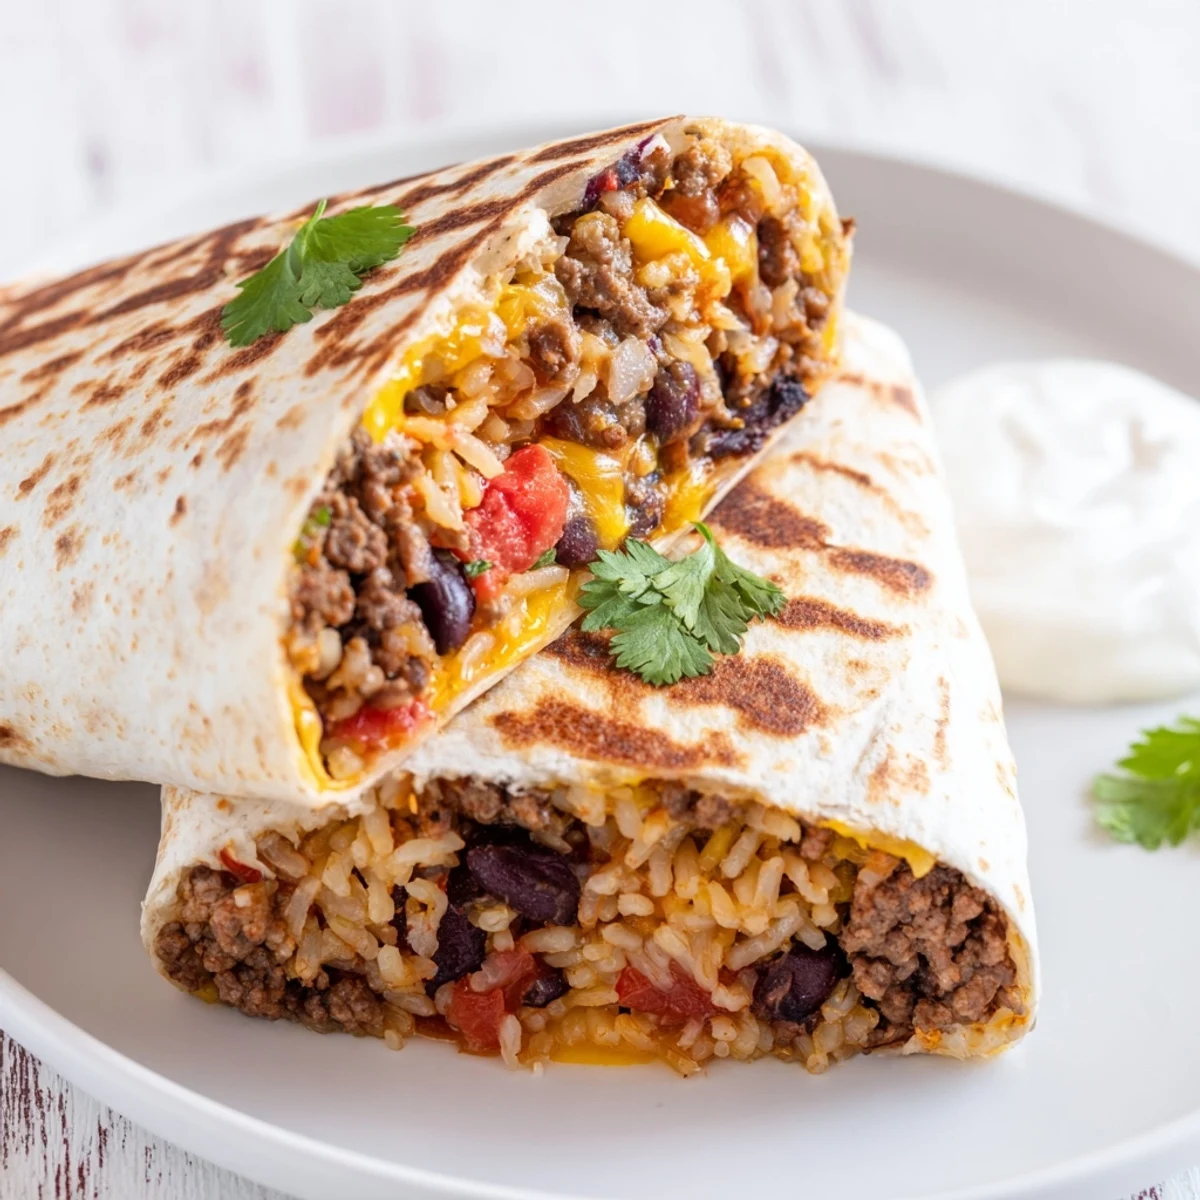
 This handheld masterpiece combines the best of both worlds—golden grilled cheese crunch meets burrito heartiness. Seasoned ground beef simmered with taco seasoning and tomato paste creates a savory base, layered with fluffy rice, black beans, fresh tomatoes, and creamy sour cream. The magic happens during grilling when butter sizzles against the tortilla, creating that signature golden crunch while cheddar and Monterey Jack melt into every bite. Ready in just 30 minutes, these customizable wraps offer endless variations from protein swaps to spice adjustments.
Standing in my tiny apartment kitchen at midnight, halfway through a failed attempt at homemade enchiladas, I started shoving leftover filling into a tortilla with whatever cheese I could find. That desperate, half-assembled experiment ended up better than anything I'd deliberately planned that week.
My roommate walked in, sleepy and confused, asking why I was grilling a burrito at 1 AM. One bite later and she was at the stove too, both of us standing there in our pajamas, burning our fingers on tortilla edges because we couldnt wait for them to cool down.
Ingredients
- Ground beef: I learned the hard way that 80/20 blend gives you enough fat to keep the filling juicy without making the tortilla soggy
- Taco seasoning: Homemade is great but a quality store-bought blend saves you ten minutes of measuring cumin and chili powder
- Tomato paste: This tiny ingredient deepens the beef flavor into something that actually tastes like it simmered for hours
- Flour tortillas: Large ones are non-negotiable here because you need that extra surface area for folding all the filling inside
- Both cheddar and Monterey Jack: Cheddar brings the sharp flavor while Monterey Jack melts into that gooey texture you want
- Butter: Softened butter spreads more evenly than melted and creates that golden crust worth waiting for
Instructions
- Build the beef filling:
- Cook your onions until they're completely soft, then add the garlic briefly so it doesn't turn bitter. Brown the beef thoroughly, breaking it into small pieces as it cooks, and stir in the seasoning, salt, pepper, and tomato paste with water to create a thick, flavorful base.
- Prepare your assembly station:
- Warm each tortilla in a dry pan for about 20 seconds per side just until pliable, then set up your fillings in bowls so you can work quickly. Cold tortilla tears when you fold them, and nobody wants filling leaking into their pan.
- Layer everything strategically:
- Start with rice in the center to create a base, then add your beef mixture, black beans, and diced tomato. Dollop sour cream and salsa on top, sprinkle with both cheeses, and finish with cilantro if you remembered to buy it.
- Fold like you mean it:
- Fold the sides in first, then roll from the bottom up, tucking the filling tightly as you go. A loose burrito will split open on the griddle, and that's a disappointment nobody should experience.
- Butter and grill:
- Spread softened butter over the exterior of each burrito, place them seam-side down in a hot skillet, and press gently with your spatula. Cook 2-3 minutes per side until golden brown and you can hear the cheese sizzling inside.
 Save to Pinterest
 That midnight experiment became our go-to whenever life felt overwhelming. There's something impossibly comforting about food that literally hugs you back, warm and golden and stuffed with everything you love.
Making It Your Own
Ground turkey works beautifully if you want something lighter, and honestly, I've made these with leftover roasted chicken and they were just as satisfying. The magic happens in the grilling, not the filling.
Heat Levels and Customizations
My sister adds pickled jalapeños inside hers, but I prefer keeping a bottle of hot sauce on the side so everyone can control their own destiny. You could also add sautéed peppers or corn if you want to stretch the filling.
The Perfect Sides
These burritos are filling enough to stand alone, but a simple green salad with lime dressing cuts through the richness beautifully. Sometimes I just serve them with extra salsa and call it dinner.
- Make extra beef filling and freeze it for next time
- Keep your tortillas covered with a clean towel while working so they don't dry out
- Let burritos rest for 2 minutes after grilling so the cheese sets slightly
 Save to Pinterest
 Sometimes the best discoveries happen when you're too hungry to follow proper recipes, too tired to measure, and just want something that tastes like a hug.
Recipe Questions & Answers
- → What makes this different from a regular burrito?
-
The grilling step creates a golden, crispy exterior similar to a grilled cheese sandwich, while the buttered tortilla develops that signature crunch you can't get from standard steaming or wrapping alone.
- → Can I make these ahead of time?
-
Prepare the beef filling up to 2 days in advance and store refrigerated. Assemble and grill just before serving for the crispest results—pre-assembled burritos may become soggy.
- → What's the best way to get extra crispy tortillas?
-
Press gently with a spatula while grilling and ensure your skillet is properly heated. A panini press works beautifully for even crisping on both sides simultaneously.
- → Can I freeze these for later?
-
Assemble uncooked burritos, wrap tightly in plastic, and freeze for up to 3 months. Thaw overnight in the refrigerator before grilling as directed.
- → What proteins work well as alternatives?
-
Ground turkey or chicken create lighter versions, while plant-based crumbles offer excellent vegetarian options. Adjust cooking time slightly for leaner meats to prevent drying.
- → How do I prevent the tortilla from tearing during rolling?
-
Warm tortillas until pliable, don't overfill the center, and fold sides in tightly before rolling. Room-temperature ingredients also help prevent sudden temperature changes that could split the tortilla.
