 Save to Pinterest
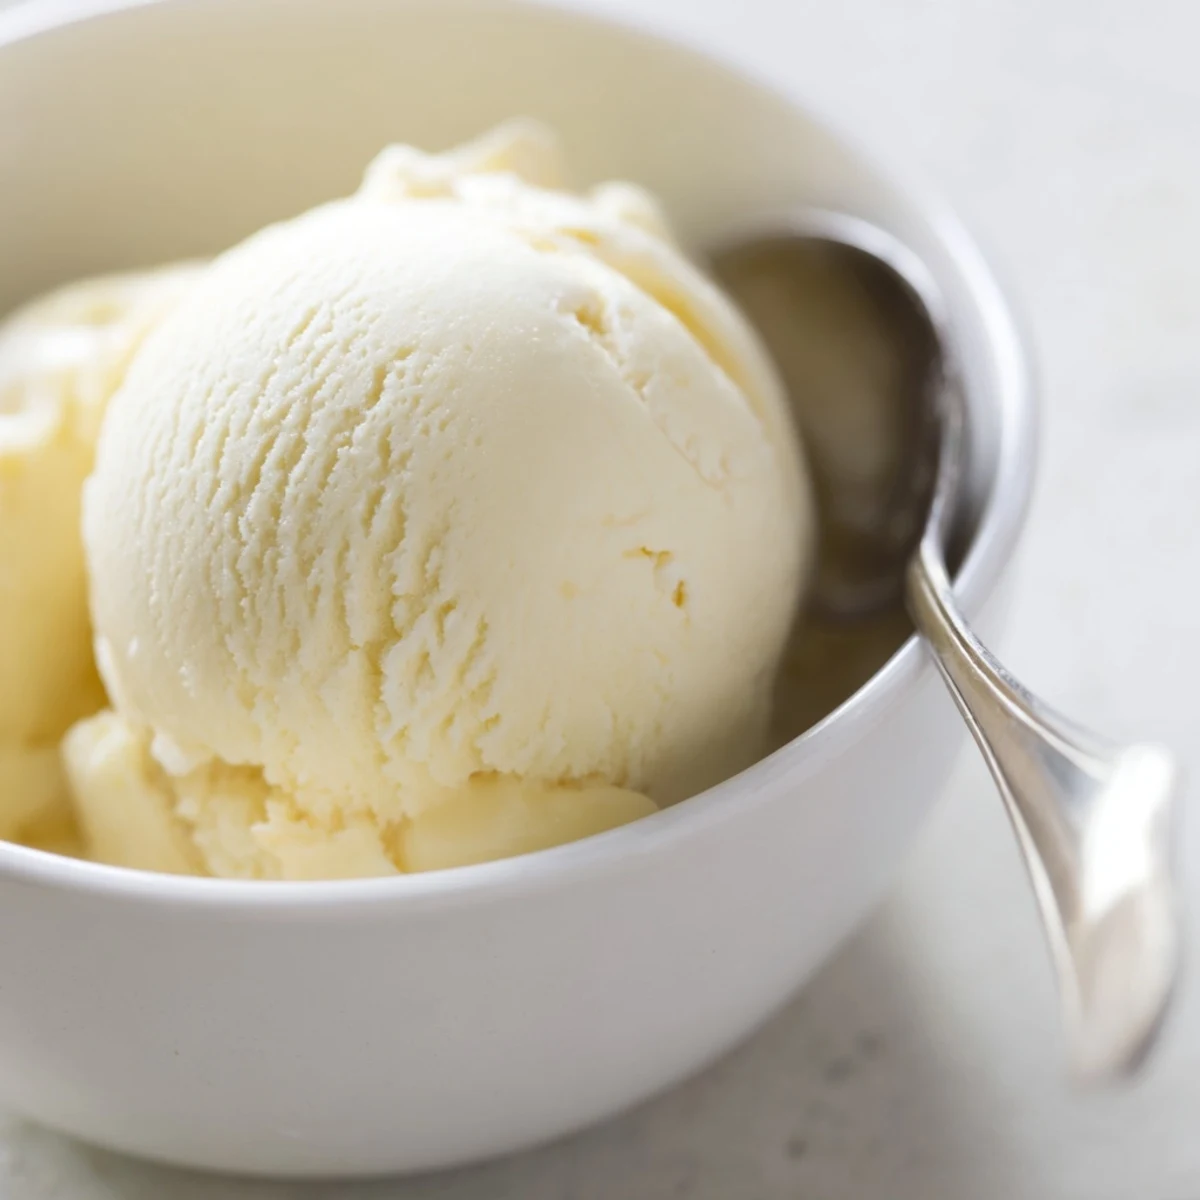
 Create your own creamy vanilla ice cream at home with this classic custard-based method. The process involves making a rich custard from heavy cream, whole milk, egg yolks, and pure vanilla extract. After heating and tempering the mixture, you'll strain and chill it for at least 4 hours before churning in an ice cream maker. The result is an incredibly smooth, luscious frozen dessert that rivals any premium store-bought version.
Once churned, freeze until firm for the perfect texture. This versatile base welcomes endless mix-ins like chopped chocolate, nuts, or fresh fruit. For chocolate lovers, simply whisk cocoa powder into the milk during the heating stage. Serve in bowls, cones, or as part of an elaborate sundae with your favorite toppings.
The summer my air conditioner broke was the summer I learned to make ice cream from scratch. Standing over a saucepan of steaming cream at 9 pm, sweat dripping down my back, I questioned every life choice that led me there. But that first spoonful, cold and velvety on my tongue, made me forget the heat entirely. I have never looked at a store bought pint the same way since.
I made a double batch for my neighbors daughters birthday party last July and watched sixteen kids go completely silent for the first time all afternoon. Their bowls were scraped clean before the cake was even cut. That small moment, a yard full of sticky, happy faces, is why I keep this recipe taped inside my pantry door.
Ingredients
- Heavy cream (2 cups): The fat content here is everything, it gives ice cream its luxurious mouthfeel, so do not substitute with half and half.
- Whole milk (1 cup): Balances the cream so the result is rich but not heavy, and whole milk matters because skim will leave you with iciness.
- Granulated sugar (3/4 cup): Sugar does more than sweeten, it lowers the freezing point and keeps the texture scoopable straight from the freezer.
- Egg yolks (5 large): These are your natural emulsifiers, creating that dense, creamy structure that makes custard style ice cream so special.
- Pure vanilla extract (1 tablespoon): Spend a little extra on real extract because the flavor carries the entire dessert and imitation vanilla will taste flat.
- Salt (1/4 teaspoon): Just a pinch makes every other flavor pop and keeps the sweetness from becoming one dimensional.
Instructions
- Heat the cream mixture:
- Pour the cream, milk, and half the sugar into your saucepan and set it over medium heat. Watch it closely, you want gentle steam rising from the surface but never a rolling boil, because scorched cream will ruin the whole batch.
- Prepare the yolk mixture:
- In a mixing bowl, whisk the egg yolks with the remaining sugar and salt until the color lightens and the mixture falls in thick ribbons from the whisk. This takes about two minutes of steady work and builds the foundation for your custard.
- Temper the yolks:
- Slowly pour the hot cream into the yolk mixture in a thin stream while whisking constantly, which gently brings the eggs up to temperature without scrambling them. Then pour everything back into the saucepan, scraping the bowl clean.
- Cook the custard:
- Stir continuously over low heat with a wooden spoon, sweeping the bottom and corners of the pan. When the custard coats the back of the spoon and you can draw a clean line through it with your finger, it is ready.
- Add vanilla and strain:
- Take the pan off the heat and stir in the vanilla extract. Pour the custard through a fine mesh sieve into a clean bowl to catch any tiny cooked egg bits, a step you will be grateful for later.
- Chill thoroughly:
- Let the custard cool to room temperature, then press plastic wrap directly against the surface to prevent a skin from forming. Refrigerate for at least four hours or, better yet, leave it overnight for the deepest flavor.
- Churn in your ice cream maker:
- Pour the cold custard into your machine and let it spin according to the manufacturers directions, usually twenty to twenty five minutes. You are looking for a soft serve consistency that holds its shape when you scoop it.
- Freeze until firm:
- Transfer the churned ice cream to a freezer safe container, smoothing the top flat. Freeze for at least two hours so it sets into that perfect scoopable firmness.
 Save to Pinterest
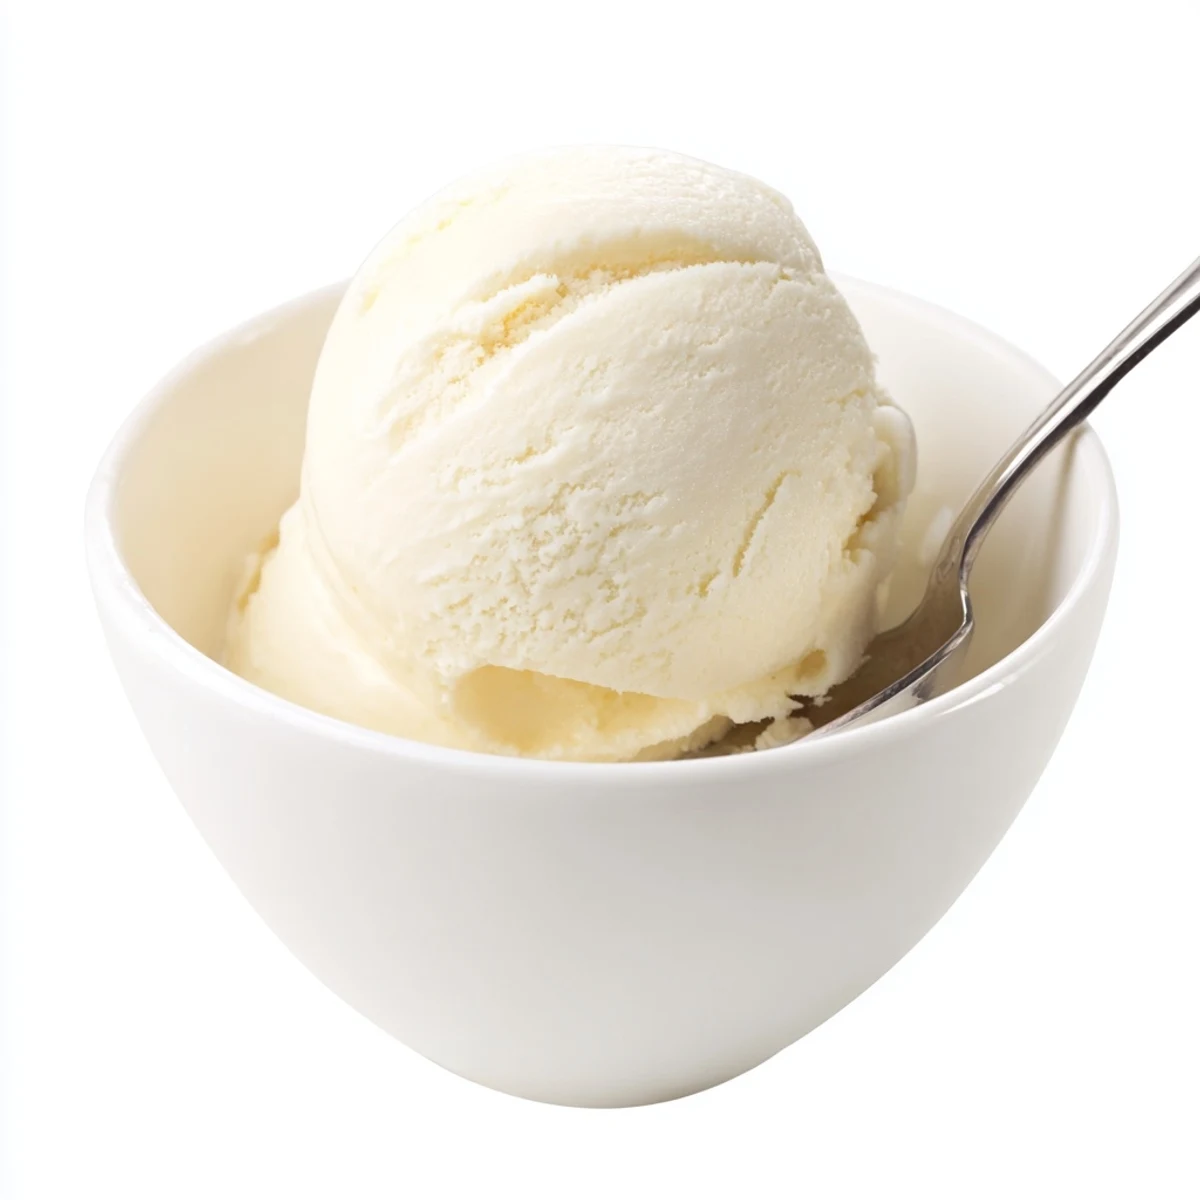
 One January evening, desperate for a taste of summer, I pulled a forgotten container of this from the back of the freezer and ate it standing at the counter in my winter coat. It tasted like a promise that warmer days were coming.
Mix In Ideas That Change Everything
Fold in your extras right after churning while the ice cream is still soft and pliable, so they distribute evenly without turning to mush. Chopped dark chocolate, toasted pecans, caramel swirls, or crushed cookies are all glorious starting points.
What If You Do Not Own An Ice Cream Maker
You can pour the chilled custard into a shallow dish, freeze it for forty five minutes, and stir vigorously with a fork to break up ice crystals. Repeat this process every thirty minutes for about three hours and you will get remarkably close to machine churned results.
Storing And Serving Without Disappointment
Homemade ice cream lacks the commercial stabilizers that keep store brands soft, so it firms up considerably in the freezer. Let it sit at room temperature for five to ten minutes before scooping and it will reward you with that fresh churned texture all over again.
- Press a piece of parchment paper against the surface before lidding to prevent ice crystals from forming on top.
- Consume within two weeks for the best flavor and texture, because after that it starts to deflate.
- Never refreeze ice cream that has fully melted, as the texture will turn grainy and unpleasant.
 Save to Pinterest
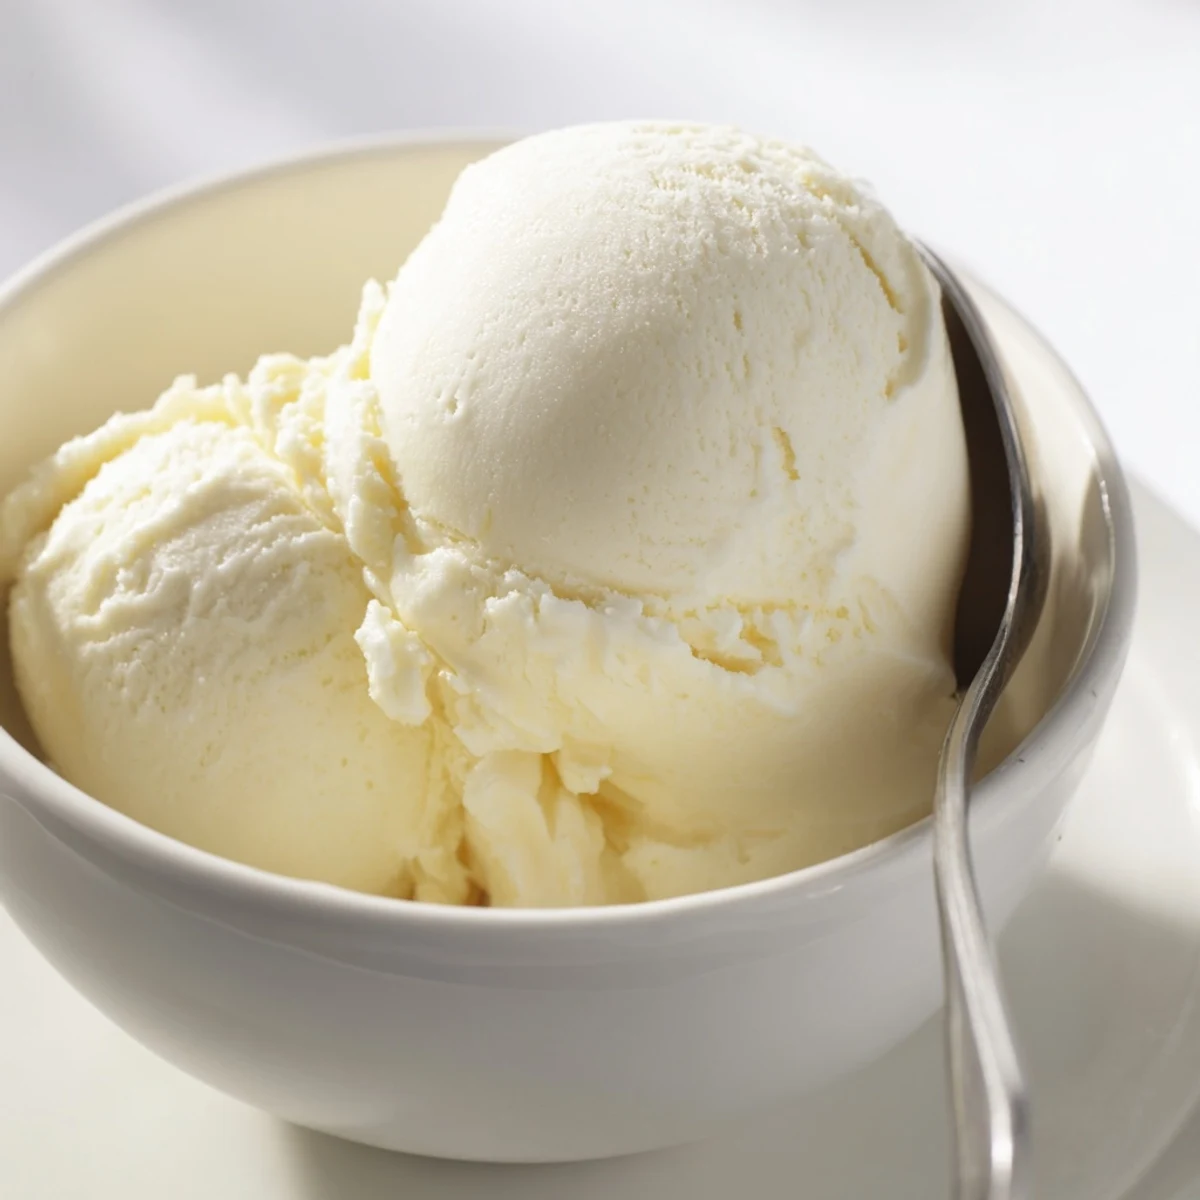
 There is something quietly magical about transforming a few humble ingredients into something that makes people close their eyes and smile with the first bite. Keep this recipe close, because once you share it, everyone will ask for it again.
Recipe Questions & Answers
- → How long does homemade ice cream keep in the freezer?
-
Homemade ice cream stays fresh for about 1-2 weeks when stored in an airtight, freezer-safe container. For the best texture and flavor, enjoy within the first week. Ice crystals may form over time, but a quick stir before serving helps restore creaminess.
- → Can I make this without an ice cream maker?
-
Yes, though the texture will be slightly different. Pour the chilled custard into a shallow container and freeze. Every 30 minutes for the first 3 hours, remove and stir vigorously with a fork or whisk to break up ice crystals. This manual churning helps create a smoother finish.
- → Why does my custard sometimes curdle?
-
Curdling occurs when the eggs cook too quickly. Always temper your yolks by gradually adding hot liquid while whisking constantly. Keep the heat low and stir continuously during the final cooking stage. Remove from heat once the mixture coats the back of a spoon, around 170-175°F.
- → What's the purpose of chilling the custard before churning?
-
Chilling the custard for at least 4 hours (or overnight) allows the flavors to meld and the mixture to reach optimal temperature for churning. Warm custard won't freeze properly in the machine, resulting in icy, inconsistent texture rather than the desired creamy smoothness.
- → How can I make this dairy-free?
-
Substitute full-fat coconut milk or cashew cream for the dairy products. For the egg yolks, use cornstarch or arrowroot powder as a thickener. Keep in mind that the texture and flavor profile will change slightly, but you'll still achieve a delicious frozen dessert.
- → When should I add mix-ins like chocolate or nuts?
-
Add chunky mix-ins during the last 2-3 minutes of churning so they distribute evenly without breaking down too much. For softer additions like fruit purees or sauces, fold them in gently after churning completes, right before transferring to your freezing container.
