 Save to Pinterest
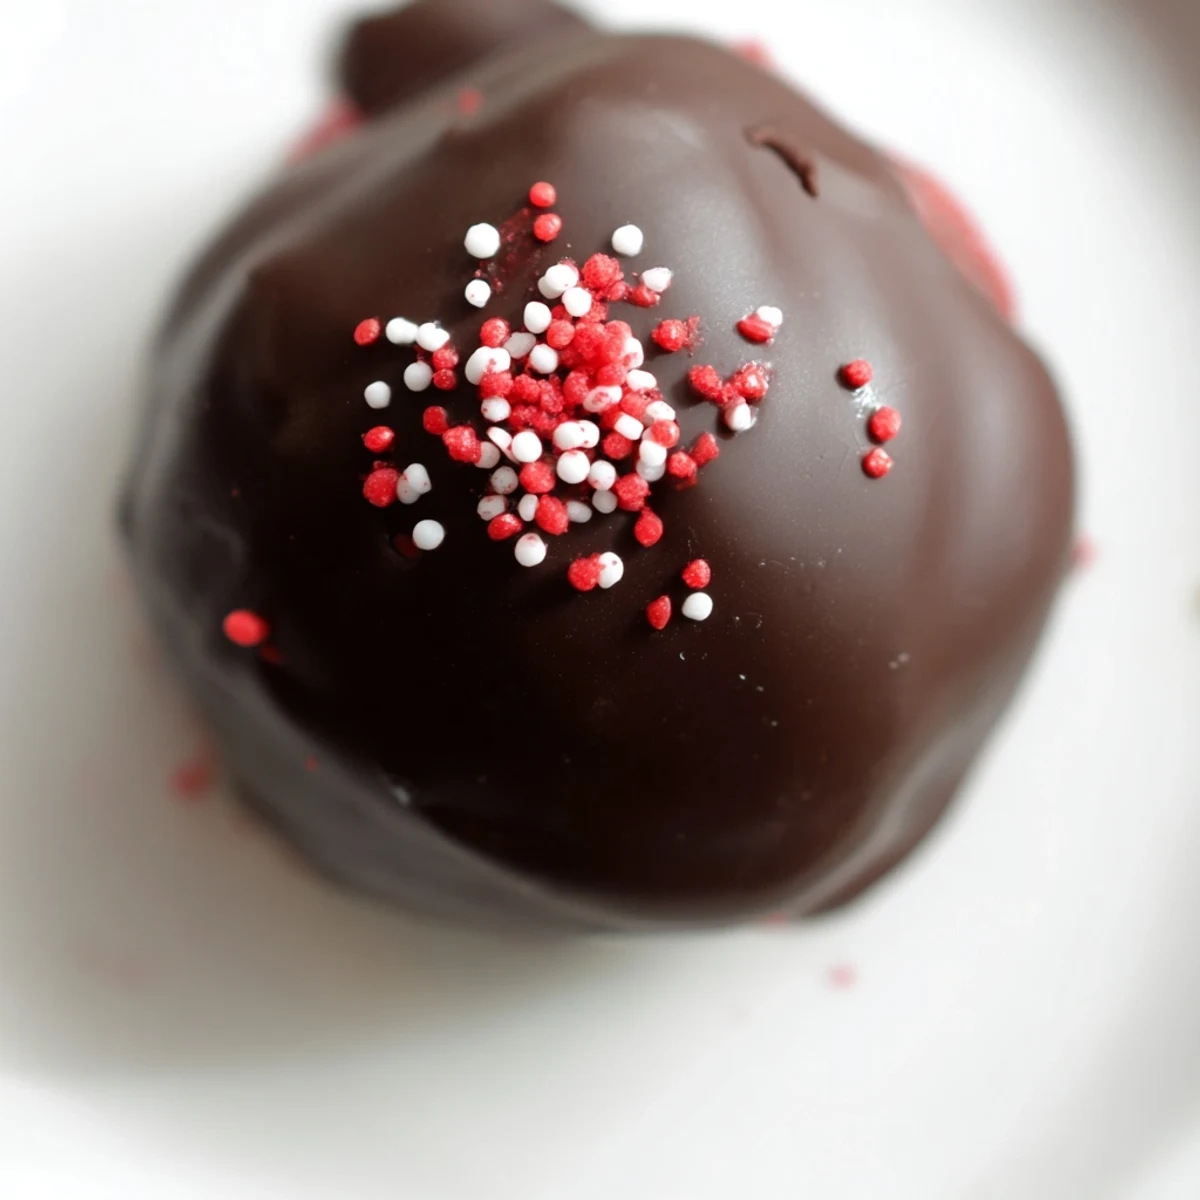
 These indulgent red velvet cheesecake balls combine the best of both worlds—rich, moist red velvet cake swirled with creamy cheesecake filling, all enrobed in a luscious chocolate coating. Each bite delivers the perfect balance of sweet cream cheese tang and chocolate-dipped cake goodness.
The process couldn't be simpler: bake a basic red velvet cake, crumble it once cooled, then mix with a sweetened cream cheese blend. Roll into uniform balls, chill until firm, then dip in melted chocolate. The result is an impressive dessert that looks like you spent hours crafting them.
These treats are ideal for entertaining—make them ahead, store them in the fridge, and serve whenever guests arrive. The chocolate shell keeps them fresh while adding a satisfying snap. Customize with white, dark, or even ruby chocolate coatings, and add sprinkles for festive occasions.
My kitchen counter looked like a crime scene the first time I made these. Red velvet crumbs everywhere, chocolate smeared on my faucet, and somehow a streak of cream cheese on my elbow. But those little truffle like bites sitting on parchment paper, glossy and perfect, made every messy second worth it.
I brought a tray of these to my neighbors holiday potluck last December and watched three people skip the entire dessert table just to hover near them. Someone asked which bakery I ordered from, and I honestly considered lying.
Ingredients
- All purpose flour (1 1/4 cups): Spoon and level it rather than scooping directly from the bag to avoid dense, heavy cake.
- Granulated sugar (3/4 cup): This modest amount keeps the cake sweet but balanced against the rich coating.
- Unsweetened cocoa powder (2 tbsp): Just enough to give red velvet its signature subtle chocolate depth without overpowering the flavor.
- Baking soda (1/2 tsp): Gives the cake a gentle lift so it stays tender when crumbled into balls.
- Salt (1/4 tsp): A small pinch sharpens every other flavor in the cake layer.
- Buttermilk, room temperature (1/2 cup): The acidity is what makes red velvet soft and gives it that slight tang.
- Unsalted butter, softened (1/2 cup): Room temperature butter blends smoothly into the batter without leaving greasy pockets.
- Large eggs, room temperature (2): Cold eggs can seize the butter, so pull them out early.
- Vanilla extract (1 tsp): Use real extract here, not imitation, because it carries the flavor profile.
- Red food coloring (1 tbsp): Gel coloring works best for vivid color without thinning the batter.
- Cream cheese, softened (8 oz): Full fat cream cheese creates the lushest, most scoopable filling.
- Powdered sugar (1/4 cup): Sweetens the filling without adding any grainy texture.
- Vanilla extract (1/2 tsp): A second dose in the filling layer makes the cheesecake flavor bloom.
- White or dark chocolate (10 oz): Melting wafers are foolproof, but good quality chopped chocolate tastes richer.
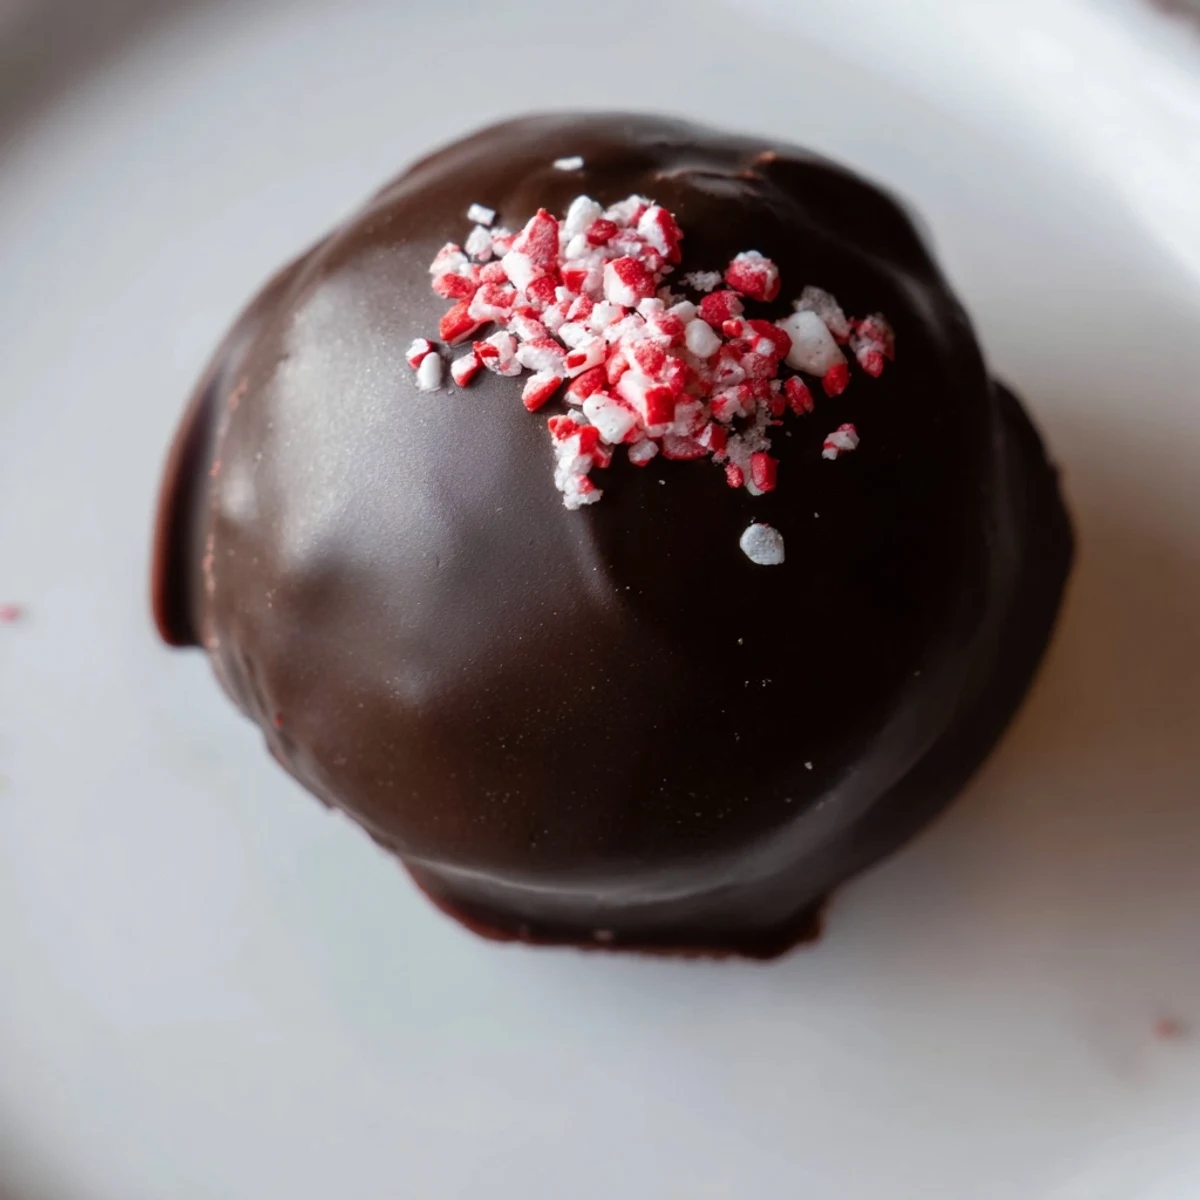
- Red or white sprinkles (optional): A quick finishing touch that makes them look party ready in seconds.
Instructions
- Bake the red velvet cake:
- Preheat your oven to 350 degrees F and grease an 8 by 8 inch pan lined with parchment. Whisk the flour, sugar, cocoa powder, baking soda, and salt in one bowl, then beat the buttermilk, butter, eggs, vanilla, and food coloring in another. Fold the wet into the dry until just combined and pour into the pan. Bake 18 to 20 minutes until a toothpick slides out clean, then cool completely.
- Whip the cheesecake filling:
- Beat the cream cheese, powdered sugar, and vanilla together until perfectly smooth and lump free. If the mixture feels too soft to hold shape, pop it in the fridge for 15 minutes.
- Build and shape the balls:
- Crumble the cooled cake into a large bowl and add the cheesecake mixture, working it together with your hands until it forms a cohesive dough. Roll into 1 inch balls and set them on a parchment lined sheet. Freeze for a full hour so they hold their shape during dipping.
- Dip in chocolate:
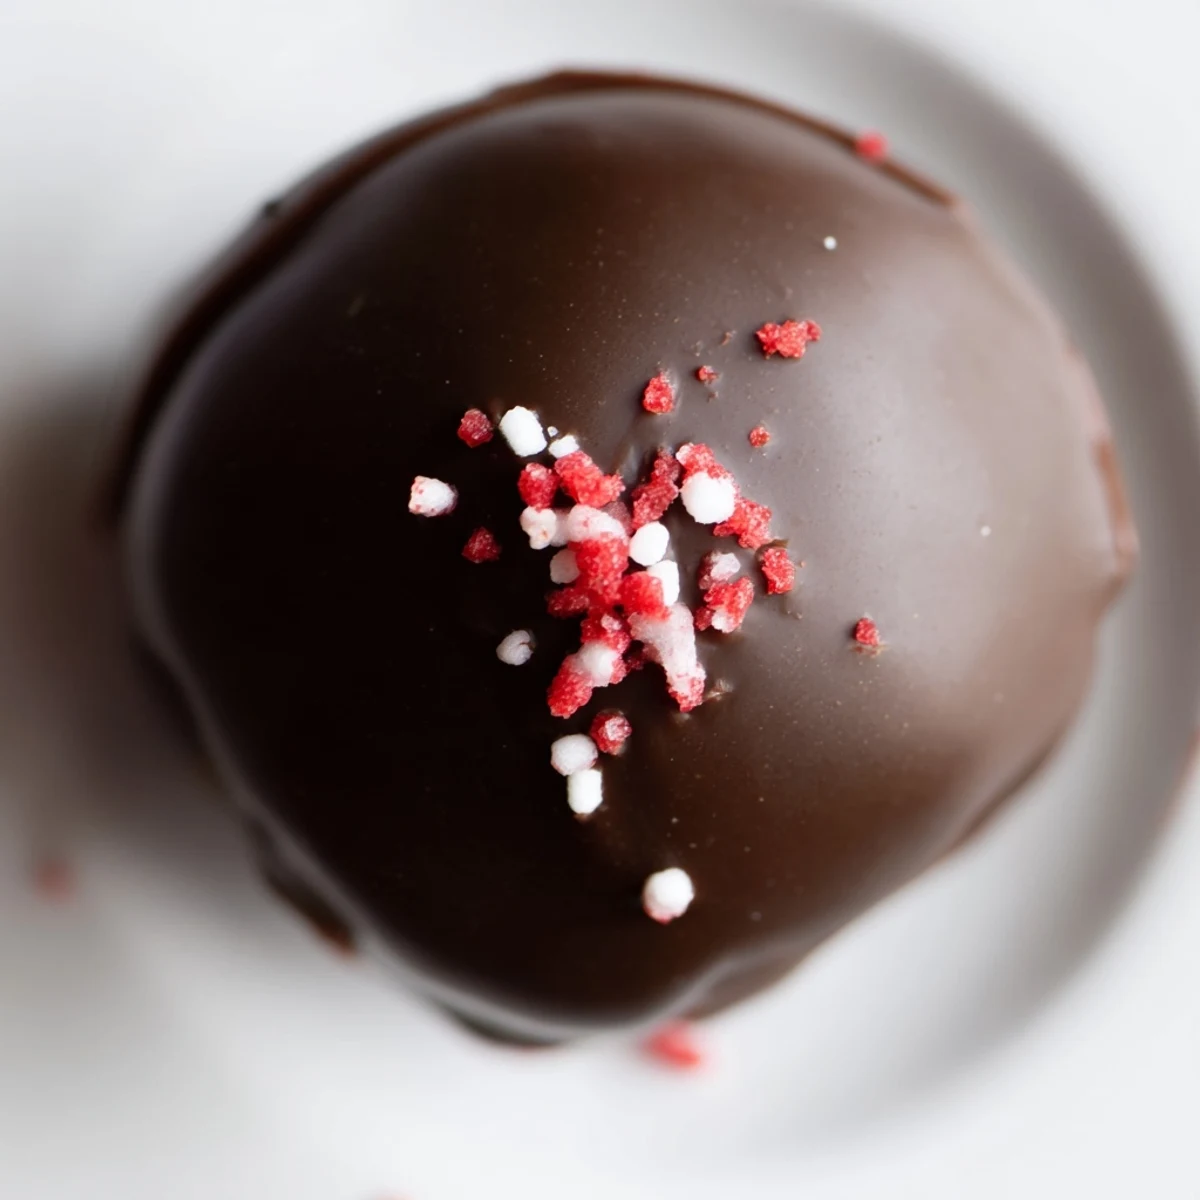
- Melt the chocolate in 20 second bursts in the microwave, stirring between each round until silky. Drop a frozen ball in, roll it gently with a fork to coat all sides, and lift it out, tapping off the excess. Return to parchment and add sprinkles immediately before the shell sets.
- Let them set:
- Leave the coated balls at room temperature or refrigerate until the chocolate hardens completely. Serve them chilled or let them sit out for a few minutes for the best texture.
 Save to Pinterest
 The moment that matters most is watching someone bite into one of these and pause mid conversation, eyes closed, completely derailed by how good it tastes.
Choosing Your Chocolate Coating
White chocolate gives a creamy sweetness that mirrors the cheesecake layer, while dark chocolate adds a sophisticated contrast that cuts through the richness. I have also tried ruby chocolate on a whim and the slightly berry tang was an unexpected delight. Use whatever makes you happy, because all three versions disappear at the same speed.
Make Ahead and Storage
These balls are the ultimate make ahead dessert because they actually taste better after a night in the fridge when the flavors settle and the chocolate shell fully hardens. Store them in a single layer in an airtight container with parchment between layers to prevent sticking. They hold well in the freezer for up to a month, though mine have never lasted that long.
Fun Variations to Try
Once you master the basic recipe, the possibilities open up in surprising ways. A splash of Bailey's or Chambord in the cheesecake mixture turns these into an elegant adult dessert worth serving at a dinner party. You can also roll the finished balls in crushed pistachios, toasted coconut, or crushed graham crackers instead of sprinkles.
- Try adding a teaspoon of espresso powder to the cake batter for a mocha red velvet twist.
- Swap the vanilla extract in the filling for almond extract to create a subtle marzipan note.
- Always taste test one before serving guests to make sure the balance is right.
 Save to Pinterest
 These little bites have a way of turning an ordinary afternoon into something that feels like a celebration. Share them generously, but maybe save a few in the back of the fridge first.
Recipe Questions & Answers
- → How far in advance can I make these cheesecake balls?
-
You can prepare these up to a month in advance. After dipping in chocolate, store them in an airtight container in the freezer for up to 30 days or refrigerate for up to one week. They actually develop better flavor after a day or two as the flavors meld together.
- → What's the best chocolate for coating?
-
White chocolate creates the prettiest contrast with the red velvet, while dark chocolate offers a sophisticated bittersweet balance. Melting wafers or coating chocolate work best as they're designed to set smoothly without tempering. Avoid chocolate chips as they contain stabilizers that make coating difficult.
- → Can I use store-bought cake instead of baking from scratch?
-
Absolutely! A boxed red velvet cake mix works perfectly here. Simply prepare according to package directions in an 8x8 or 9x9 pan, cool completely, then proceed with crumbling and mixing with the cheesecake filling. No one will know the difference once they're coated in chocolate.
- → Why do my balls fall apart when dipping?
-
This usually happens if the mixture isn't cold enough or the ratio of cake to cheesecake is off. Ensure you've frozen the formed balls for at least one hour before dipping. If the mixture feels too soft, add more cake crumbs until it holds its shape when rolled. The freezing step is crucial for clean dipping.
- → Can I make these without food coloring?
-
Yes! While the classic red hue is part of the appeal, the flavor comes from the cocoa and buttermilk. You'll have a more subtle brownish-pink color naturally from the cocoa, but they'll taste just as delicious. Consider calling them 'velvet cheesecake balls' and letting the chocolate coating be the star visually.
