 Save to Pinterest
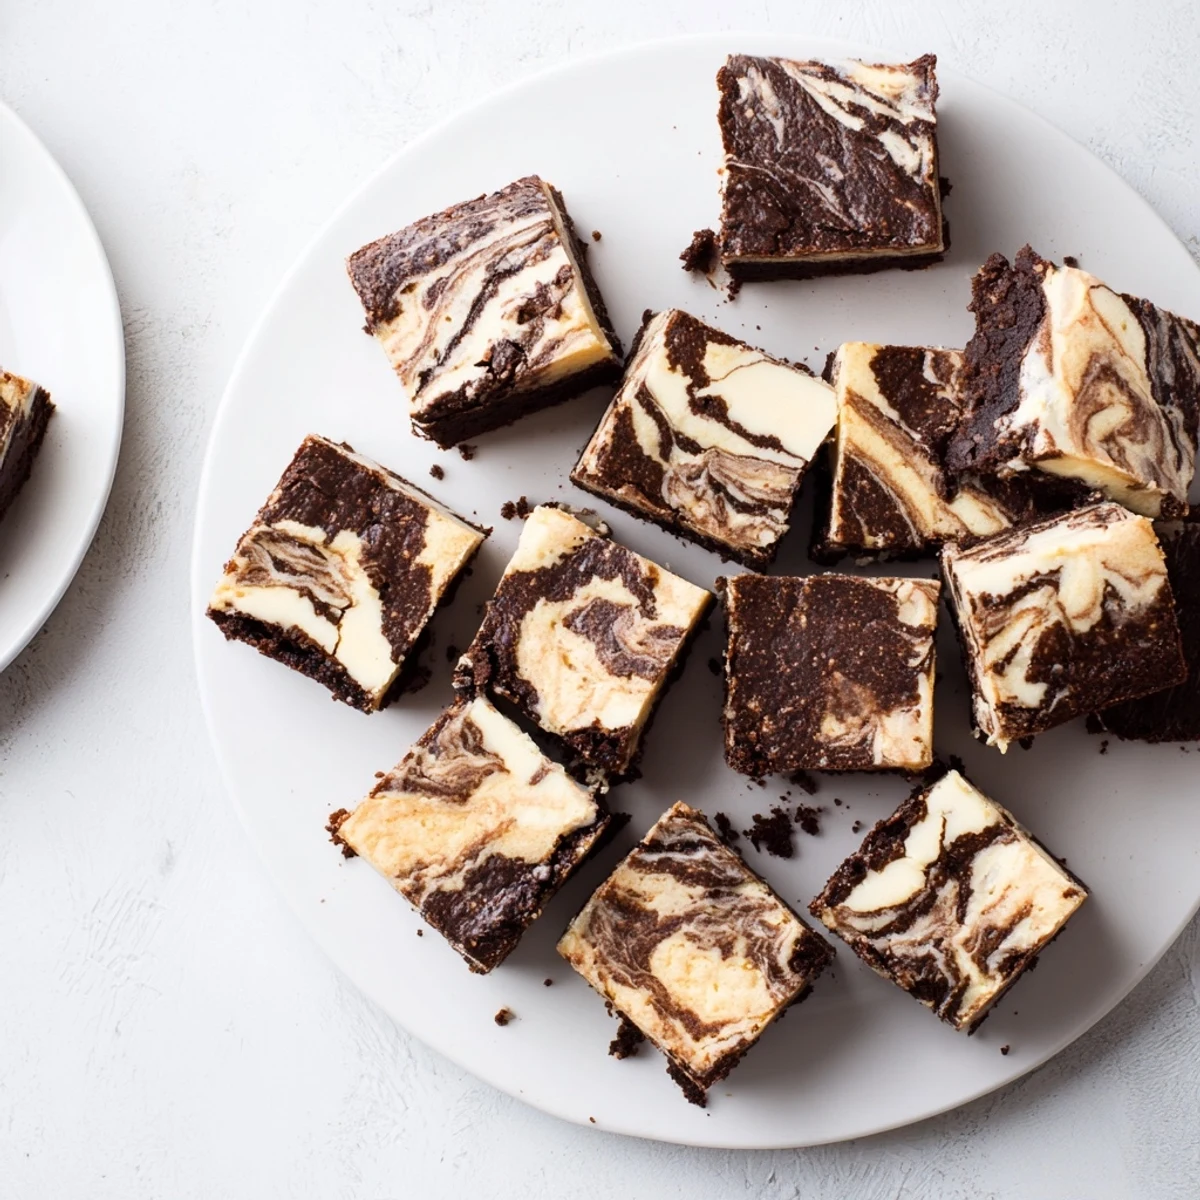
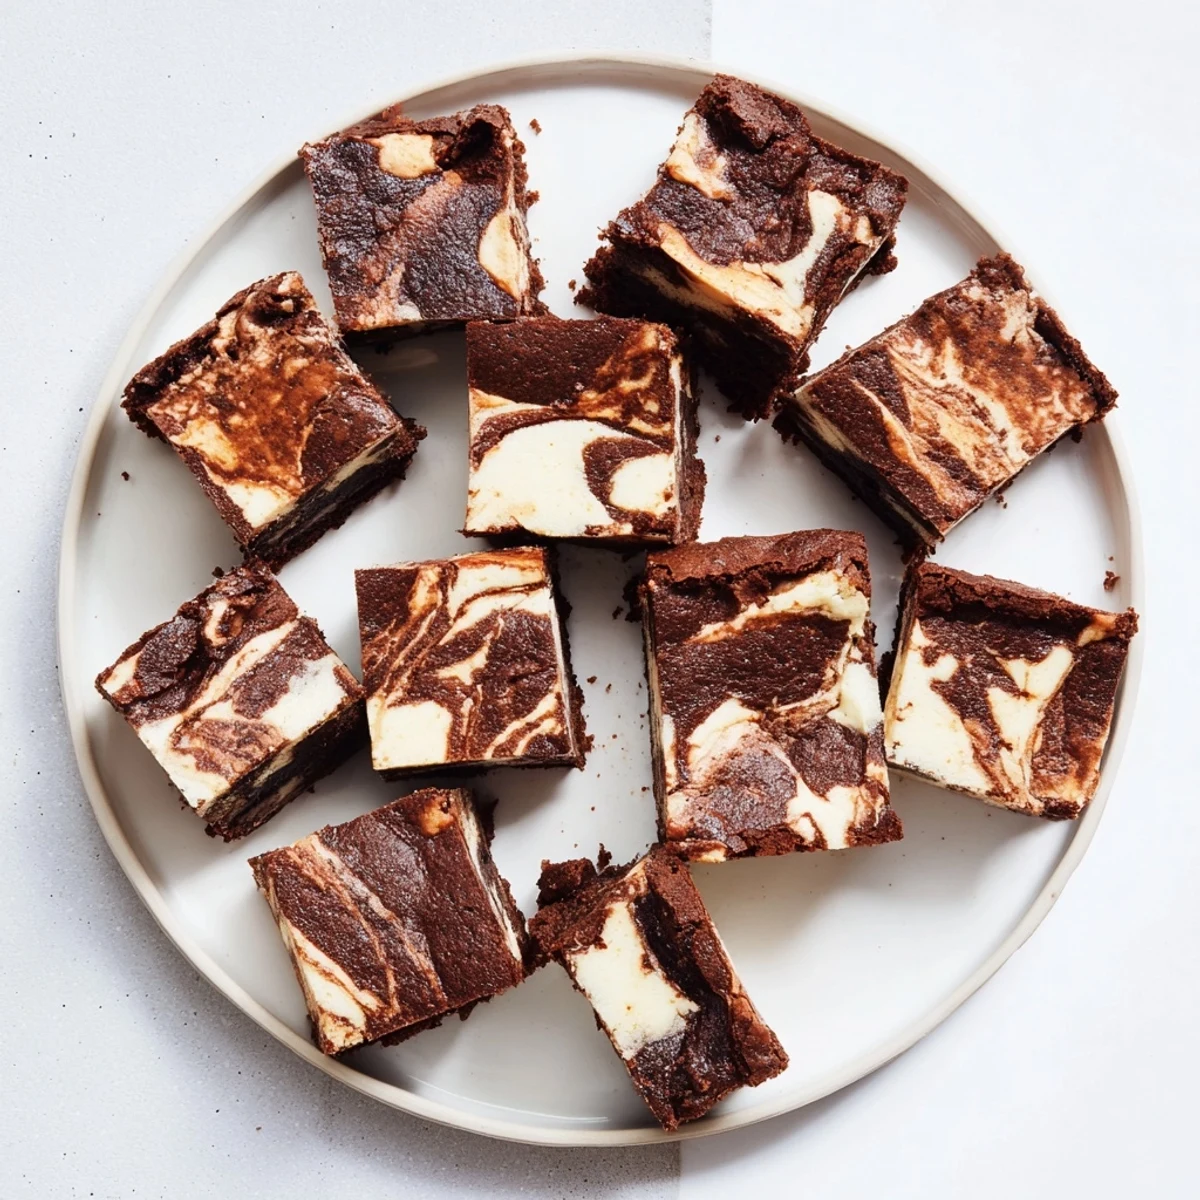
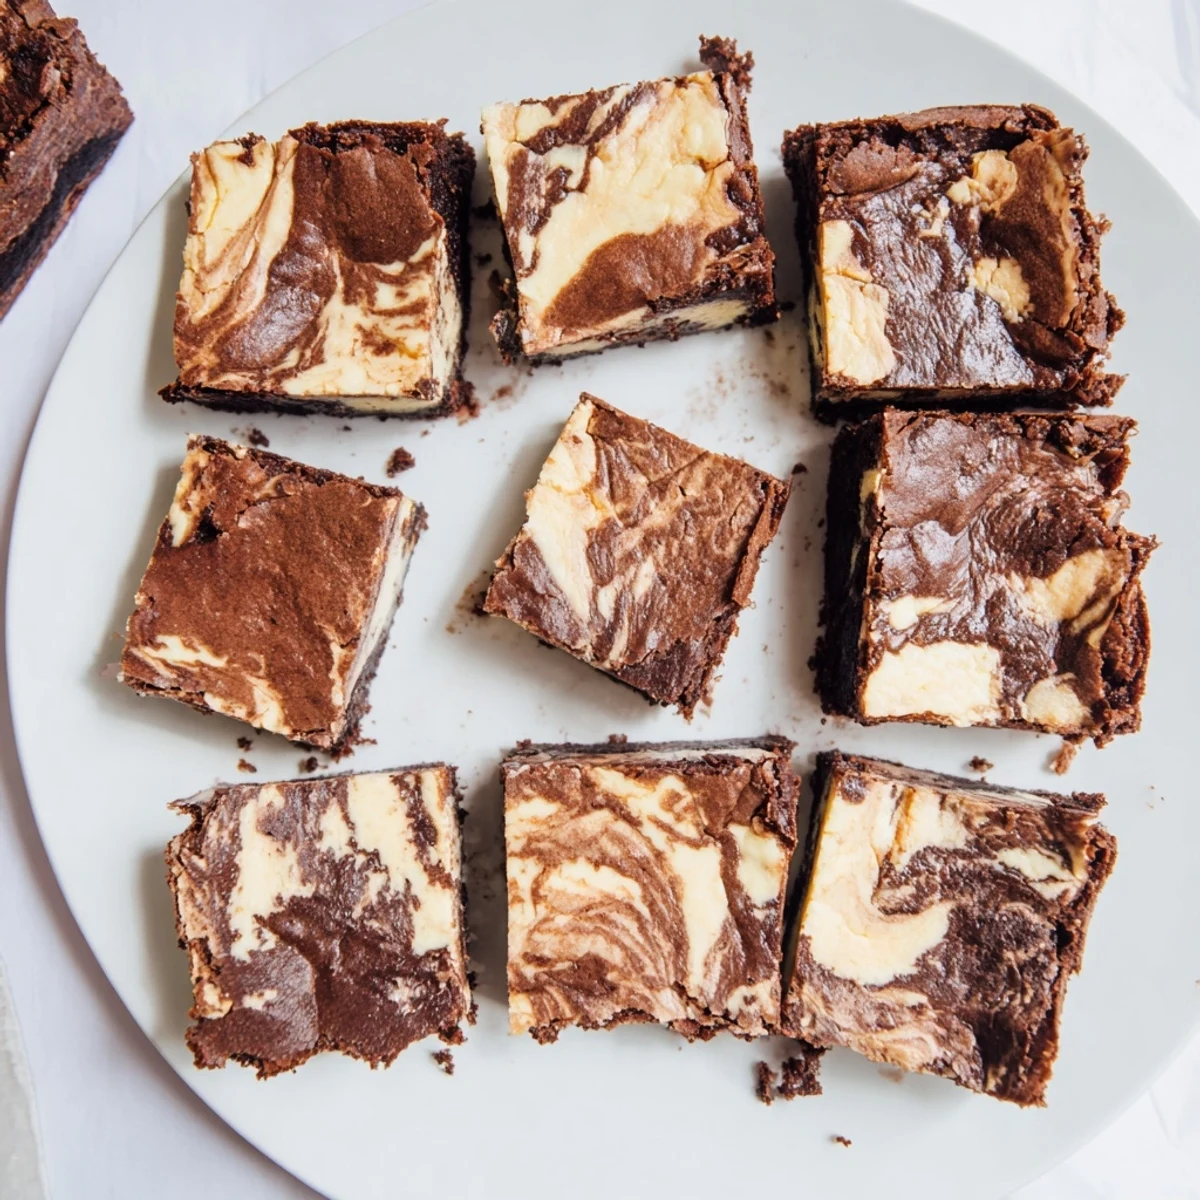
 These indulgent bars combine the best of both worlds: fudgy, chocolatey sourdough brownies layered with creamy cheesecake and swirled together for beautiful marbled slices. The sourdough starter adds a subtle tang that cuts through the richness, while the dark chocolate creates that perfectly dense, chewy texture we love in brownies.
The process comes together in under an hour, with most of that hands-off baking time. You'll start by melting butter and chocolate, whisking in eggs and your sourdough starter (active or discard both work beautifully), then folding in just enough flour for that signature fudgy texture.
The cheesecake layer couldn't be simpler—just cream cheese beaten smooth with sugar, egg, and vanilla. Spread it over the brownie base, dollop with reserved batter, swirl with a knife, and bake until the center is just set. After cooling and chilling, you'll have 16 perfectly portioned bars that balance tangy cream cheese with deep chocolate flavor.
The rain was hammering against the kitchen window the afternoon I dumped sourdough discard into brownie batter on a whim, half expecting a disaster and half hoping for magic. What came out of the oven was something I had not planned for: a fudgy, tangy slab of chocolate that tasted like it had been made by someone who actually knew what they were doing. My roommate stood in the doorway with a fork before the pan had even cooled, and that was the moment these bars earned a permanent spot in my rotation. They have been ruining my peace and quiet ever since.
I brought a tray of these to a potluck once and watched three people argue over the last bar while I pretended to be very interested in the dip someone brought. The swirl on top looked almost too pretty to cut into, but the moment a knife went through that cheesecake layer, all bets were off. Someone asked me if I had trained as a pastry chef, and I laughed so hard I nearly dropped the spatula.
Ingredients
- Unsalted butter (115 g): Use good quality butter here because it carries the entire base, and you will taste the difference.
- Dark chocolate (120 g), chopped: Go for something around 70 percent cacao for a deep, grownup flavor that balances the sweetness.
- Granulated sugar (150 g for brownies): This might seem like a lot but the tang of the sourdough and richness of the chocolate need it.
- Large eggs (2 for brownies, 1 for cheesecake): Room temperature eggs blend more smoothly into both batters.
- Vanilla extract (2 tsp total): Split between the brownie batter and the cheesecake layer so both components sing.
- Sourdough starter (90 g, active or discard): This is the wildcard that makes these bars unforgettable, adding moisture and a gentle acidity.
- All-purpose flour (65 g): Keep it minimal for a dense, fudgy texture rather than a cakey one.
- Salt (1/4 tsp): Just enough to sharpen the chocolate without announcing itself.
- Cream cheese (225 g), softened: Leave it out for at least an hour so it beats smooth without lumps.
- Granulated sugar (50 g for cheesecake): A restrained amount that lets the tang of the cream cheese come through.
Instructions
- Set the stage:
- Preheat your oven to 175 degrees Celsius and line a 20 by 20 centimeter pan with parchment, leaving the sides hanging over like little handles for later.
- Melt and mingle:
- Gently melt the butter and chocolate together in a saucepan over low heat, stirring until the mixture looks glossy and impossibly smooth.
- Build the brownie batter:
- Let the chocolate cool a touch, then whisk in the sugar and eggs one at a time before folding in the vanilla, sourdough starter, flour, and salt until everything is just combined.
- Whip the cheesecake layer:
- Beat the softened cream cheese with sugar until silky, then add the egg and vanilla and keep beating until the mixture is creamy and lump free.
- Layer and swirl:
- Spread most of the brownie batter in the pan, spoon the cheesecake on top, dollop the reserved brownie batter over that, and drag a skewer through in loose figure eights.
- Bake and chill:
- Bake for 30 to 35 minutes until the center barely wobbles and a toothpick comes out with moist crumbs, then cool completely and chill for at least an hour before slicing.
 Save to Pinterest
 There is something deeply satisfying about pulling that chilled slab from the fridge and cutting it into perfect squares, each one marbled differently like a tiny edible fingerprint. I always eat the corner piece first because the edges are slightly chewier, and I have never once felt guilty about it.
Getting the Swirl Right
The swirl is where patience pays off in a way that feels almost meditative, and I learned the hard way that rushing it turns everything into a muddy mess. Use a thin skewer rather than a wide knife, and trace loose, flowing patterns instead of tight ones. Stop while you are ahead because overworking the batter blends the layers together instead of keeping them distinct.
Working with Sourdough Discard
If you maintain a sourdough habit, this recipe is the perfect excuse to use up discard that would otherwise sit in a jar smelling increasingly sad. The older the discard, the tangier the bars will be, so adjust based on how much pucker you enjoy. Freshly fed starter gives a milder flavor that lets the chocolate dominate.
Storing and Serving
These bars keep remarkably well in the refrigerator for up to five days, and I actually prefer them cold because the cheesecake layer firms up into something almost truffle like.
- Wrap individual bars in parchment if you need to transport them without everything sticking together.
- A dusting of cocoa powder on top before serving makes them look like they came from a bakery case.
- Let them sit at room temperature for about ten minutes before eating if you prefer a softer texture.
 Save to Pinterest
 Every time I make these bars, someone asks for the recipe, and I always hesitate for a dramatic pause before admitting the secret is leftover sourdough starter. They are messy, indulgent, and absolutely worth every crumb on the cutting board.
Recipe Questions & Answers
- → Can I use unfed sourdough discard?
-
Absolutely! Both active starter and discard work perfectly in these bars. The discard actually develops a more pronounced tangy flavor that pairs beautifully with the rich chocolate and creamy cheesecake layers.
- → How do I know when they're done baking?
-
The bars are ready when the center is just set and a toothpick inserted comes out with a few moist crumbs. The cheesecake layer should still have a slight jiggle but not look liquid. Overbaking will result in a dry, crumbly texture instead of that desired fudgy consistency.
- → Why do I need to chill before cutting?
-
Chilling for at least one hour allows the cheesecake layer to fully set and the flavors to meld. This step makes cutting clean, neat squares much easier and improves the overall texture, giving you that perfect contrast between creamy cheesecake and dense brownie.
- → Can I add mix-ins to the brownie batter?
-
Certainly! Chocolate chips, chopped nuts (walnuts or pecans work well), or even a tablespoon of espresso powder can be folded into the brownie batter. Just avoid adding too much, as it may affect the swirling pattern and baking time.
- → How should I store these bars?
-
Keep refrigerated in an airtight container for up to 5 days. The cream cheese requires refrigeration for food safety. These bars actually taste even better on day two as the flavors continue to develop. You can also freeze them for up to 3 months, wrapped individually in plastic and placed in a freezer bag.
- → Can I double this recipe for a 9x13 pan?
-
Yes, doubling the ingredients works perfectly for a 9x13 inch pan. You may need to increase the baking time by 5-10 minutes, but start checking at the original 30-minute mark. The larger pan will yield approximately 24 bars instead of 16.
