 Save to Pinterest
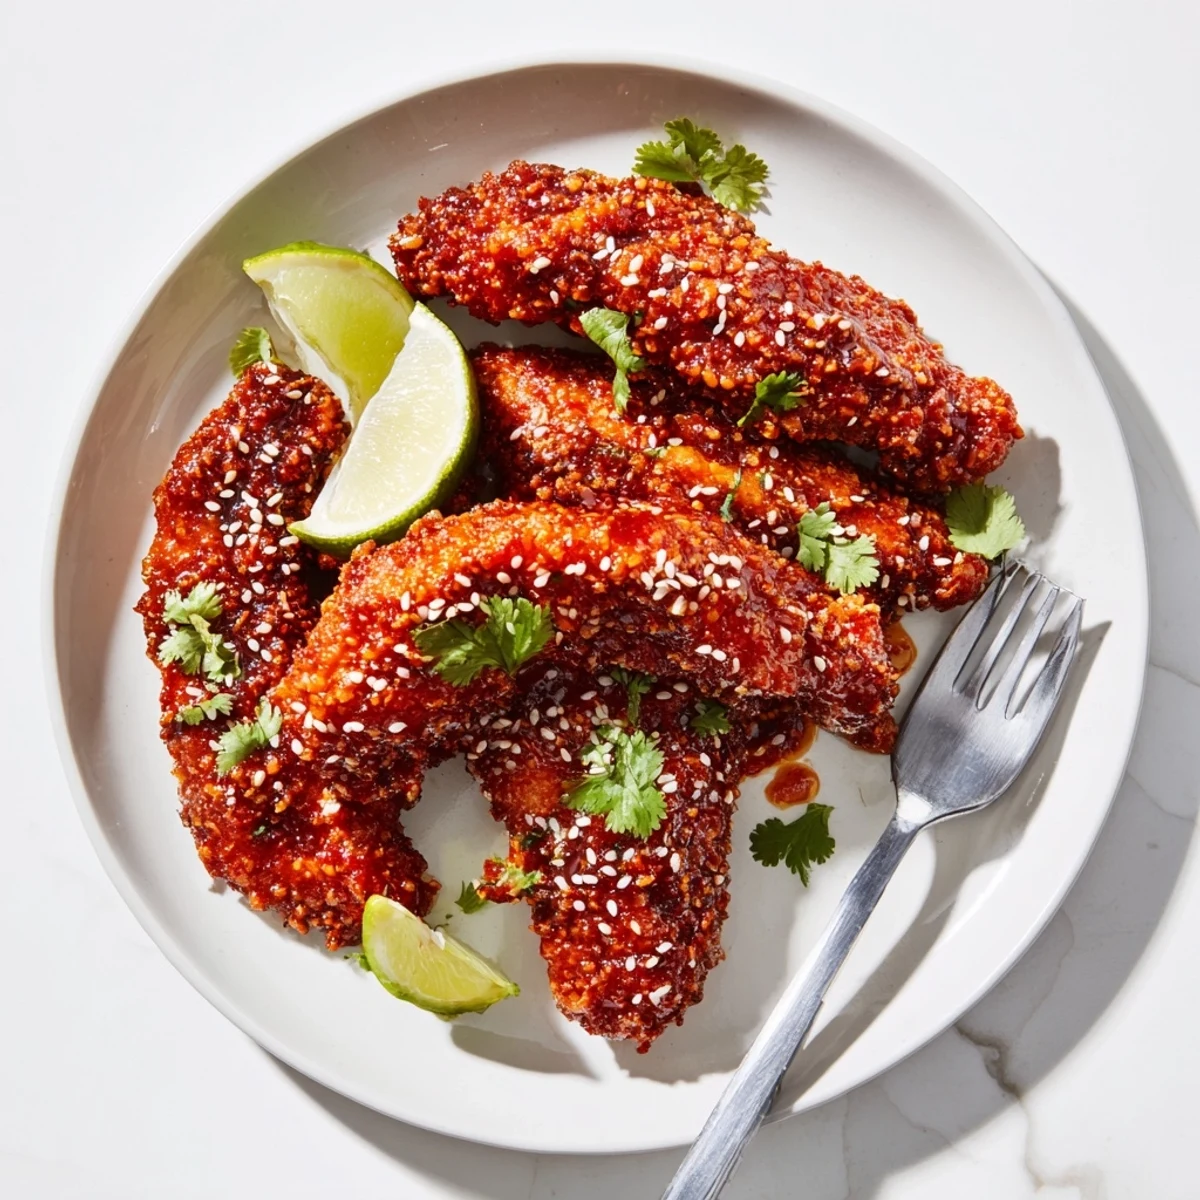
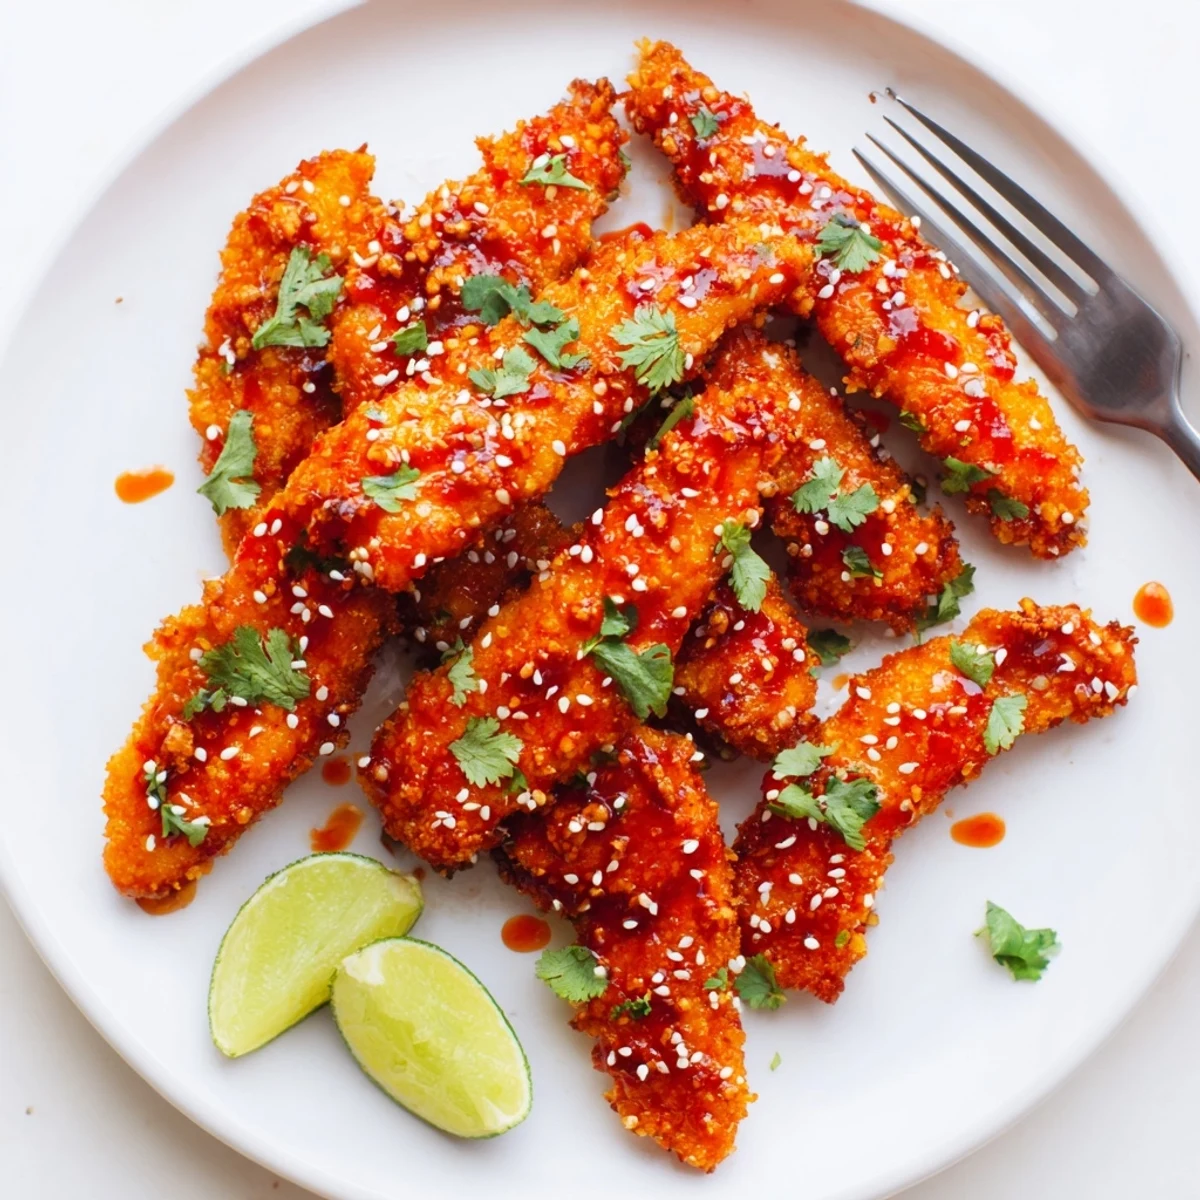
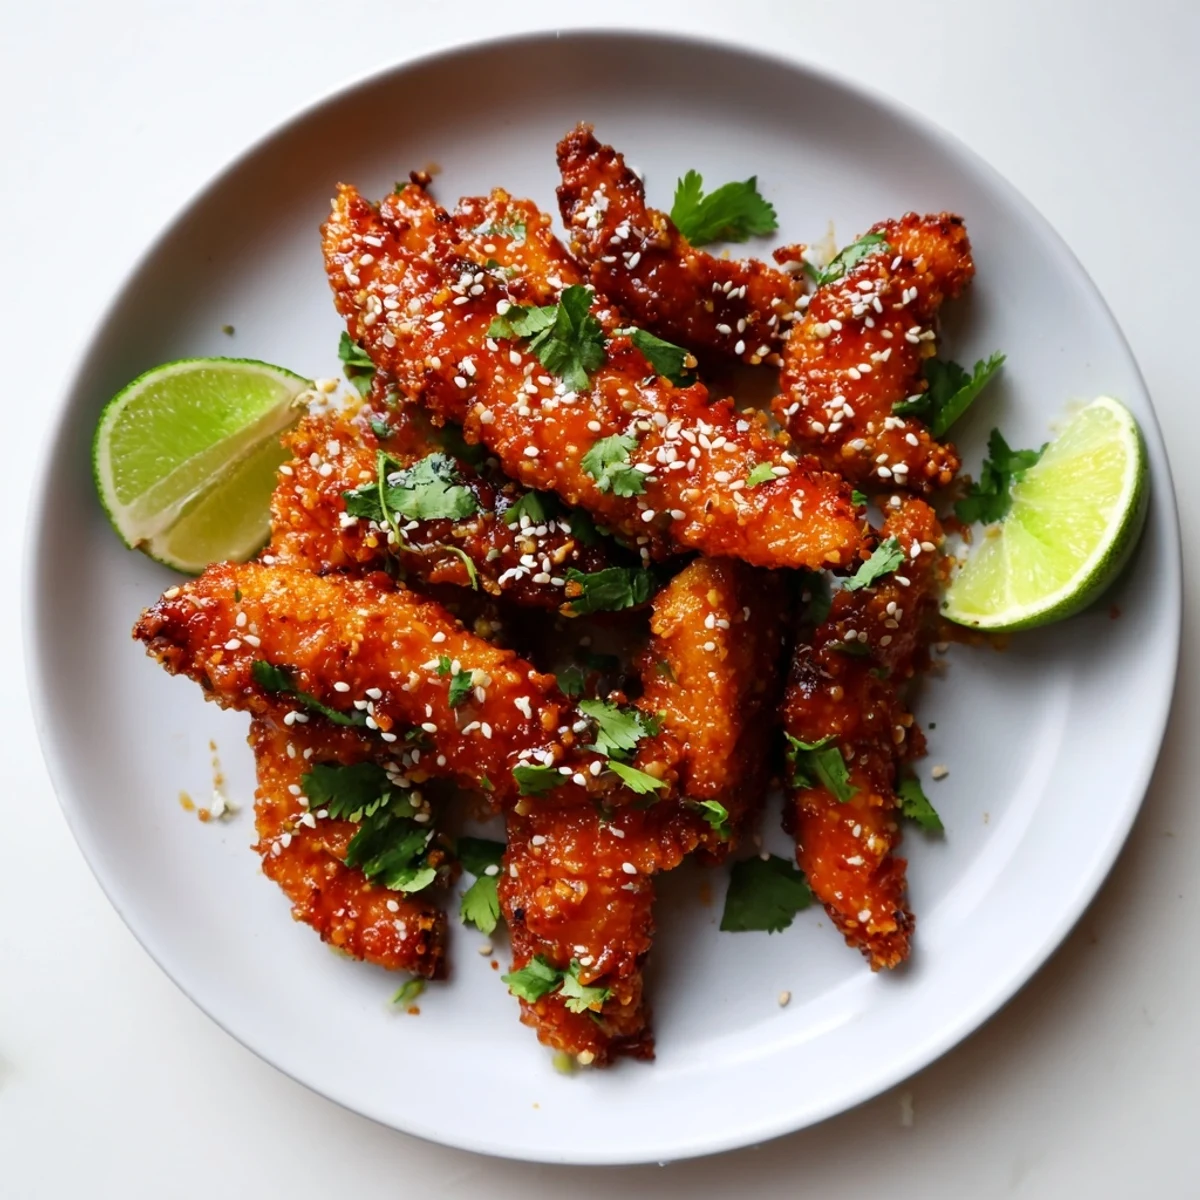
 These Thai sticky chicken fingers feature tender, marinated chicken strips coated in crispy panko breadcrumbs, then tossed in a luscious sweet chili and honey glaze.
The marinade of soy sauce, lime juice, fish sauce, garlic, and ginger infuses the chicken with bold Southeast Asian flavors before coating and baking or frying to golden perfection.
The sticky sauce comes together in just minutes on the stovetop, combining sweet chili sauce, honey, soy sauce, rice vinegar, sriracha, and sesame oil into a glossy, tangy glaze that clings to every crispy bite.
Finished with sesame seeds and fresh cilantro, this dish works beautifully as a main course alongside jasmine rice or as a shareable appetizer for gatherings.
The sizzle of chicken hitting a hot pan on a rainy Tuesday evening is what sparked this whole obsession. I had leftover sweet chili sauce languishing in the fridge door and a pack of chicken tenders that needed using, so I improvised. Three batches later, I had a sauce coated finger food so addictive that my partner ate half the platter before I could even set the table.
I brought a double batch of these to a friend's backyard gathering last summer, setting them down next to a platter of grocery store wings. Within ten minutes the wings sat untouched while people huddled around these glistening strips, and someone actually asked if I catered.
Ingredients
- Chicken tenders (600 g): Boneless skinless tenders save you the slicing, but breast meat cut into even strips works just as well and often costs less.
- Soy sauce (2 tbsp for marinade, 2 tbsp for sauce): This pulls double duty, first tenderizing the meat and then building depth in the glaze.
- Lime juice (1 tbsp): Just enough acidity in the marinade to brighten the chicken without starting to cook it ceviche style.
- Fish sauce (1 tbsp): The secret umami punch that makes people close their eyes and wonder what is in here.
- Garlic (1 clove, minced): Freshly minced always beats pre jarred for this marinade because the sharp bite mellows beautifully during cooking.
- Ginger (1 tsp, grated): A little warmth that ties the whole Thai flavor profile together without overpowering anything.
- Flour (100 g): The first coat creates a dry surface for the egg to cling to, which is the whole trick to breading that actually stays on.
- Eggs (2 large): The binding layer between flour and panko, and yes, both eggs are necessary for full coverage.
- Panko breadcrumbs (120 g): These Japanese flakes give a shatteringly crisp exterior that regular breadcrumbs simply cannot match.
- Salt and pepper (1/2 tsp each): Mixed into the panko so every crunchy bite is seasoned all the way through.
- Sweet chili sauce (60 ml): The backbone of the sticky glaze, delivering sweetness and a gentle warmth in one spoonful.
- Honey (2 tbsp): Helps the sauce cling to the chicken and adds a floral sweetness that balances the salty soy.
- Rice vinegar (1 tbsp): A mild tang that keeps the glaze from becoming cloying.
- Sriracha (1 tbsp, optional): Add it if you want genuine heat, skip it if you are serving cautious eaters, the recipe works either way.
- Sesame oil (1/2 tsp): Just a whisper of this transforms the sauce from good to restaurant quality.
- Sesame seeds, cilantro, lime wedges (for garnish): Entirely optional but they make the platter look like you tried much harder than you actually did.
Instructions
- Marinate the chicken:
- Whisk together the soy sauce, lime juice, fish sauce, minced garlic, and grated ginger in a bowl. Toss the chicken strips in this mixture, cover, and let them soak up the flavors for at least fifteen minutes while you set up everything else.
- Set up the breading station:
- Arrange three shallow bowls in a row, flour in the first, beaten eggs in the second, and panko mixed with salt and pepper in the third. This assembly line approach keeps your hands cleaner and the process moving quickly.
- Bread each piece:
- Take a chicken strip from the marinade, dredge it in flour shaking off excess, dip it fully in egg, then press it firmly into the panko on all sides. The pressing step is what makes the coating stick rather than fall off during cooking.
- Cook until golden:
- Arrange the breaded pieces on a parchment lined baking sheet and bake at 200 degrees C for eighteen to twenty two minutes, flipping halfway through, or shallow fry in hot oil for about three to four minutes per side until deeply golden and cooked through.
- Make the sticky sauce:
- While the chicken cooks, combine sweet chili sauce, honey, soy sauce, rice vinegar, sriracha if using, and sesame oil in a small saucepan over medium heat. Stir for three to five minutes until it bubbles and thickens slightly into a glossy glaze.
- Coat and serve:
- Transfer the cooked chicken fingers to a large bowl, pour the warm sauce over them, and toss gently with tongs until every piece is shining. Pile them onto a platter, scatter with sesame seeds and cilantro, and squeeze lime wedges over the top.
 Save to Pinterest
 One Sunday I made these for my niece's birthday lunch and watched a table full of sugar fueled children suddenly go completely silent, which is honestly the highest compliment a cook can receive.
Getting That Extra Crunch
If you want the kind of crust that audibly crackles when you bite into it, try a double coating. After the first round of flour, egg, and panko, dip the strip back into the egg and press into panko a second time. It sounds fussy but adds maybe five minutes and the payoff is genuinely dramatic.
Making It Gluten Free
Swap the all purpose flour for a one to one gluten free blend, use gluten free panko which is easier to find than you might think, and replace soy sauce with tamari. The fish sauce is already gluten free but always check the label because brands vary, and your guests will thank you for the diligence.
What To Serve Alongside
These chicken fingers carry enough bold flavor that simple sides work best, letting the sticky glaze stay the star of the plate. Jasmine rice soaks up any extra sauce that pools at the bottom, a quick cucumber salad with vinegar and sugar cuts through the richness, or just put out a big bowl of extra sweet chili sauce for dipping and call it a party.
- A chilled Thai iced tea alongside these makes the whole meal feel like a takeout treat at home.
- Leftover chicken fingers reheat surprisingly well in an air fryer at 180 degrees C for about five minutes.
- Always make more sauce than you think you need because someone will want extra for drizzling over rice.
 Save to Pinterest
 Keep this recipe in your back pocket for game day spreads, potluck contributions, or just a weeknight when plain chicken feels uninspiring. The sticky glaze has a way of making any ordinary evening feel a little festive.
Recipe Questions & Answers
- → Can I bake these chicken fingers instead of frying?
-
Yes, bake them at 200°C (400°F) for 18-22 minutes, turning halfway through, until golden and cooked through. Baking yields a slightly lighter result while still maintaining good crispiness from the panko coating.
- → How do I get the chicken extra crispy?
-
For maximum crunch, try double-coating the chicken by repeating the egg and panko steps. Also, ensure your oven is fully preheated, and avoid overcrowding the baking sheet so air can circulate around each piece.
- → Can I make the Thai sticky sauce less spicy?
-
Absolutely. Simply omit the sriracha from the sauce. The sweet chili sauce already provides a mild, pleasant warmth, so the dish will still have great flavor without the extra heat.
- → What should I serve with Thai sticky chicken fingers?
-
They pair wonderfully with steamed jasmine rice, a refreshing cucumber salad, or pickled vegetables. As an appetizer, serve them with extra dipping sauce on the side alongside lime wedges.
- → Can I make this dish gluten-free?
-
Yes, substitute the all-purpose flour and panko with gluten-free alternatives, and use tamari instead of regular soy sauce. Check all sauce labels to ensure they are certified gluten-free as well.
- → How long should I marinate the chicken?
-
A minimum of 15 minutes works well, but for deeper flavor, marinate the chicken for up to 2 hours in the refrigerator. Avoid marinating overnight, as the lime juice can start to break down the meat texture.
