 Save to Pinterest
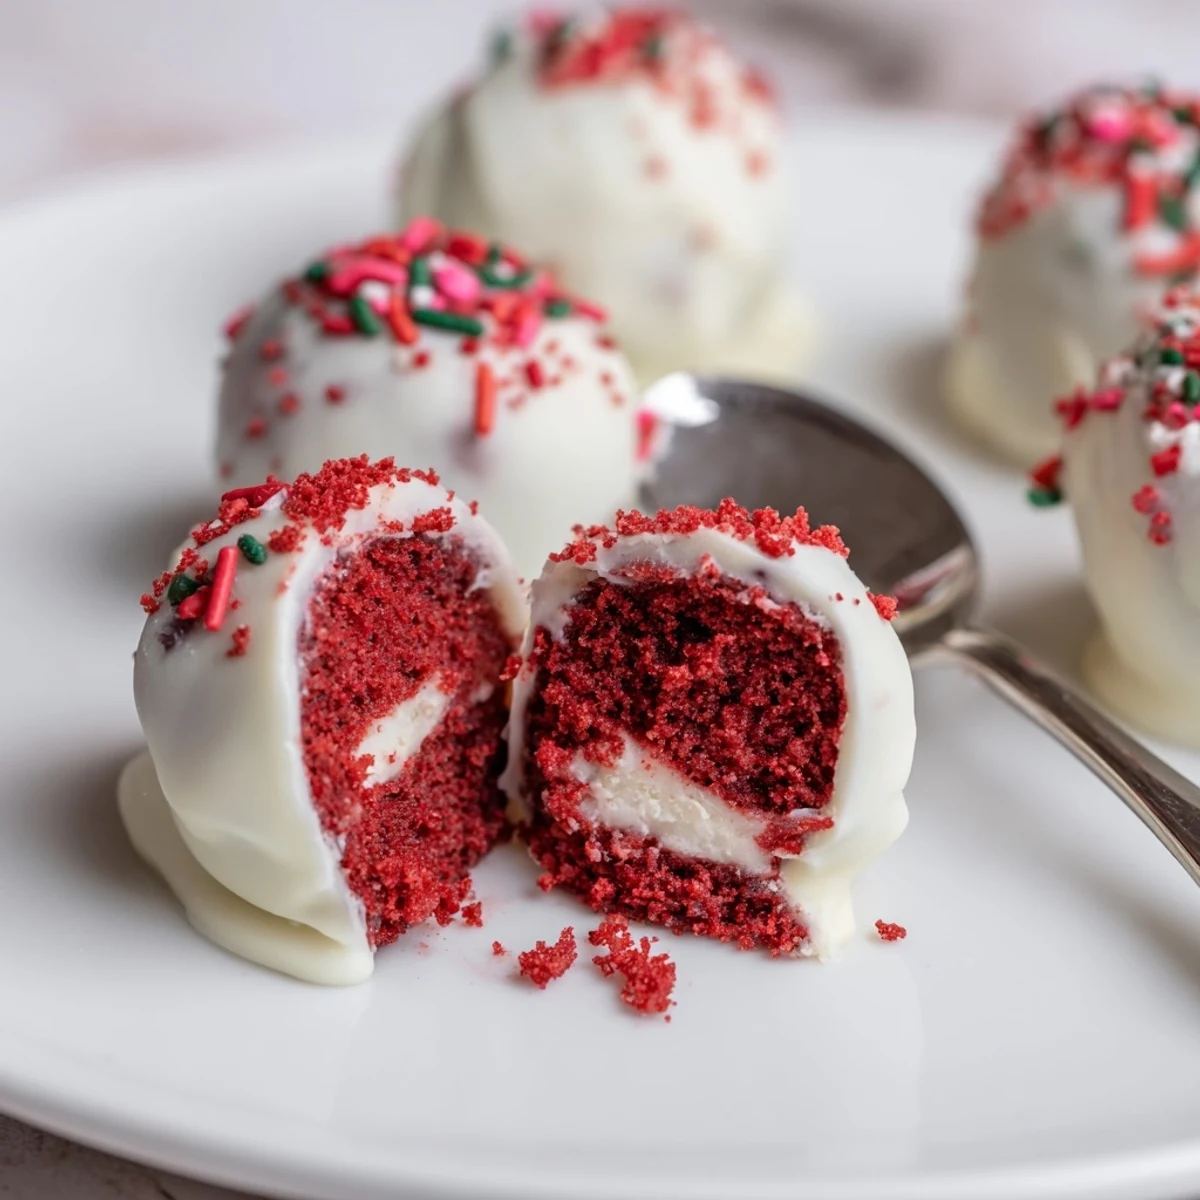
 Transform crumbled red velvet cake and whipped cream cheese into bite-sized balls, chill until firm, then enrobe in melted chocolate. Chill again to set. Use white chocolate tinted red for a classic look, or dark chocolate for contrast. Keep chilled in an airtight container up to 5 days; add nuts or coconut for texture variations.
The rain was hammering against the kitchen window the afternoon I discovered red velvet cheesecake balls, and honestly, that gloomy weather was the best thing that could have happened. I had a leftover red velvet cake from a dinner party that went slightly sideways when my friend Carlos brought his new girlfriend who turned out to be gluten intolerant. Standing there with half a cake nobody touched, I started crumbling it into a bowl purely out of frustration, and the idea just snowballed from there.
I brought a batch to my neighbors holiday potluck last December, and three separate people asked if I ran a bakery. My neighbor Ruth, who rarely compliments anything, pulled me aside and quietly asked for the recipe, which is honestly the highest praise I have ever received for anything I have cooked.
Ingredients
- 300 g red velvet cake: Store bought works beautifully here, and honestly I prefer it because the texture tends to crumble more uniformly than some homemade versions.
- 200 g cream cheese, softened: Full fat is non negotiable if you want that rich, velvety filling, so leave it on the counter for at least an hour before starting.
- 40 g powdered sugar: Just enough to sweeten the filling without making it cloying or loose.
- 1 tsp vanilla extract: A good quality extract quietly elevates the entire filling.
- 250 g white chocolate: Use real white chocolate with cocoa butter, not the waxy coating chips, because the melt and set will be completely different.
- Red food coloring, optional: A few drops in the white chocolate create a gorgeous pinkish red shell that looks stunning.
- Red velvet crumbs or sprinkles, optional: These add a professional looking finish with almost zero effort.
Instructions
- Reduce the cake to crumbs:
- Tear the red velvet cake into chunks and work it with your fingers until you have fine, even crumbs with no large pieces hiding inside. This is oddly satisfying and slightly messy, which is part of the charm.
- Whip the cheesecake filling:
- Beat the softened cream cheese, powdered sugar, and vanilla together until completely smooth and lump free, scraping the bowl once or twice to catch any stubborn bits.
- Marry the two together:
- Pour the cream cheese mixture over the crumbs and mix with your hands or a spatula until everything holds together like a soft, slightly sticky dough.
- Roll into balls:
- Scoop roughly tablespoon sized portions and roll them between your palms, pressing firmly enough that they hold their shape without cracking.
- Chill thoroughly:
- Arrange the balls on a parchment lined tray and refrigerate for at least one full hour so they firm up and will not fall apart during dipping.
- Melt and color the chocolate:
- Warm the white chocolate gently in a microwave safe bowl in short bursts, stirring between each, and stir in red food coloring if you want that extra visual punch.
- Dip and coat:
- Drop each chilled ball into the melted chocolate, roll it around to coat completely, then lift it out with a fork and let the excess drip off before placing it back on the parchment.
- Decorate while wet:
- Sprinkle your crumbs or sprinkles on immediately because the chocolate shell sets faster than you expect and nothing will stick once it hardens.
- Let them set:
- Leave the finished balls at room temperature or pop them back in the fridge until the coating is completely firm and dry to the touch.
 Save to Pinterest
 There is something quietly magical about watching a tray of these little jewels dry to a glossy finish. They transform from humble kitchen scraps into something that looks like it belongs in a glass pastry case, and that transformation never stops surprising me.
Picking Your Chocolate Coating
White chocolate gives you the classic look and a sweeter, creamier bite, but dark chocolate creates a more sophisticated contrast against the tangy cheesecake center. I once used semisweet chocolate for a batch I brought to a book club meeting, and the slightly bitter edge won over two people who claimed they did not like red velvet. Use whatever you have on hand, because the balls themselves carry enough flavor that the coating is really just a supporting player.
Getting Creative With Add Ins
The filling is forgiving enough to handle a few surprises folded in. A tablespoon of finely chopped toasted pecans adds a welcome crunch that catches people off guard in the best way. Shredded coconut blended into the mixture gives a subtle tropical sweetness that pairs surprisingly well with the red velvet base.
Storing and Serving Right
These balls hold beautifully in an airtight container in the refrigerator for up to five days, though in my experience they rarely last that long. The cold actually improves the texture, firming up the cheesecake center into something almost truffle like.
- Let them sit at room temperature for about ten minutes before serving so the chocolate softens slightly.
- Layer parchment between stacks if you need to transport them so the coatings do not stick together.
- Always make more than you think you need, because disappearing acts are guaranteed.
 Save to Pinterest
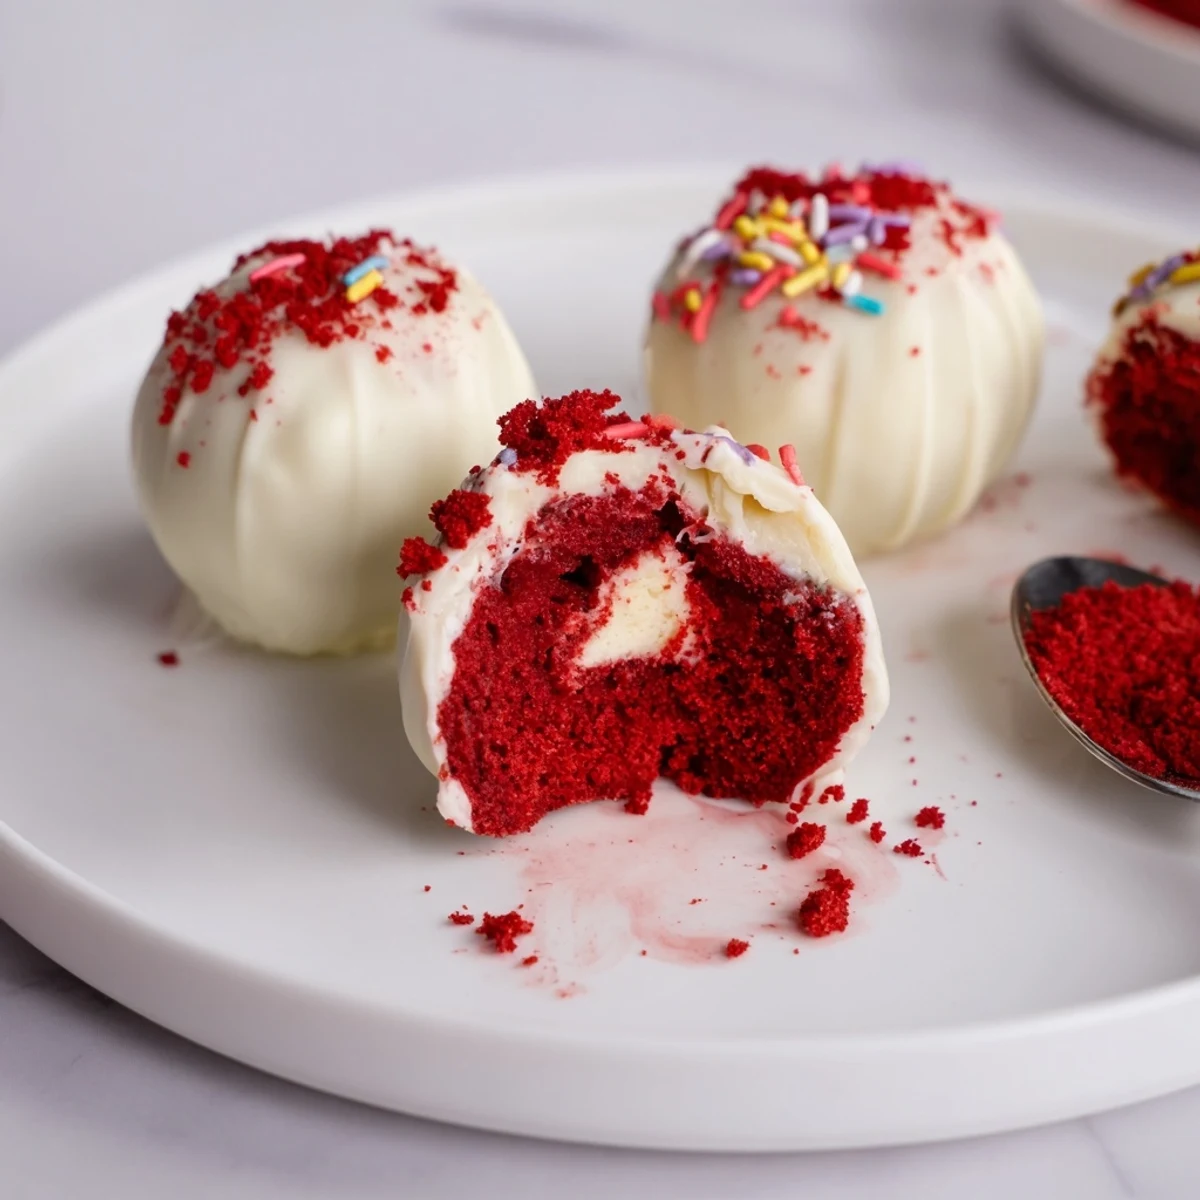
 Every time I make these, I think about that rainy afternoon and the cake that almost went to waste. Sometimes the best recipes are born from happy accidents and a little stubborn creativity in the kitchen.
Recipe Questions & Answers
- → Can I use store-bought red velvet cake?
-
Yes — fully baked and cooled store-bought cake works well. Remove excess frosting before crumbling to avoid an overly sticky filling, then adjust the cream cheese amount if needed for consistency.
- → How do I keep the filling from being too soft?
-
Chill the formed balls for at least an hour before coating. If the mixture feels too soft, add a few extra cake crumbs or a bit more powdered sugar to firm it up.
- → Which chocolate is best for the coating?
-
White chocolate can be tinted red for a cohesive look, while dark or semisweet chocolate offers a pleasing contrast in flavor. Tempering helps achieve a shiny, crisp shell.
- → Can these be frozen for later?
-
Yes — freeze on a tray until solid, then transfer to an airtight container for up to 1 month. Thaw in the refrigerator before serving to avoid condensation on the coating.
- → How can I adapt for allergies or preferences?
-
Swap in dairy-free cream cheese and dairy-free chocolate, and use a gluten-free cake base if needed. Always check labels for soy or other trace allergens.
- → Any decoration tips to finish them?
-
While the coating is still wet, press on extra red velvet crumbs, sprinkles, or a drizzle of contrasting chocolate for visual appeal and texture.
