
 Save to Pinterest
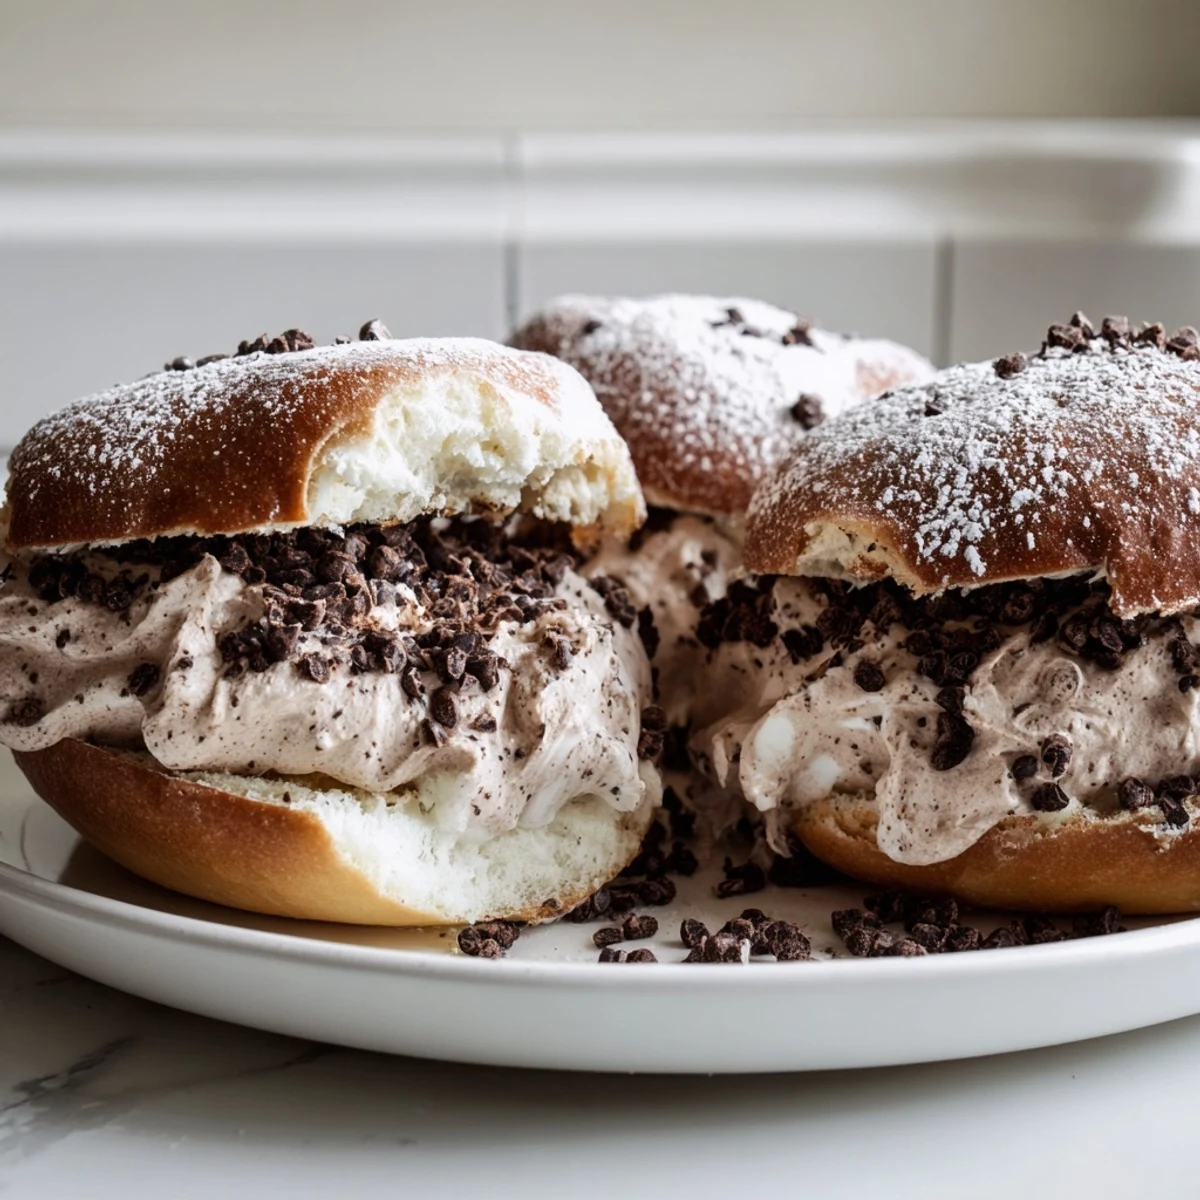
 Maritozzi are beloved Roman sweet buns traditionally enjoyed at breakfast with espresso. This chocolate-loaded version enriches a soft cocoa dough with chopped dark chocolate, then fills each golden bun with a silky chocolate whipped cream.
The dough comes together with everyday pantry ingredients — flour, cocoa powder, milk, yeast, butter, and egg. After two rises for maximum fluffiness, the buns bake until just set. Once cooled, they're sliced and generously piped with a luscious dark chocolate cream filling.
Medium in difficulty but deeply rewarding, these pastries are best served fresh the same day, dusted with powdered sugar alongside a strong cappuccino.
The smell of cocoa and yeast hit me before I even opened the oven door, and I knew right then that these chocolate maritozzi were going to ruin regular breakfast pastries for me forever. I had spotted them in a tiny Roman bakery years ago, tucked between glass cases of biscotti and sfogliatelle, and the baker winked when I pointed at them like he knew I was about to fall in love. Back home in my own kitchen, recreating that pillowy chocolate dough stuffed with clouds of whipped ganache felt like writing a love letter to that morning. It took three attempts to get the filling ratio right, but honestly the failures were still delicious.
My sister walked into the kitchen just as I was piping the filling into the last bun, and she stood there with her mouth open for a full five seconds before grabbing one and eating it standing at the counter in complete silence. That silence was the highest compliment I have ever received for anything I have cooked. Now she texts me every few weeks asking when I am making them again.
Ingredients
- 350 g all-purpose flour: Regular flour works perfectly here because the cocoa powder and enrichments tenderize the dough, so you do not need bread flour.
- 40 g unsweetened cocoa powder: Use a good quality one because it carries the entire chocolate flavor of the bun, and Dutch-processed gives a richer darker color.
- 120 ml whole milk, lukewarm: It should feel like warm bath water, around body temperature, because too hot will kill the yeast and too cold will slow everything down.
- 60 g granulated sugar: This amount keeps them sweet enough for breakfast without tipping into dessert territory.
- 7 g active dry yeast: Always check the expiry date because dead yeast means flat buns and a very sad baker.
- 1 large egg: Adds richness and helps the dough achieve that tender pull-apart texture that makes maritozzi so irresistible.
- 40 g unsalted butter, softened: Room temperature butter incorporates smoothly into the dough, so take it out of the fridge an hour before you start.
- 1/2 tsp vanilla extract: A quiet background note that rounds out the chocolate beautifully.
- 1/2 tsp salt: Essential for balancing the sweetness and deepening the cocoa flavor, so do not skip it.
- 60 g dark chocolate, chopped: Folded into the dough at the end, these little pockets melt slightly and create gorgeous chocolate bursts throughout each bun.
- 300 ml heavy whipping cream: Cold cream whips faster and holds its shape better, so keep it in the fridge until the moment you need it.
- 70 g dark chocolate, melted and cooled: Let it cool to room temperature before folding into the cream, otherwise it will deflate all your beautiful whipped peaks.
- 30 g powdered sugar: Sweetens the filling just enough to complement the dark chocolate without overwhelming it.
- 1 tsp vanilla extract (filling): Doubles down on the warm vanilla undertone inside the cream.
- 1 egg yolk plus 2 tbsp milk (for brushing): This egg wash creates that gorgeous glossy top that makes the buns look like they came from a professional bakery.
Instructions
- Wake up the yeast:
- Stir the yeast and one tablespoon of sugar into the lukewarm milk in a small bowl, then let it sit undisturbed for about ten minutes until it blooms into a foamy, bubbly layer on top. If nothing happens after fifteen minutes, your yeast is dead and you need to start fresh.
- Build the dry foundation:
- In a large bowl, whisk together the flour, cocoa powder, remaining sugar, and salt until evenly blended and no cocoa clumps remain. The mixture should look like a uniform dusty brown powder.
- Bring everything together:
- Make a well in the center of your dry ingredients and drop in the egg, vanilla, softened butter, and the foamy yeast mixture. Stir with a wooden spoon until a shaggy, sticky dough starts to form and pulls away from the sides of the bowl.
- Knead with patience:
- Turn the dough onto a lightly floured surface and knead by hand or with a mixer for eight to ten minutes until it becomes smooth, elastic, and slightly tacky but not sticking to your fingers. Scatter the chopped dark chocolate over the dough during the last two minutes of kneading and work it in gently.
- First rise:
- Transfer the dough to a clean, lightly oiled bowl, cover it with a damp towel or plastic wrap, and let it rest somewhere warm for one to two hours until it has puffed up and doubled in size. A cold oven with just the light turned on makes a perfect cozy spot.
- Shape the buns:
- Gently punch down the dough and divide it into eight equal pieces, then roll each piece into a plump oval shape and arrange them on a parchment-lined baking tray with space between them for spreading. Cover loosely and let them puff up again for about forty minutes.
- Prep for the oven:
- While the buns are doing their second rise, preheat your oven to 180 degrees Celsius, which is 355 degrees Fahrenheit, so it is fully hot and ready when the buns are.
- Brush and bake:
- Whisk the egg yolk with two tablespoons of milk and brush it gently over each bun, then bake for fifteen to eighteen minutes until the tops are set and the buns feel lightly firm when you press them. Let them cool completely on a wire rack because warm buns will melt your beautiful filling.
- Make the chocolate cloud filling:
- Whip the cold heavy cream with powdered sugar and vanilla until it reaches firm peaks that hold their shape when you lift the whisk. Drizzle in the cooled melted chocolate and fold gently with a spatula until the filling is uniformly chocolatey and still airy.
- Fill and finish:
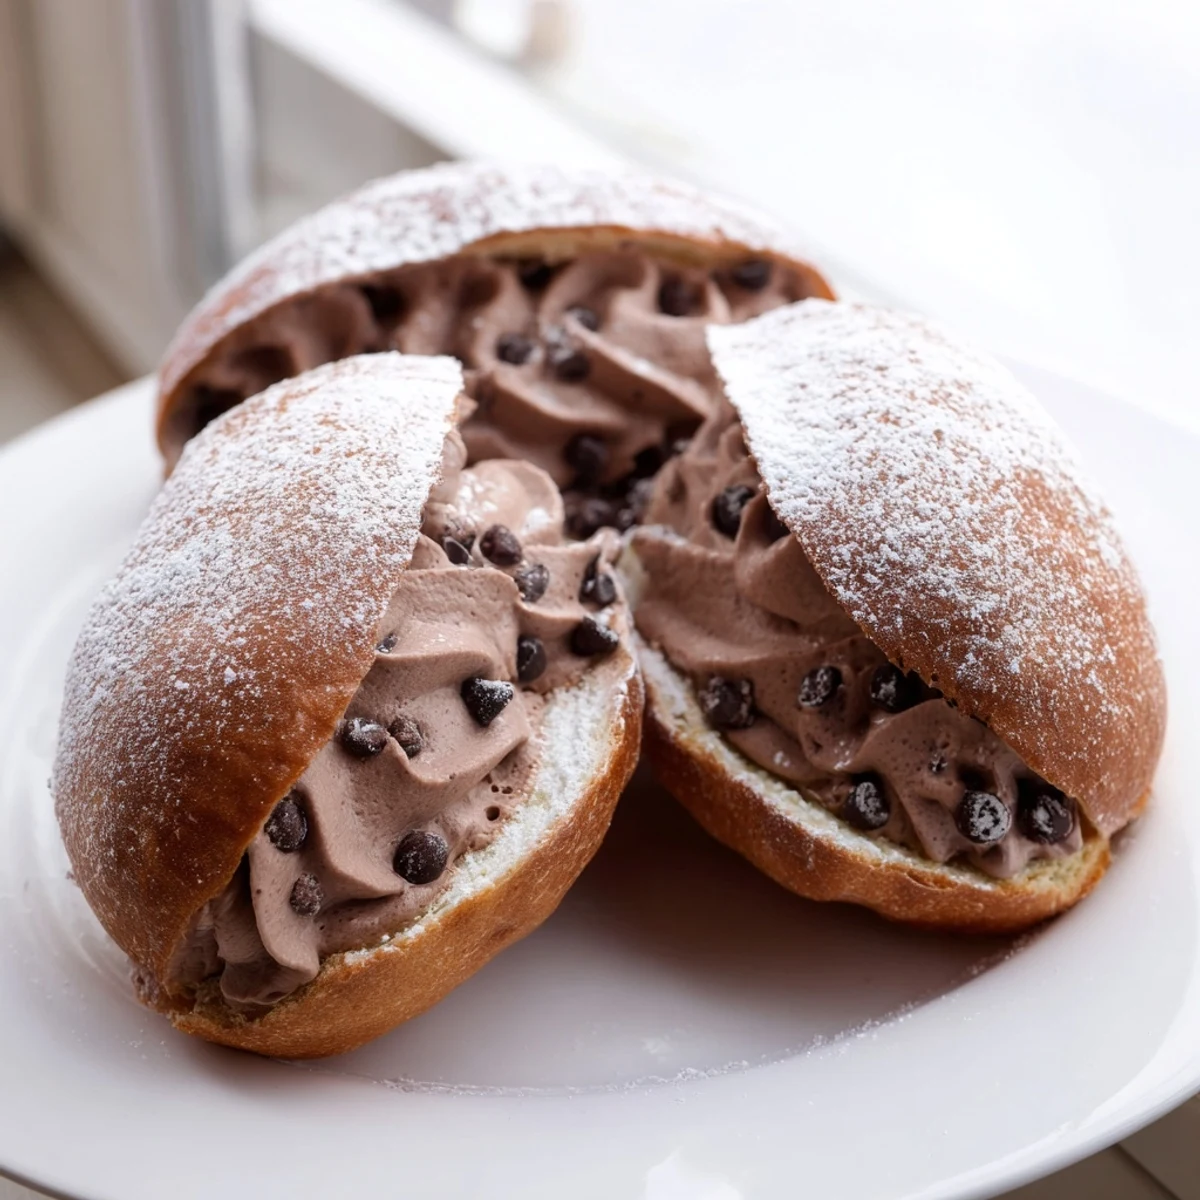
- Use a serrated knife to slice each cooled bun lengthwise, leaving the bottom edge attached like a hinge, then pipe or spoon a generous mound of chocolate whipped cream inside. Dust with powdered sugar if you want that classic bakery look, and serve them right away.
 Save to Pinterest
 I brought a tray of these to a friend's birthday brunch last spring, and the hostess stopped opening other people's gifts because everyone was crowded around the kitchen island eating maritozzi and drinking espresso. For about twenty minutes, nobody talked about anything except how the chocolate bits inside the bun melted just slightly. That morning the pastry became my permanent contribution to every group gathering.
Making Them Your Own
You can swap the dark chocolate in the filling for milk chocolate if you prefer a sweeter, more nostalgic flavor that kids especially go crazy for. I have also tried adding a tablespoon of espresso powder to the dough, which deepens the chocolate without making them taste like coffee. Another favorite trick is sprinkling a few mini chocolate chips inside each bun before adding the cream for pockets of extra indulgence.
Serving Like a Roman
In Rome, maritozzi are breakfast food, eaten standing at a bar with a cappuccino before rushing to work, and there is something wonderful about treating yourself to that kind of indulgence first thing in the morning. They are best the day they are made because the filling stays fluffy and the bun stays soft, so plan to share them right away. If you need to prepare ahead, make the buns a day early and fill them just before serving.
Tools and Troubleshooting
A stand mixer with a dough hook saves your arms during the kneading, but I have done it by hand many times and the buns turn out exactly the same, just with a more tired cook. The serrated knife is non-negotiable for cutting the buns cleanly without squishing them, and a pastry brush gives you even coverage with the egg wash. A wire rack prevents the bottoms from getting soggy while cooling, which matters more than you think for the final texture.
- If your kitchen is cold, the dough can take up to three hours for the first rise, so be patient and do not rush it.
- Underbaked buns will collapse when you cut them, so look for a firm but gentle spring when you press the top.
- Always fill the buns at the very last minute if you are making them for guests, so the cream looks tall and proud.
 Save to Pinterest
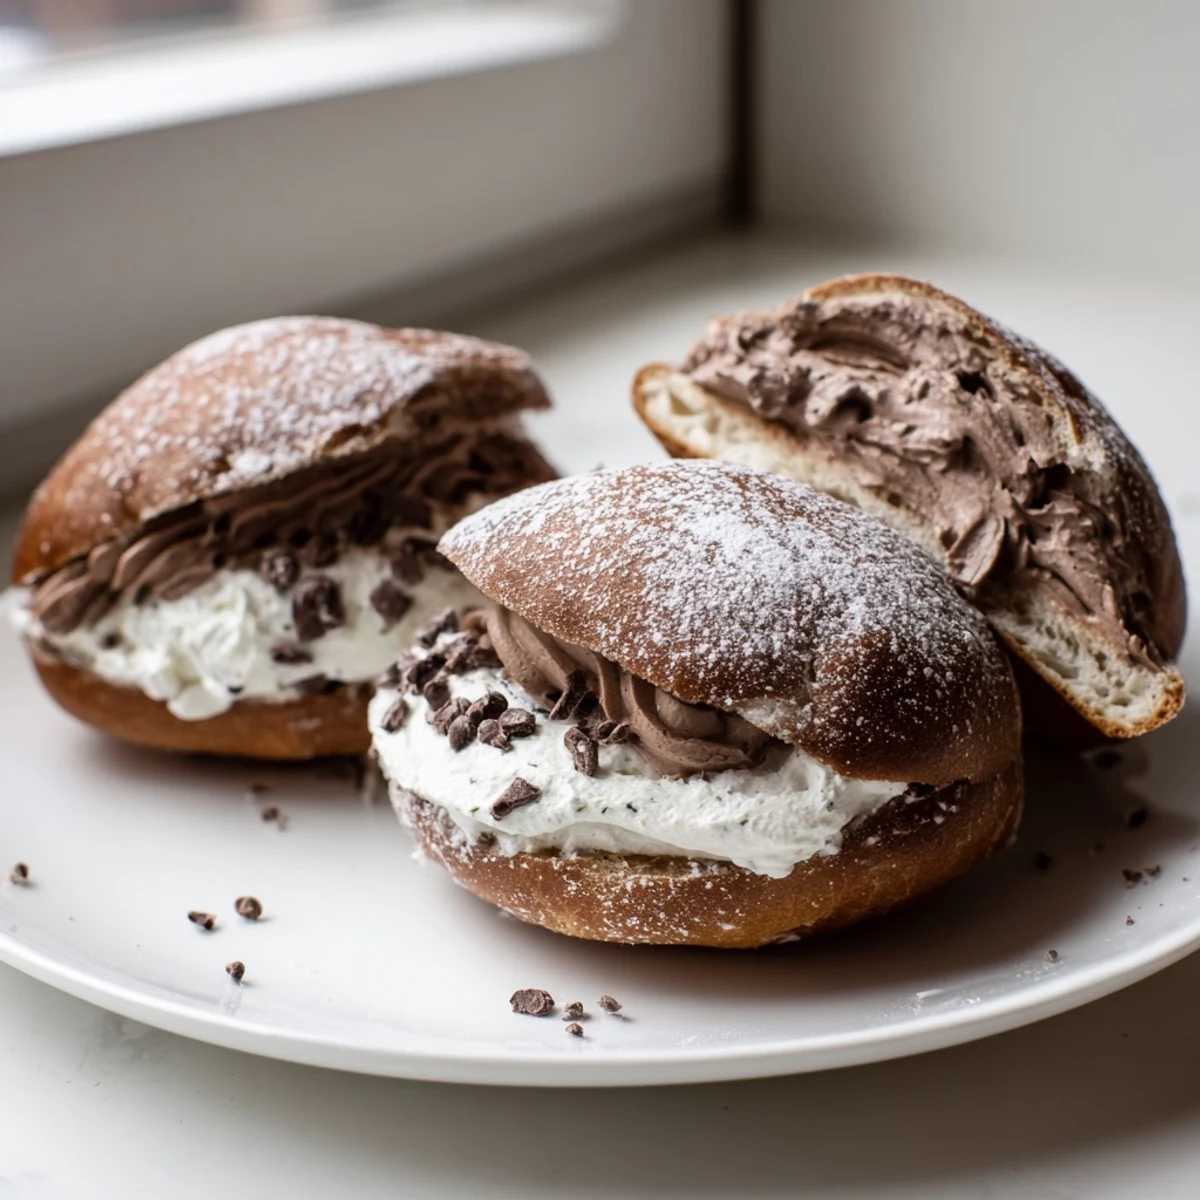
 Every time I make these chocolate maritozzi, the kitchen smells like the inside of that Roman bakery, and for a few quiet minutes I am transported back to a cobblestone side street with a paper bag of warm pastries. That is the real magic of baking something from scratch.
Recipe Questions & Answers
- → Can I make the dough ahead of time?
-
Yes, you can prepare the dough through the first rise, then refrigerate it covered overnight. Let it come to room temperature before shaping and proceeding with the second rise.
- → Why did my maritozzi turn out dense?
-
Dense buns usually mean the yeast didn't activate properly or the dough didn't rise long enough. Ensure your milk is lukewarm (not hot), and give the dough full time to double in size during both rises.
- → Can I use milk chocolate instead of dark chocolate?
-
Absolutely. Milk chocolate works well in both the dough and the filling for a sweeter, milder flavor. Just note the filling will be less intensely chocolatey.
- → How should I store leftover maritozzi?
-
Store filled maritozzi in the refrigerator for up to one day, though they are best enjoyed fresh. Unfilled buns can be kept at room temperature in an airtight container for two days.
- → Can I freeze chocolate maritozzi?
-
It's best to freeze the buns unfilled. Wrap them individually in plastic wrap and freeze for up to one month. Thaw at room temperature, then fill with freshly made chocolate cream before serving.
- → What type of cocoa powder should I use?
-
Use unsweetened natural cocoa powder for the dough. Dutch-processed cocoa will also work but produces a darker, slightly milder flavored bun.