 Save to Pinterest
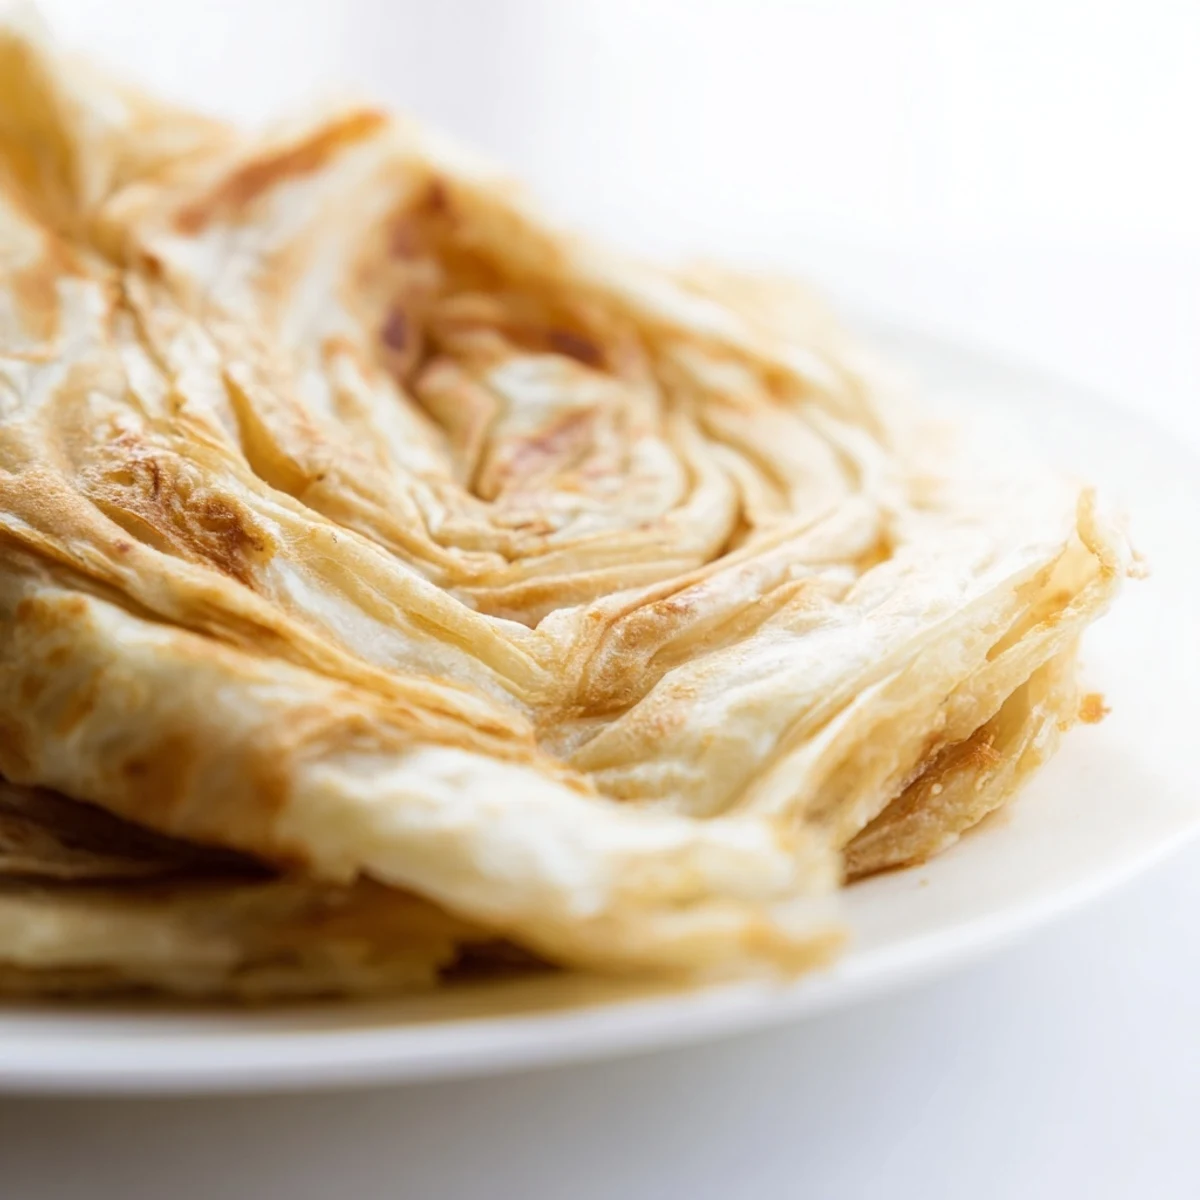
 Flaky Roti Canai is a beloved Malaysian flatbread known for its buttery layers and delightful chew. The dough is kneaded until smooth, rested, then stretched thin and brushed with ghee before folding into a coil. Cooking yields a golden, crisp exterior with a tender interior. Perfect with curries or condensed milk, this versatile bread is a staple in Malaysian cuisine, offering a rich, satisfying texture.
There is something magical about watching a street vendor flip roti canai, the dough spinning through the air until it is paper thin. I knew I had to recreate that flaky texture in my own kitchen, no matter how intimidating the stretching process seemed. The smell of ghee hitting a hot pan brings back memories of busy mornings filled with spices and warmth.
I remember the first time I tried to stretch the dough and ended up with a holey mess instead of a perfect sheet. My laughter filled the kitchen as I folded the torn pieces together, only to realize it still tasted delicious. That day taught me that perfection is not required for incredible flavor.
Ingredients
- All Purpose Flour: This forms the structure of the bread, providing the necessary gluten to achieve those signature layers.
- Salt: Essential for enhancing the flavor of the dough and balancing the richness of the ghee.
- Sugar: A touch of sweetness helps brown the bread beautifully and rounds out the savory notes.
- Ghee or Unsalted Butter: This fat is crucial for both the dough and the layering process, creating that buttery aroma and distinct flakiness.
- Water: Hydrates the flour to form a soft, pliable dough that can be stretched thin.
- Vegetable Oil: Used in the layering process to keep the folds separate and ensure the bread puffs up while cooking.
Instructions
- Mix the Dough:
- Combine flour, salt, and sugar in a large bowl, then create a well for the melted ghee and water.
- Knead to Perfection:
- Work the dough on a floured surface for a full ten minutes until it feels smooth and elastic.
- Rest and Relax:
- Divide the dough into six balls, coat them in oil, and let them sit for an hour to soften the gluten.
- Stretch It Out:
- Oil your hands and work surface, then gently flatten and pull a dough ball until it is almost see through.
- Fold and Coil:
- Brush the stretched dough with softened ghee, fold it into thirds, and roll it up like a loose coil.
- Final Shape:
- Gently press each coil into a flat disc before cooking to prep it for the pan.
- Cook to Golden:
- Fry the roti on a medium hot skillet for a few minutes on each side until golden spots appear.
- The Final Slap:
- Clap the cooked roti between your hands a few times to encourage the layers to separate and puff up.
 Save to Pinterest
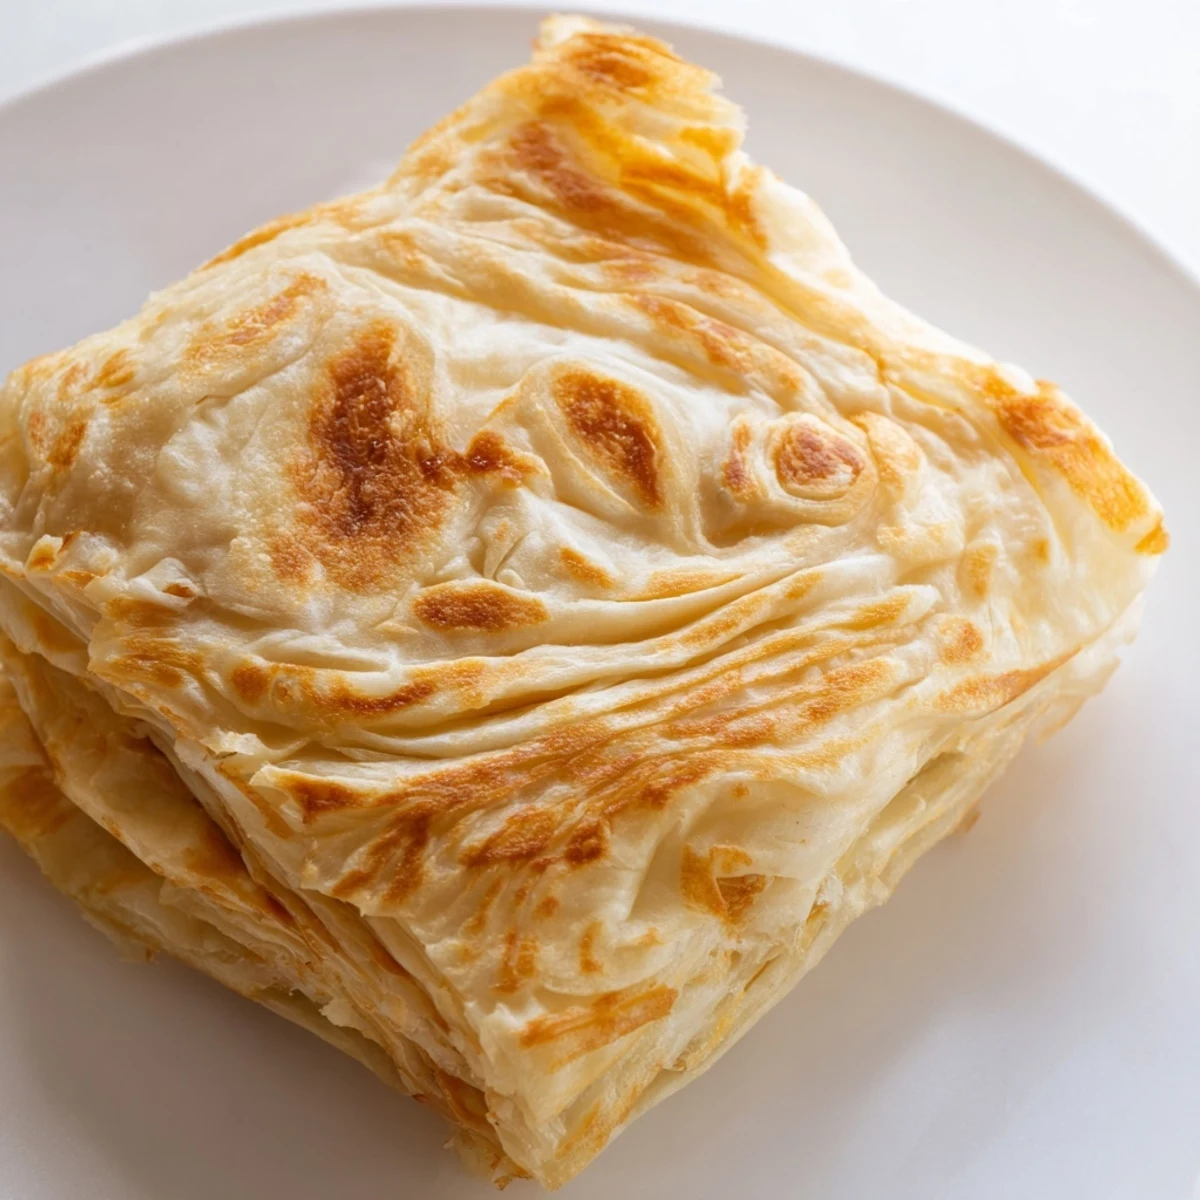
 Serving these rotis to my family for breakfast became an instant tradition. Watching them pull apart the warm layers with their fingers brought me so much joy.
Mastering the Flip
Cooking roti is all about patience and heat management. You want the pan hot enough to puff the dough but not so hot that it burns before the inside cooks through.
Choosing Your Fat
While ghee offers the most authentic flavor, a mix of butter and oil works wonderfully too. I find that using all ghee gives the crispest edges, but oil prevents the butter from burning too quickly.
Serving Suggestions
This bread is incredibly versatile and pairs well with almost anything savory. It is perfect for scooping up thick curries or even dipping in sweet condensed milk.
- Try pairing it with a spicy dhal for a classic combination.
- Serve alongside a fried egg for a hearty breakfast option.
- Keep leftovers warm in a low oven so they stay flaky.
 Save to Pinterest
 Enjoy the process of making this beautiful bread and the delicious rewards that follow. Happy cooking.
Recipe Questions & Answers
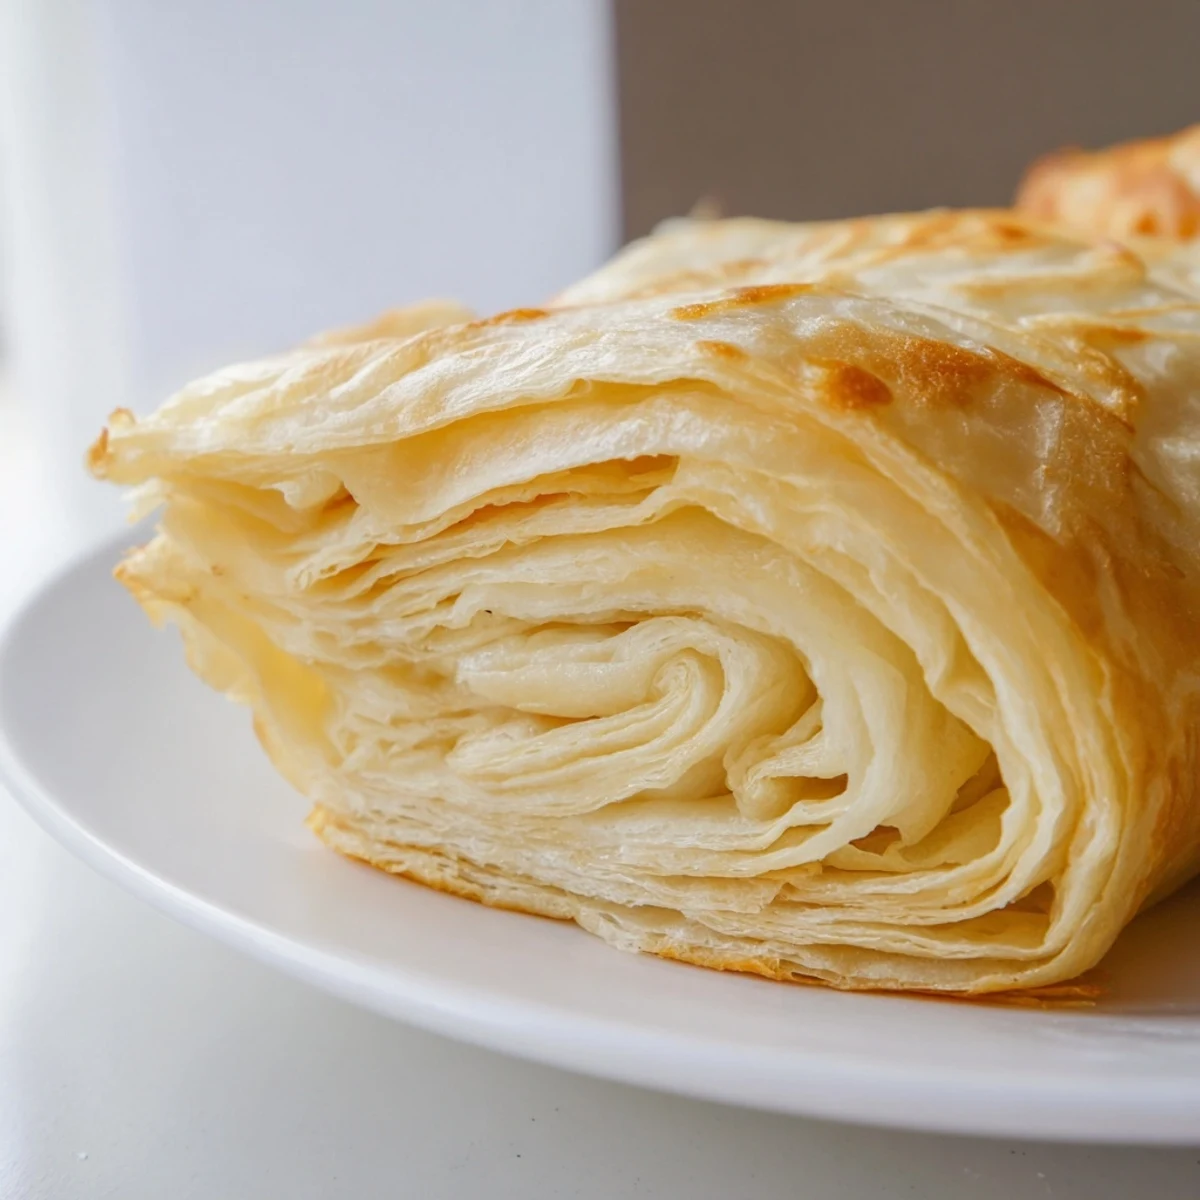
- → What makes Roti Canai flaky?
-
The flakiness comes from the technique of stretching the dough thin and brushing it with ghee before folding into a coil. This creates multiple layers that crisp up during cooking.
- → Can I use butter instead of ghee?
-
Yes, unsalted butter can be used as a substitute for ghee. However, ghee adds a richer flavor and traditional texture to the Roti Canai.
- → How do I serve Roti Canai?
-
Roti Canai is often served with dhal or chicken curry. It can also be enjoyed as a breakfast dish with condensed milk for a sweeter variation.
- → Why rest the dough?
-
Resting the dough relaxes the gluten, making it easier to stretch thinly without tearing. This is crucial for achieving the signature layers.
- → Can I make Roti Canai ahead of time?
-
Yes, you can prepare the dough and shape it into coils ahead of time. Store them in the refrigerator and cook when ready for fresh, warm Roti Canai.
