 Save to Pinterest
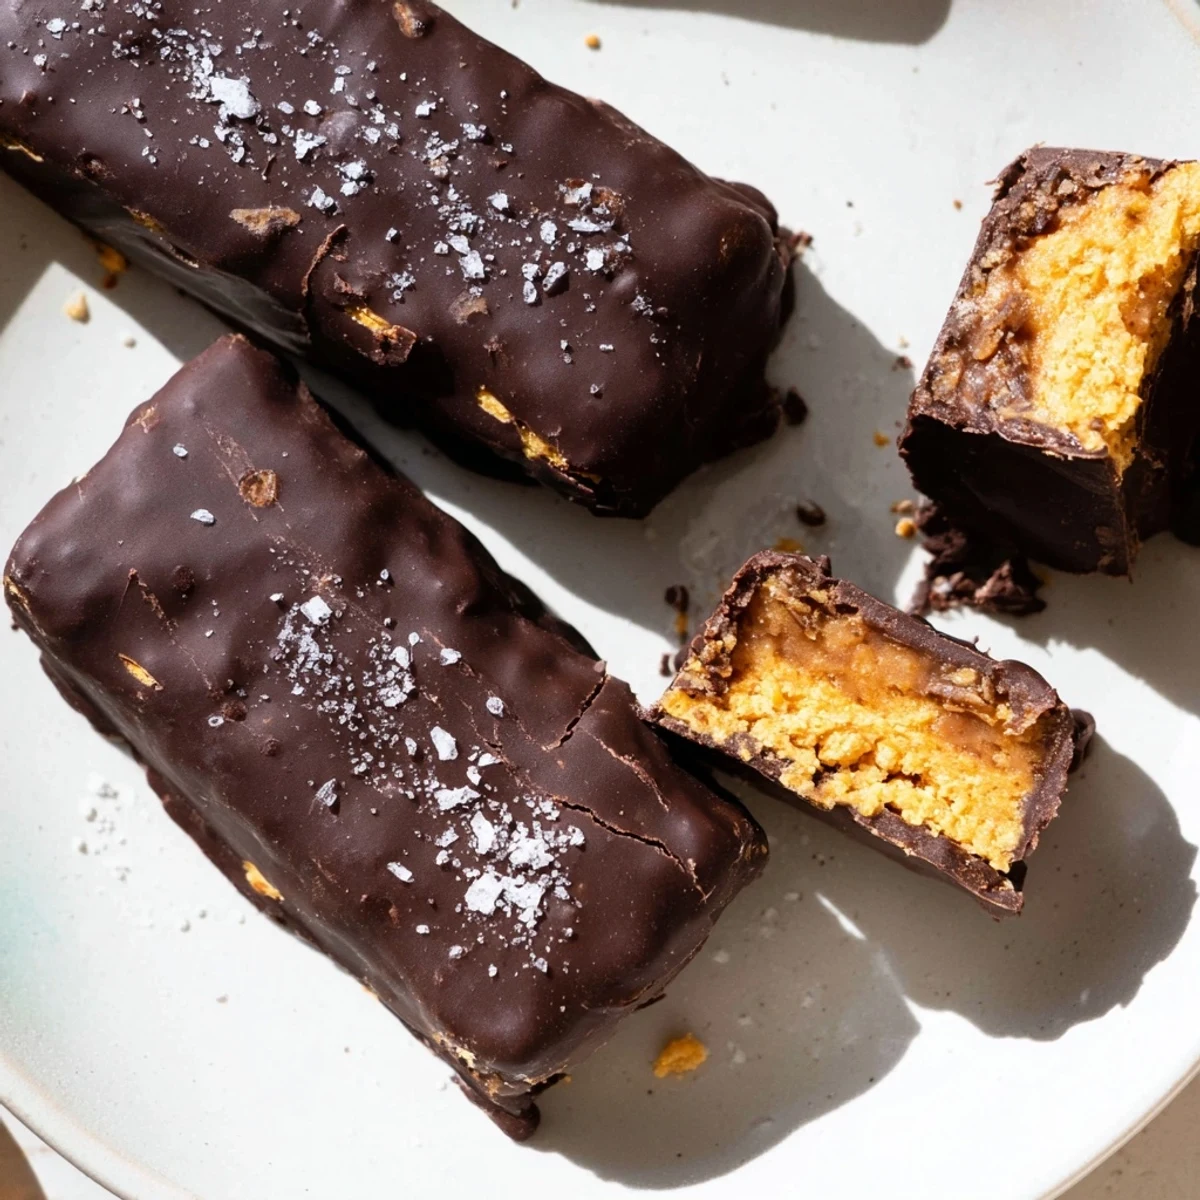
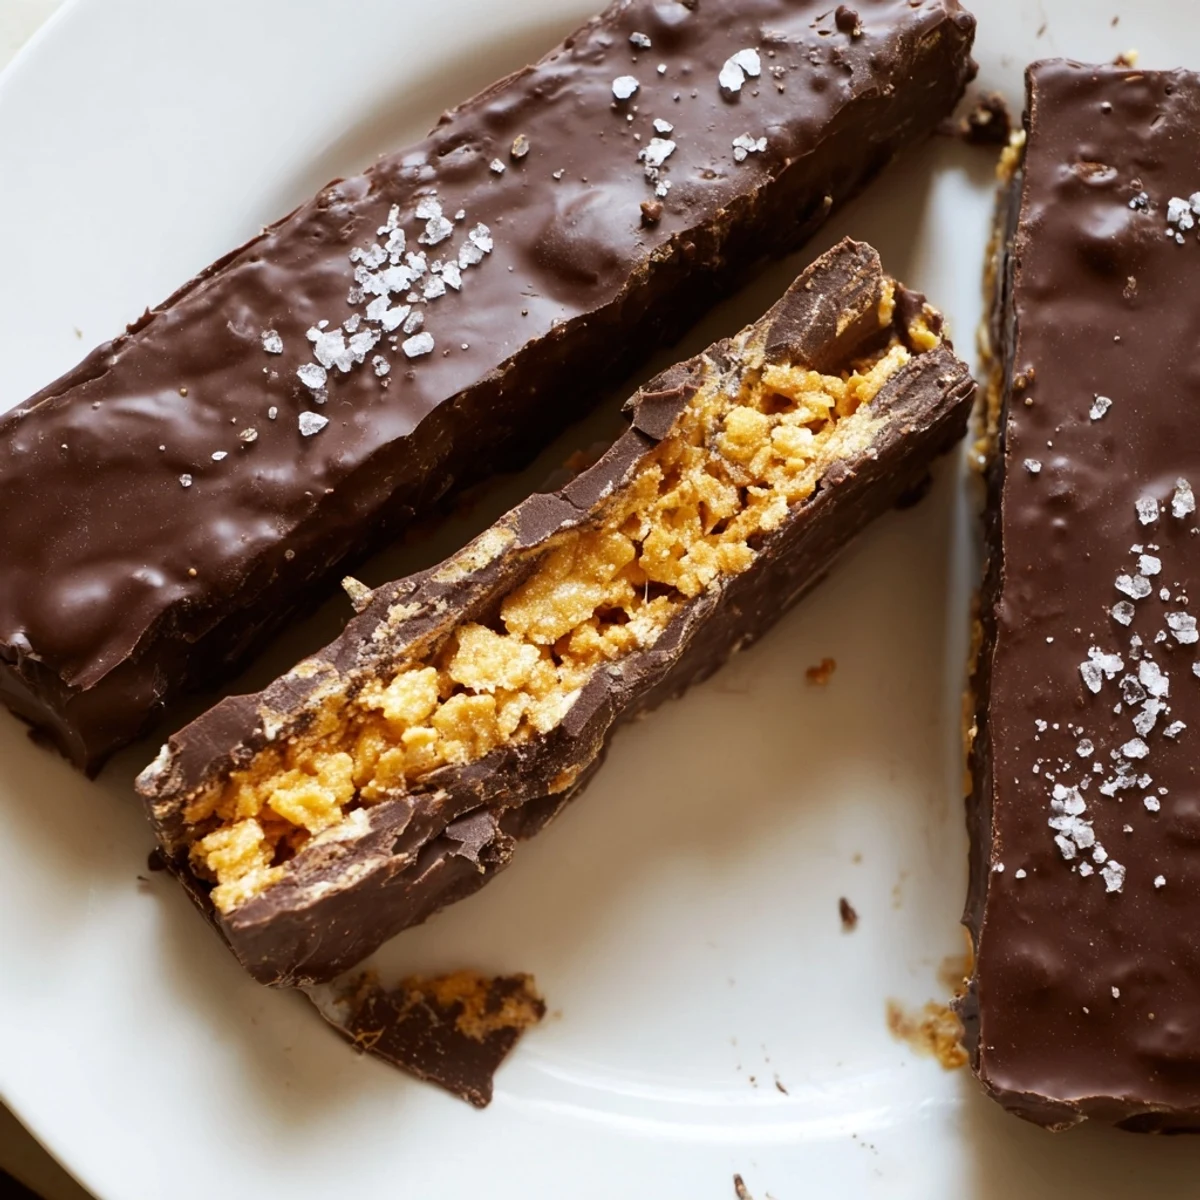
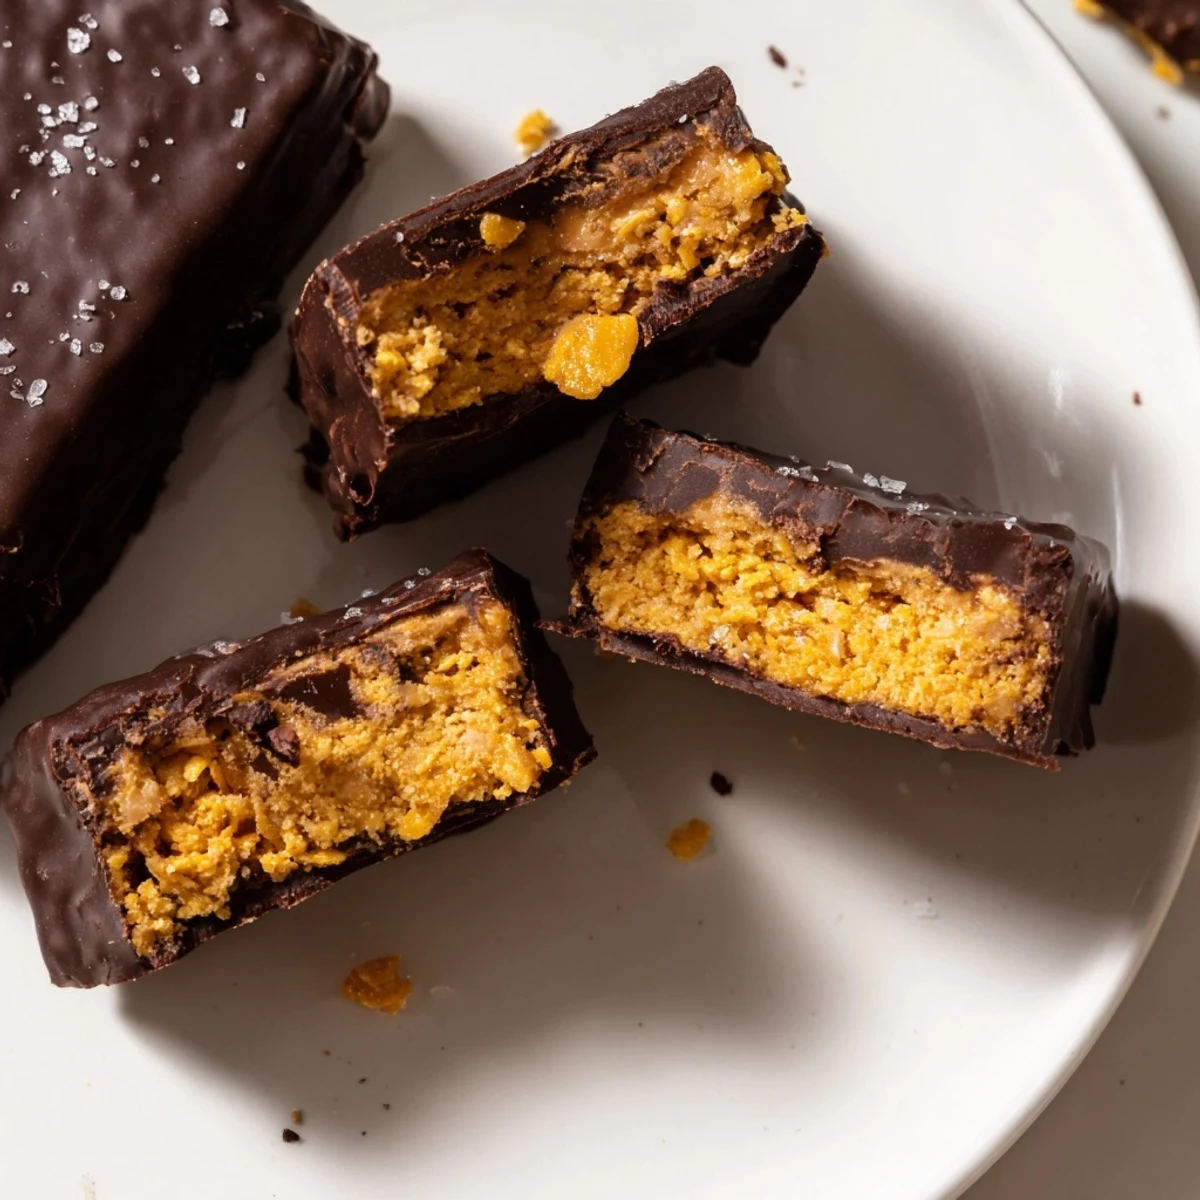
 These homemade Butterfingers capture everything you love about the classic candy bar — the signature crunchy peanut butter center and smooth chocolate coating — but with wholesome ingredients you can feel good about.
The secret lies in lightly crushed cornflakes folded into a warm peanut butter and maple syrup mixture, creating that irresistible flaky crunch. After a quick chill, each bar gets dipped in melted dark chocolate for a glossy finish.
Ready in about an hour with minimal prep, these no-bake bars are vegetarian, naturally gluten-free, and easily made vegan. They store beautifully in the fridge or freezer for whenever a sweet craving strikes.
The candy aisle at the grocery store always tempted me as a kid, those bright orange Butterfinger wrappers practically glowing from the shelf. My mom rarely bought them, so they became this mythical treat I craved even more. Years later, standing in my own kitchen at midnight with a jar of peanut butter and a bag of cornflakes, I figured there had to be a way to recreate that crunchy, peanut buttery magic without the long ingredient list. What came out of the freezer that night was shockingly close to the real thing.
I brought a batch of these to a movie night with friends, expecting them to disappear slowly over the evening. They were gone before the opening credits finished rolling, and my friend David looked at me with actual suspicion, convinced I had bought them from a boutique candy shop. That reaction alone was worth every minute spent dipping bars in melted chocolate.
Ingredients
- 1 cup natural creamy peanut butter: Use the kind with just peanuts and salt on the label, the stabilizers in conventional peanut butter change the texture in ways you will not want here.
- 1/2 cup pure maple syrup or honey: Maple syrup keeps the bars vegan and adds a subtle caramel note that pairs beautifully with the dark chocolate.
- 1 teaspoon vanilla extract: A small amount rounds out the flavors and makes everything taste more like a finished candy rather than a quick kitchen experiment.
- 2 cups cornflakes, lightly crushed: Do not pulverize them into dust, you want irregular pieces that shatter when you bite, that is the whole point of a Butterfinger.
- Pinch of sea salt: This tiny addition balances the sweetness and makes the peanut butter taste more intensely like itself.
- 1 1/2 cups dark chocolate chips: Go for something around 60 to 70 percent cacao, it cuts through the sweetness of the filling in exactly the right way.
- 1 tablespoon coconut oil: This is the secret to a shiny, snappy chocolate coating that sets firm instead of staying soft and tacky.
Instructions
- Prep Your Pan:
- Line an 8x8 inch baking dish with parchment paper, leaving some overhang on the sides so you can lift the whole block out later without fighting it.
- Melt the Base:
- In a saucepan over medium low heat, stir the peanut butter and maple syrup together until they melt into one smooth, glossy mixture, about two to three minutes. You are not cooking this, just warming it enough to bring everything together, so take it off the heat the moment it looks uniform.
- Add Flavor and Crunch:
- Off the heat, stir in the vanilla and salt, then gently fold in the crushed cornflakes until every flake is coated in that golden peanut butter mixture. Work carefully so you do not crush the flakes any further than you already have.
- Press and Freeze:
- Spread the mixture into your prepared pan and press it down firmly and evenly with a spatula. Slide it into the freezer for twenty to thirty minutes until the block feels completely firm and set.
- Cut Into Bars:
- Lift the slab out using the parchment overhang and place it on a cutting board. Slice it into sixteen bars with a sharp knife, pressing straight down rather than sawing so the edges stay clean.
- Melt the Chocolate:
- Combine the chocolate chips and coconut oil in a microwave safe bowl and heat in thirty second bursts, stirring between each, until the mixture is completely smooth and glossy. Alternatively, use a double boiler if you prefer a gentler approach.
- Coat Each Bar:
- Dip each bar into the melted chocolate, turning it with a fork to coat all sides, then tap off the excess against the edge of the bowl. Set each coated bar on a fresh sheet of parchment paper.
- Chill Until Set:
- Place the tray of coated bars in the fridge for fifteen to twenty minutes until the chocolate shell is firm to the touch and no longer glossy wet. Store them in an airtight container in the refrigerator from here on out.
 Save to Pinterest
 One rainy Sunday I spent an afternoon wrapping these in little squares of wax paper, tucking them into a tin like something from an old fashioned candy shop. My neighbor stopped by that evening and I handed her one, and she stood in my doorway chewing slowly before saying quietly that it reminded her of the candy her grandmother used to make. That tiny moment turned a fun kitchen project into something I actually care about keeping in my rotation.
Making It Your Own
Swap the dark chocolate for milk chocolate if you want something sweeter and more nostalgic, or drizzle white chocolate on top for a visual twist. A sprinkle of flaky sea salt over the wet chocolate coating adds a grown up dimension that makes these feel far more sophisticated than a candy bar copycat.
Storage That Actually Works
These bars need to stay cold, plain and simple, because the coconut oil in the chocolate softens at room temperature and the peanut butter filling loses its snap. Keep them in an airtight container in the fridge for up to two weeks, or freeze them layered between sheets of parchment for up to three months. Let frozen bars sit at room temperature for about ten minutes before eating so the chocolate coating does not crack your teeth.
Quick Reference Before You Start
Read through the whole process once before you begin because timing matters, especially the freezer step, and you will want your chocolate melting station ready before the bars come out. This recipe is genuinely easy but it flows better when you are not scrambling for parchment paper with chocolatey fingers. A few small preparations make the whole thing feel effortless.
- Clear space in your freezer and fridge before you start so you are not juggling a hot pan and a crowded freezer shelf.
- Use a fork for dipping the bars, it lets excess chocolate drip off cleanly and gives you more control than using your fingers.
- Taste your peanut butter before you begin, if it is overly salty or bland, that will carry straight through to the finished candy.
 Save to Pinterest
 These homemade Butterfingers are proof that sometimes the best candy is the kind you make yourself, with ingredients you can actually pronounce. Share them generously and keep a few hidden in the back of the fridge for yourself.
Recipe Questions & Answers
- → Can I make these Butterfinger bars vegan?
-
Yes, simply use maple syrup instead of honey and choose dairy-free dark chocolate chips. Coconut oil remains the same. Always check your cornflake brand to ensure no animal-derived additives.
- → Why are my cornflakes getting too crushed when mixing?
-
Lightly crush the cornflakes by hand or with a gentle press in a zip-top bag — you want small pieces with some texture remaining, not fine crumbs. Fold them in gently rather than stirring aggressively to preserve the signature crunch.
- → How should I store the finished bars?
-
Store bars in an airtight container in the refrigerator for up to 2 weeks. For longer storage, freeze them for up to 3 months. Let frozen bars sit at room temperature for a few minutes before eating for the best texture.
- → Can I use milk chocolate instead of dark chocolate?
-
Absolutely. Milk chocolate will give a sweeter, creamier coating closer to the original candy bar. Just note that it may be softer at room temperature, so keep the finished bars chilled until serving.
- → What can I substitute for cornflakes?
-
Rice cereal works as a gluten-free alternative with similar crunch. Crushed pretzels add a salty twist, and rolled oats can work too, though the texture will be chewier rather than flaky and crisp.
- → My chocolate coating keeps melting at room temperature — what should I do?
-
The coconut oil helps the chocolate set firmly when chilled. Make sure you're giving the bars enough time in the fridge — at least 20 minutes. In warm climates, store and serve them directly from the refrigerator.
