 Save to Pinterest
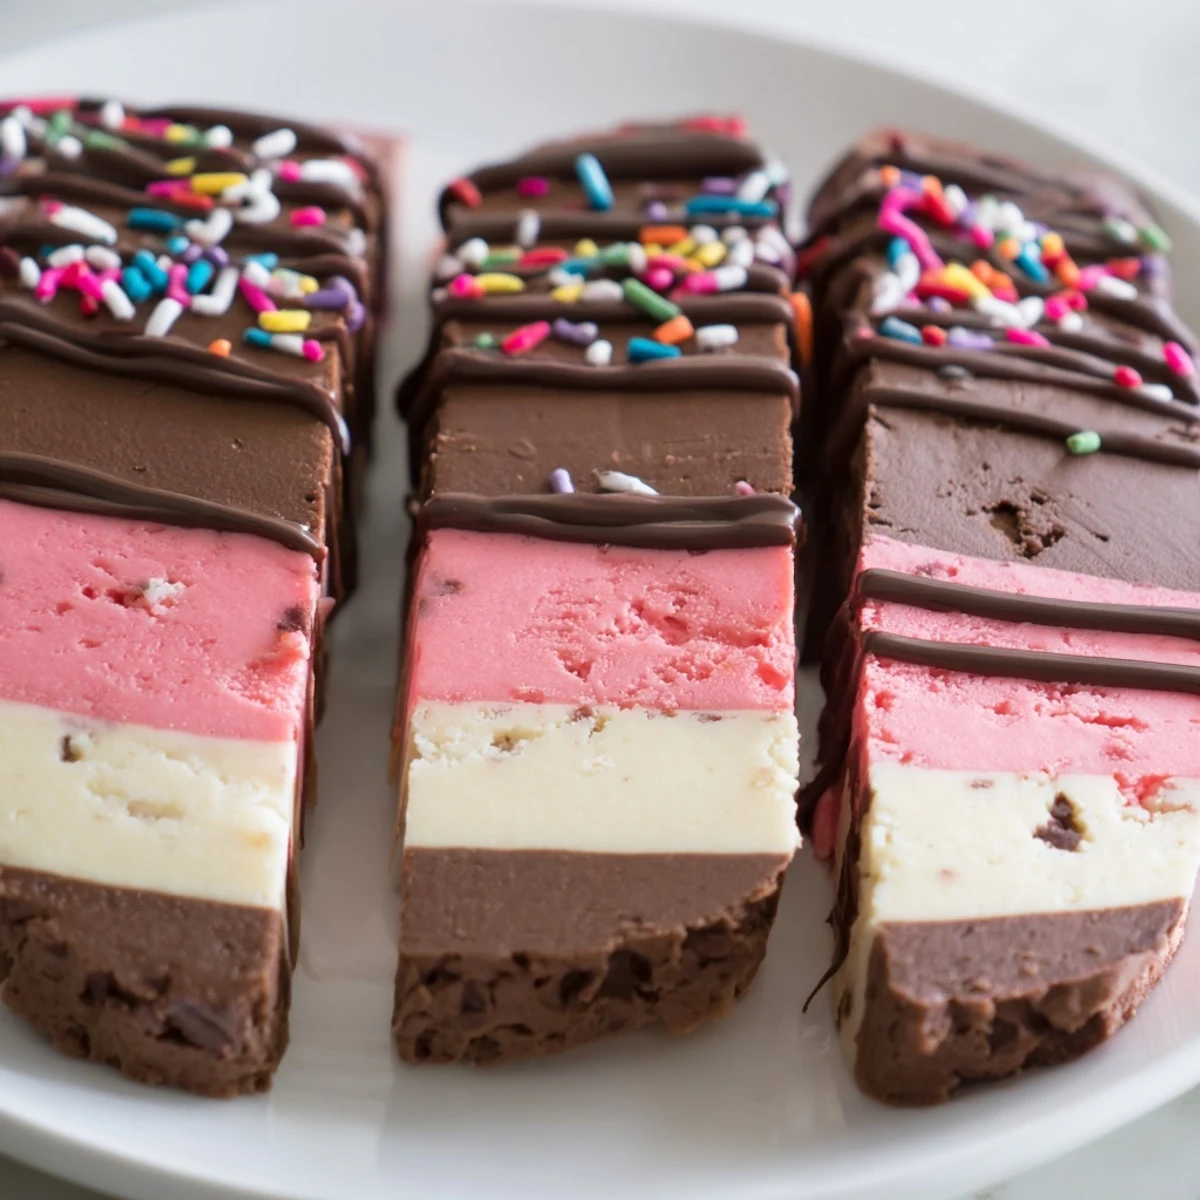
 These Neapolitan cookies bring together three beloved flavors—rich chocolate, smooth vanilla, and sweet strawberry—in one beautiful layered treat.
The dough is divided into three portions, each flavored and colored separately, then stacked and baked together for a stunning tri-color effect.
Reminiscent of childhood Neapolitan ice cream, these cookies are as fun to make as they are to eat. Finish with a drizzle of melted chocolate and sprinkles for an extra touch of indulgence.
The oven timer had just gone off when my niece bolted into the kitchen, eyes wide at the sight of three bowls of dough lined up like a painter palette. She insisted on being the one to press the pink layer into the pan, and her small hands left fingerprints across the surface that I secretly loved. Neapolitan cookies taste like childhood itself, stacked in those unmistakable chocolate, vanilla, and strawberry stripes that mirror the ice cream we all fought over at birthday parties. Making them at home fills the kitchen with a sweetness that goes beyond butter and sugar.
I brought a tin of these to a neighborhood potluck last spring and watched a quiet corner of the dessert table turn into a gathering spot. People kept picking them up, examining the clean layers, asking how on earth they were made. One friend assumed they came from a bakery, which remains one of my proudest kitchen moments.
Ingredients
- Unsalted butter (225 g): Bring it to true room temperature for the smoothest creaming, cold butter leaves stubborn lumps.
- Granulated sugar (300 g): Standard white sugar works best here, the dough needs its clean sweetness.
- Large eggs (2): Add them one at a time so the batter stays emulsified and silky.
- Vanilla extract (1 tsp): Use pure extract if you can, it carries the plain layer and lifts all three.
- All-purpose flour (340 g): Spoon and level gently to avoid dense, heavy cookies.
- Baking powder (1/2 tsp): Just enough lift to keep the layers tender without puffing away the stripes.
- Fine salt (1/2 tsp): Balances the sweetness and sharpens each flavor.
- Unsweetened cocoa powder (2 tbsp): Stirred into one third of the dough for a gentle chocolate layer.
- Strawberry extract (1/2 tsp): A little goes a long way toward that nostalgic berry taste.
- Pink or red gel food coloring: Gel keeps the dough from getting sticky while delivering vivid color.
- Semisweet chocolate (100 g, melted): Optional but a drizzle on top makes them gift worthy.
- Sprinkles or chopped nuts: Purely for fun and a bit of crunch.
Instructions
- Preheat and prepare the pan:
- Set your oven to 175 degrees C (350 degrees F) and line a 23 x 33 cm baking pan with parchment, letting the paper hang over two edges like handles. This trick saves you later when you need to lift the whole slab out in one piece.
- Cream butter and sugar:
- Beat the softened butter and sugar together in a large bowl until the mixture turns pale and looks almost cloudlike. Scrape down the bowl once or twice so everything blends evenly.
- Add eggs and vanilla:
- Drop in one egg, beat until it disappears completely, then repeat with the second. Pour in the vanilla and give it a final few seconds of mixing until the batter smells like a bakery.
- Mix the dry into the wet:
- In a separate bowl, whisk the flour, baking powder, and salt together. Add this gradually to the butter mixture on low speed, stopping the moment a soft dough comes together.
- Divide and flavor the dough:
- Split the dough into three equal portions, roughly 300 g each. Stir cocoa powder into the first bowl, strawberry extract and food coloring into the second, and leave the third plain.
- Layer the doughs:
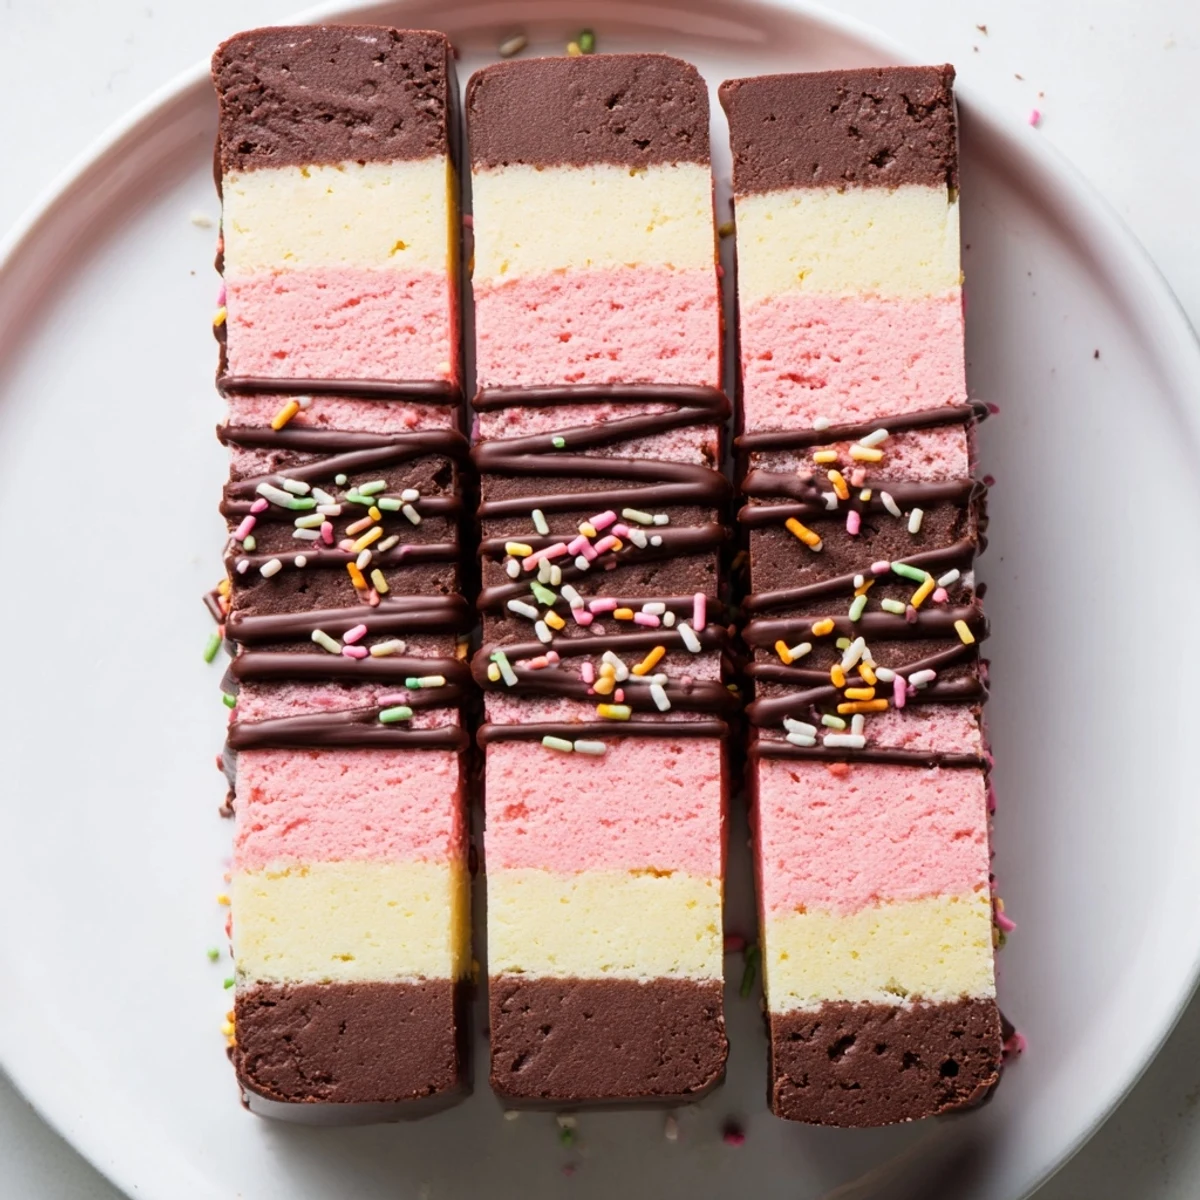
- Press the chocolate dough into the bottom of your prepared pan, smoothing it flat with an offset spatula. Spread the vanilla dough over that, then finish with the strawberry layer on top, taking care not to mix the colors at the edges.
- Bake until just set:
- Slide the pan into the oven for 12 to 15 minutes, watching for the edges to barely turn golden. The center should feel softly set, not firm, because it will continue cooking as it cools.
- Cool, cut, and decorate:
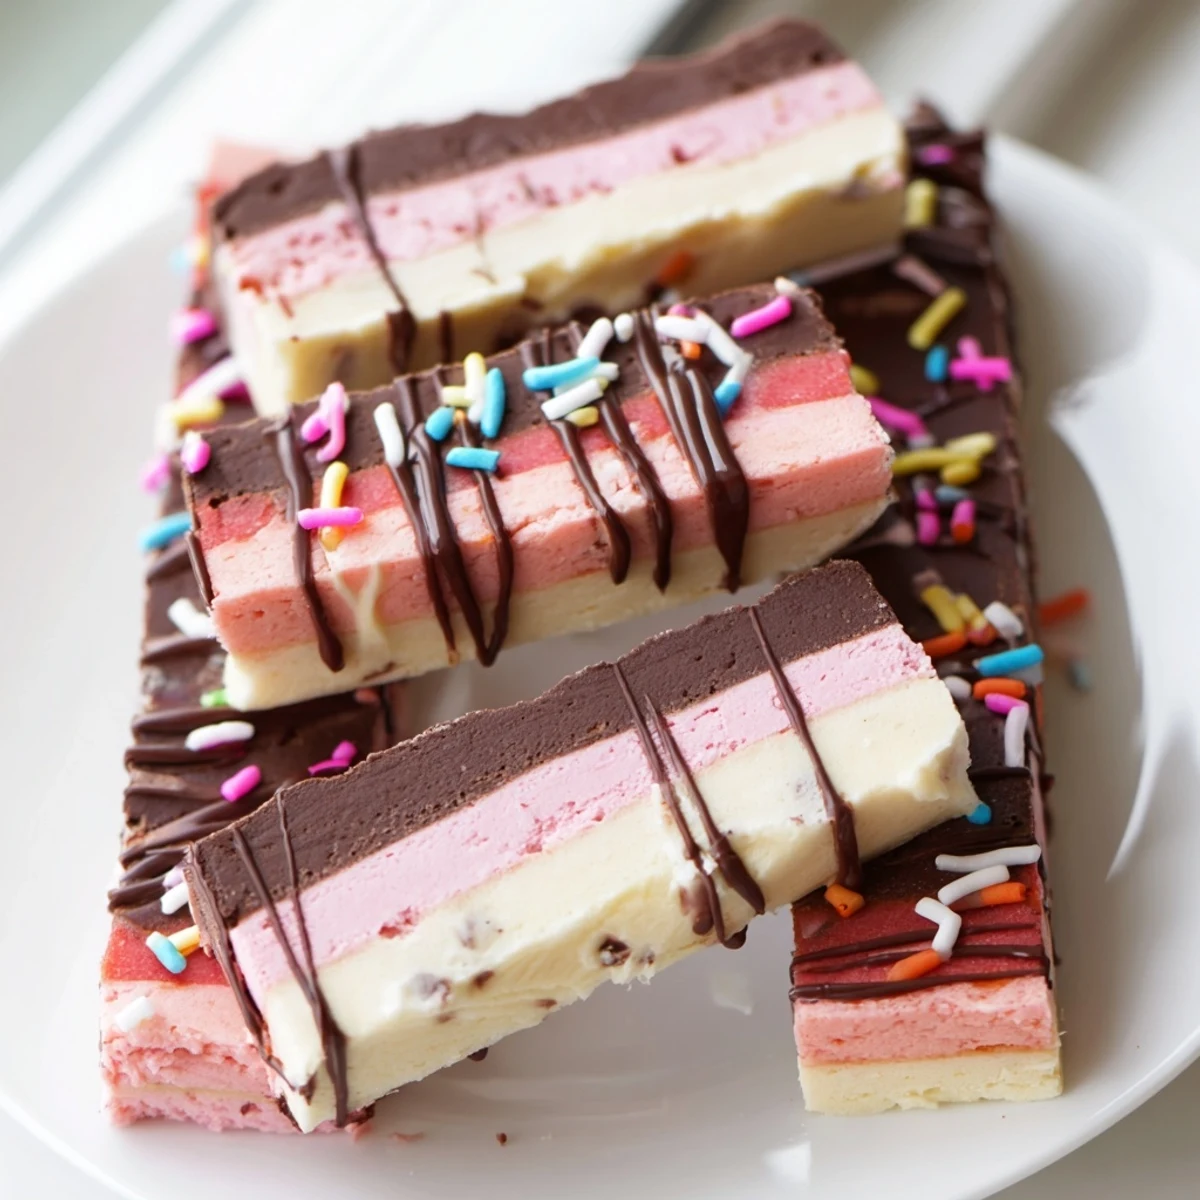
- Let the slab cool completely in the pan on a wire rack. Lift it out using the parchment overhang, cut into bars or squares, and drizzle with melted chocolate and sprinkles if you like.
 Save to Pinterest
 One rainy Saturday I spent the afternoon teaching my neighbor how to make these, and we ended up sitting on the kitchen floor laughing at how uneven her strawberry layer looked. We ate the ugliest pieces right there with mugs of tea, and honestly they tasted better than any perfect batch ever could.
Storing Your Cookies
Keep them in a single layer in an airtight container and they stay soft and fresh for up to five days. If you need to stack them, place a sheet of parchment between layers so the chocolate drizzle does not smudge. They also freeze well for up to three months, just thaw at room temperature for about an hour before serving.
Playing With Colors and Flavors
The beauty of this recipe is how easily it adapts to whatever occasion is on your calendar. Swap the strawberry layer for orange extract and orange food coloring at Halloween, or use peppermint extract and red coloring for a holiday cookie tray. The chocolate layer can be intensified with an extra tablespoon of cocoa if you prefer a deeper flavor.
Troubleshooting Common Issues
If your layers seem to blend together at the boundaries, your dough was probably too warm when you assembled the pan. A brief chill in the refrigerator for each bowl of dough before pressing solves this completely. Crumbly edges usually mean the flour was overmeasured, so always spoon and level rather than scooping directly from the bag.
- Wet hands slightly when pressing dough into the pan for a smoother, more even surface.
- A plastic bench scraper is the best tool for cleanly lifting cut bars without crumbling.
- Always taste the strawberry dough before baking to check the intensity of both extract and color.
 Save to Pinterest
 These cookies turn an ordinary afternoon into something that feels worth remembering. Bake them once and they will become part of your story too.
Recipe Questions & Answers
- → Can I make the dough ahead of time?
-
Yes, you can prepare the dough and refrigerate it for up to 24 hours before layering and baking. Let it soften slightly at room temperature for easier pressing into the pan.
- → Why did my layers blend together during baking?
-
This usually happens when the dough is overbaked or pressed too loosely. Make sure each layer is firmly and evenly pressed, and bake just until set—12 to 15 minutes at 175°C (350°F).
- → Can I use freeze-dried strawberries instead of strawberry extract?
-
Absolutely. Crush freeze-dried strawberries into a fine powder and fold them into the dough. This adds natural flavor and a subtle pink hue without artificial coloring.
- → How should I store these cookies?
-
Store them in an airtight container at room temperature for up to 5 days. You can also freeze them for up to 2 months; thaw at room temperature before serving.
- → What if I can't find strawberry extract?
-
You can substitute with raspberry extract or a small amount of strawberry jam. Keep in mind that jam adds moisture, so you may need to slightly reduce another liquid in the dough.
- → Can I make these cookies gluten-free?
-
Yes, swap the all-purpose flour with a 1:1 gluten-free baking blend. The texture may be slightly more crumbly, so chilling the dough before layering can help it hold together better.
