 Save to Pinterest
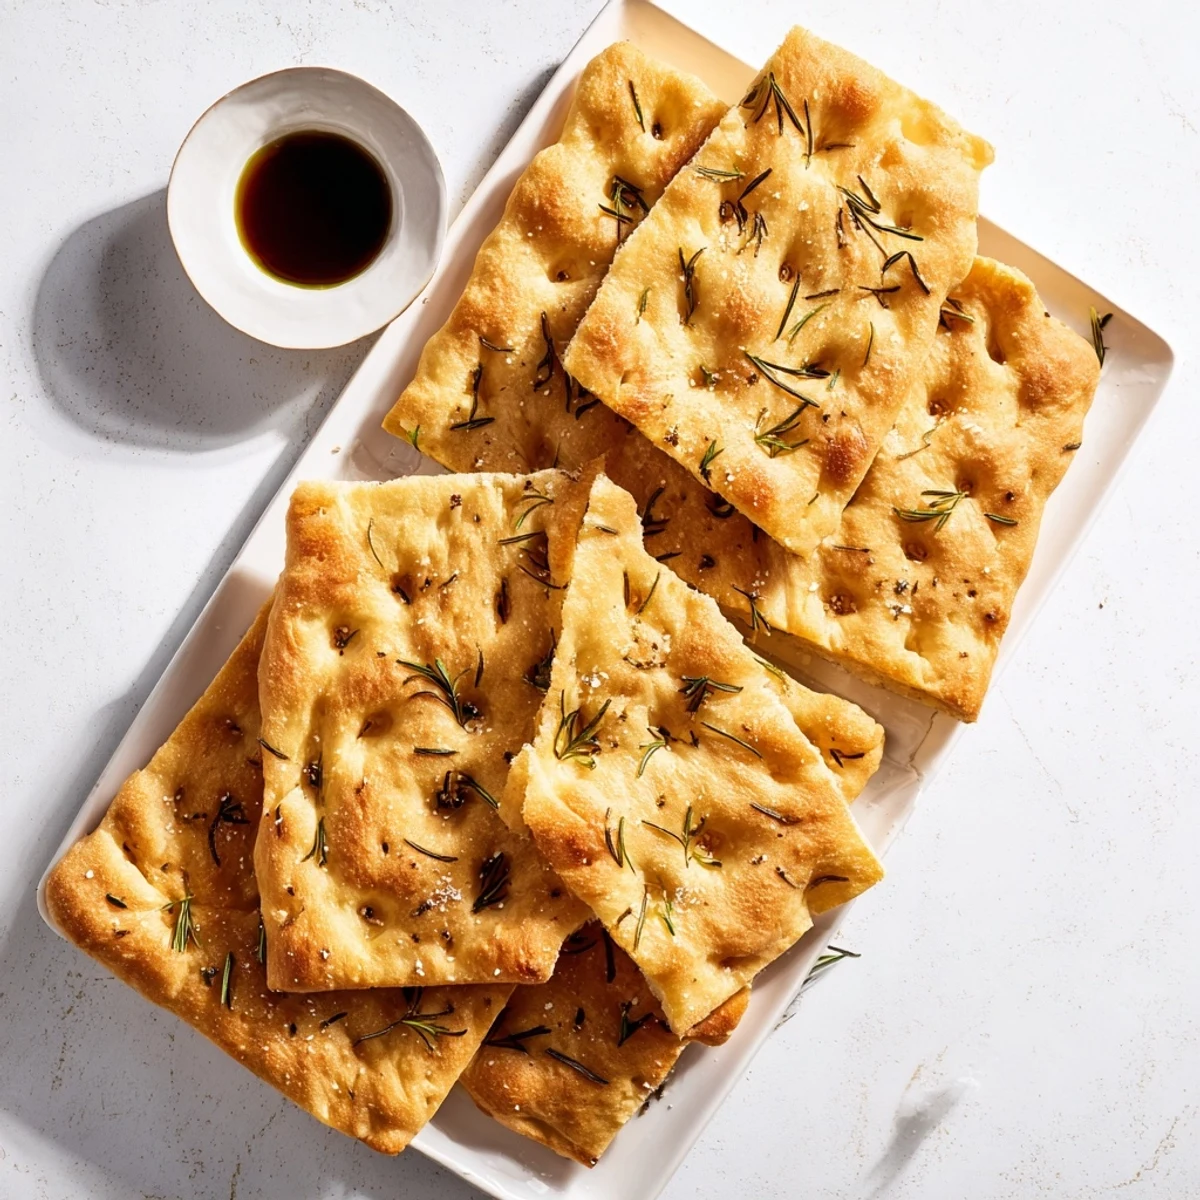
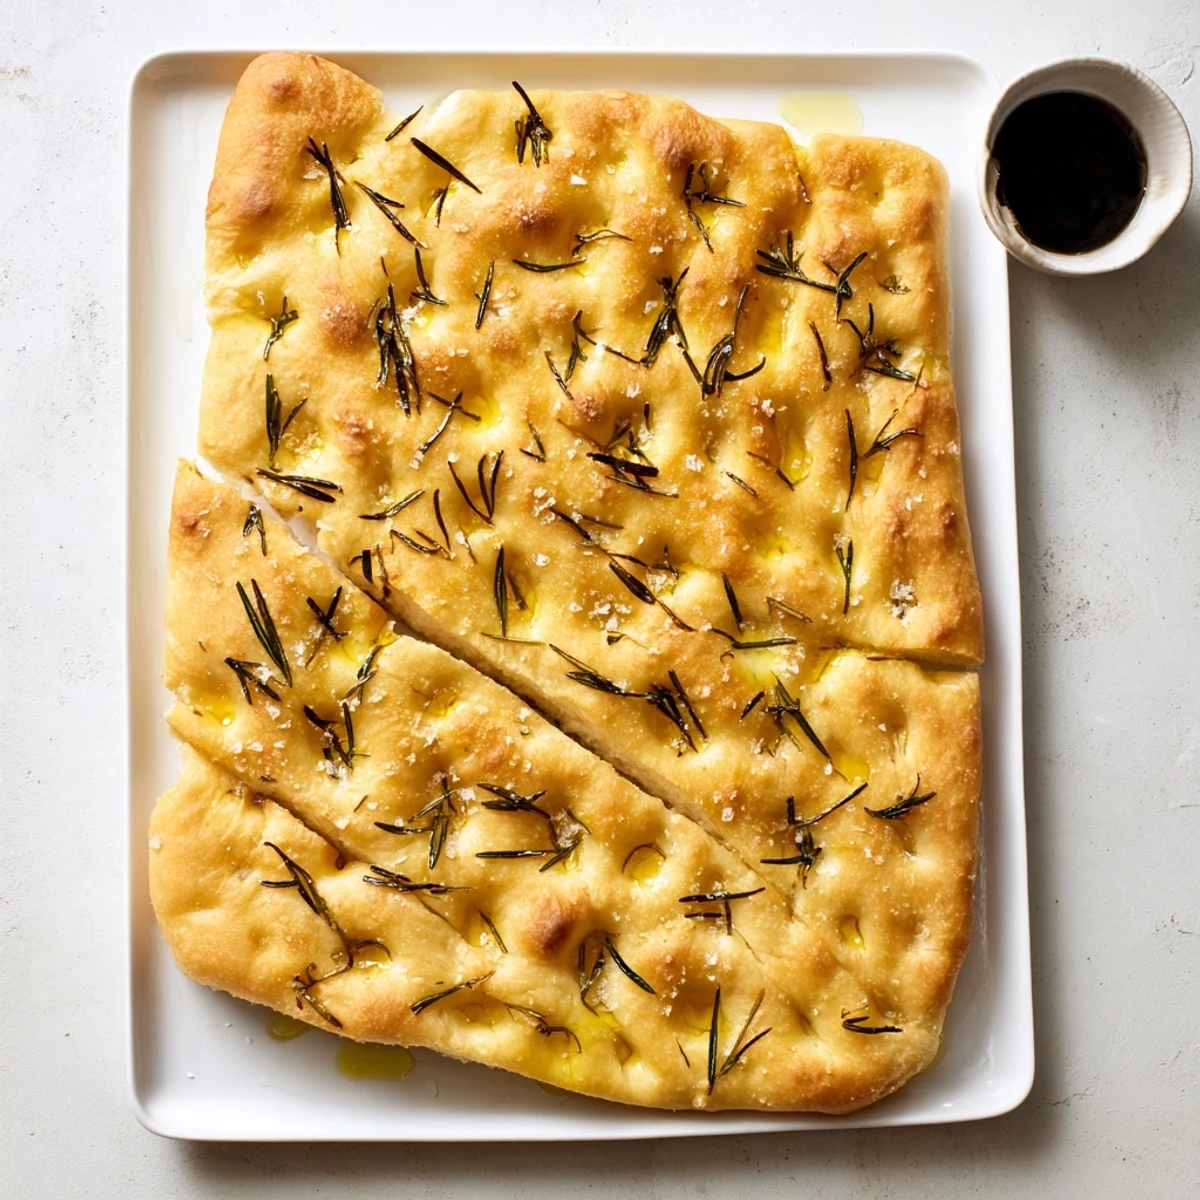
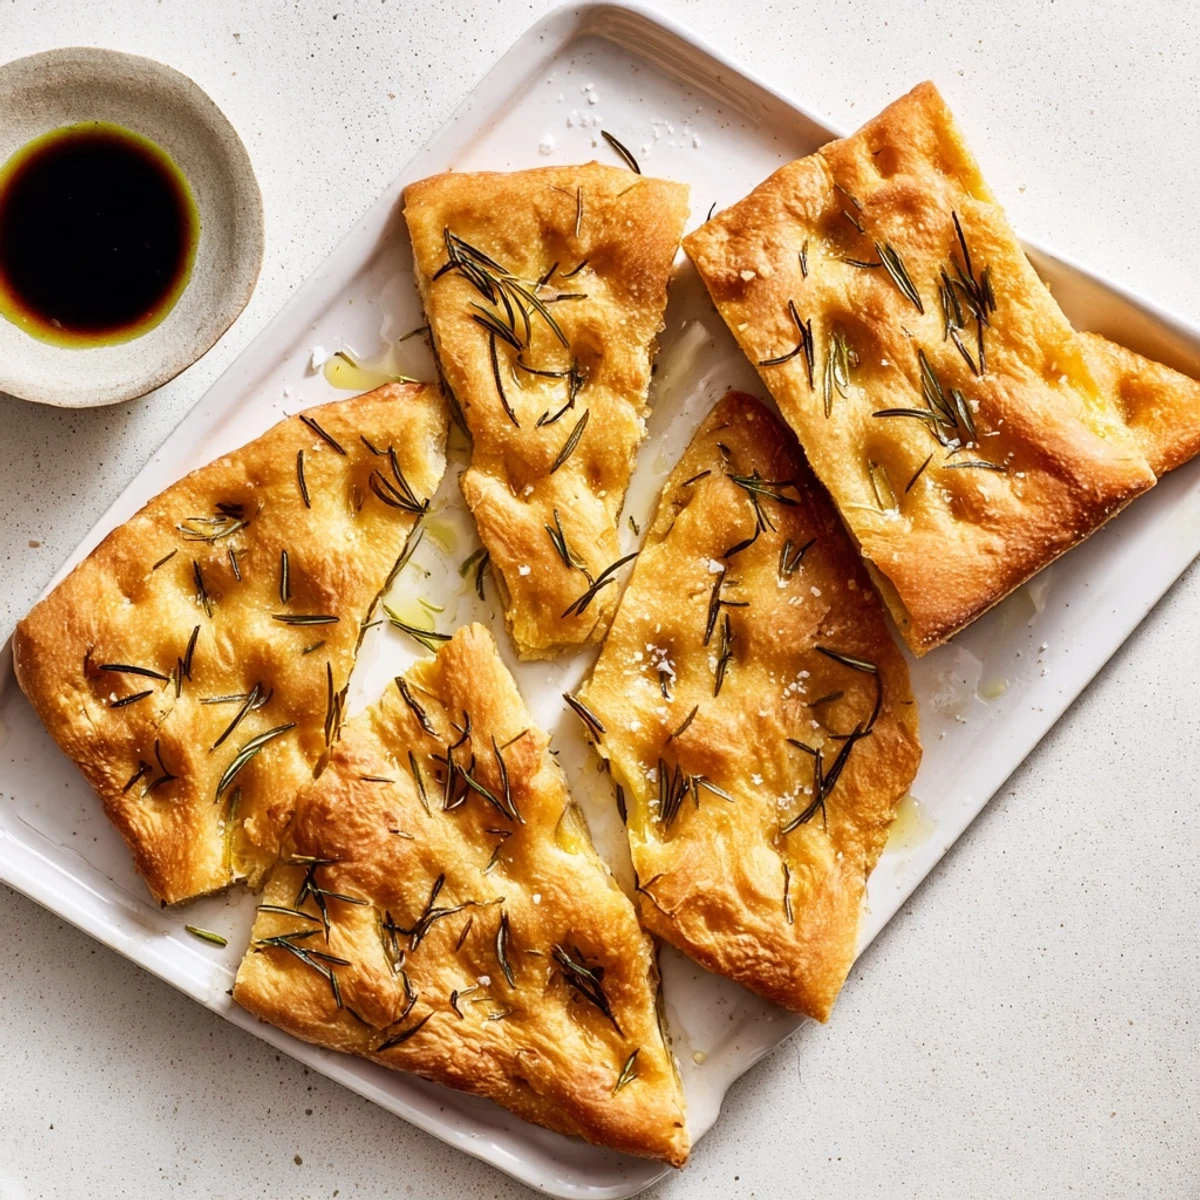
 Create an authentic Italian flatbread that delivers the perfect contrast textures—golden and crisp on the exterior with an irresistibly soft, airy interior. This traditional preparation combines high-quality olive oil, fragrant fresh rosemary, and flaky sea salt for that signature Mediterranean flavor profile.
The dough develops remarkable depth through a two-stage rising process, while the characteristic dimpled surface creates those beloved crispy, oil-soaked pockets. Ideal served warm alongside soups and salads, used as a sandwich base, or enjoyed on its own as an appetizer with a drizzle of balsamic.
The sound of dough snapping against a marble counter on a rainy Tuesday afternoon is what finally taught me patience in the kitchen. I had burned three batches of focaccia before I understood that this bread demands nothing from you but time and olive oil, plenty of it. My neighbor Elena, who grew up near Genoa, once watched me aggressively kneading and gently said you are punishing the dough, not making bread. That single sentence changed everything about how I approach this recipe.
I baked a tray of this for a rooftop dinner party last September and watched six adults revert to silent, tearing hands reaching across the table before the pasta even made it out. The bread vanished in under ten minutes and someone actually licked the rosemary salt off their fingers without embarrassment.
Ingredients
- 500 g bread flour: Bread flour gives the stretch and chew that all purpose simply cannot match here.
- 10 g salt: Do not skimp on salt or the bread will taste flat and sad despite the toppings.
- 7 g active dry yeast: One standard packet works perfectly and saves you from measuring.
- 325 ml lukewarm water: It should feel like a warm bath on your wrist, not hot, or you will kill the yeast.
- 50 ml extra virgin olive oil in the dough: This is what makes the interior tender and keeps it from drying out.
- 1 tsp sugar: Just enough to wake the yeast up and get things bubbling.
- 2 tbsp extra virgin olive oil for topping: Be generous here because this is the layer that crisps and shines.
- 1 tbsp fresh rosemary chopped: Fresh is dramatically better but dried works in a pinch.
- 1.5 tsp flaky sea salt: The flaky kind melts into little bursts of salinity that table salt cannot replicate.
- Optional olives or cherry tomatoes: Press them gently into the dimples for little pockets of acidity.
Instructions
- Wake up the yeast:
- Stir the yeast and sugar into the lukewarm water and set it aside for ten minutes until it blooms into a foamy, alive smelling mixture that tells you everything is working.
- Bring the dough together:
- Pour the flour and salt into a large bowl, create a well in the center, and add the yeasty water along with the olive oil before mixing with your hands until you have a shaggy, sticky mass.
- Knead with intention:
- Turn the dough onto a lightly floured surface and work it for eight to ten minutes until it transforms from a ragged lump into something smooth and springy that bounces back when you poke it.
- Let it rest and grow:
- Transfer the dough to an oiled bowl, drape a damp cloth over it, and walk away for one full hour while it doubles in size and fills your kitchen with that subtle yeasty warmth.
- Shape and dimple:
- Press the risen dough into a generously oiled baking tray and use your fingertips to create deep dimples across the entire surface, pushing firmly but lovingly.
- Dress it up:
- Drizzle olive oil liberally over the top so it pools in the dimples, then scatter rosemary, sea salt, and any olives or tomatoes you are using.
- Final rise and bake:
- Let the dressed dough puff up for twenty to thirty minutes while the oven heats to 220 degrees Celsius, then bake for twenty to twenty five minutes until the edges are deeply golden and the kitchen smells impossibly good.
- Cool just slightly:
- Pull it from the oven and resist the urge to cut immediately because giving it five minutes lets the crumb settle and makes slicing cleaner.
 Save to Pinterest
 There is a particular kind of quiet that settles over a kitchen when focaccia is in the oven and the smell of rosemary and toasting olive oil begins drifting through the house.
Variations Worth Trying
Thinly sliced red onions pressed into the dough before baking turn sweet and jammy in the heat. I once scattered sun dried tomatoes and thyme over a tray for a potluck and three people asked for the recipe on the spot.
What to Serve It With
This bread is a natural companion to any soup but particularly loves a rustic minestrone or a bowl of roasted tomato bisque. A chilled glass of Pinot Grigio alongside warm focaccia on a summer evening is genuinely hard to beat.
A Few Last Thoughts
Homemade focaccia is best eaten the day it is baked but toasts beautifully the next morning with a little extra oil.
- Wrap leftover bread in a clean towel rather than plastic to keep the crust from going soft.
- If your kitchen is cold, let the dough rise near a warm oven or in a turned off microwave for a cozy environment.
- Trust your eyes over the clock because dough rises on its own schedule.
 Save to Pinterest
 Every time I make focaccia I think of Elena standing in my kitchen, laughing at my frantic kneading, and I slow down. Good bread is really just flour, water, time, and the willingness to let things be.
Recipe Questions & Answers
- → What makes focaccia different from regular bread?
-
Focaccia features a higher olive oil content, creating a richer dough with distinctively moist crumb and crispy exterior. The traditional dimpling technique allows oil to pool during baking, forming those signature crunchy, flavorful pockets while keeping the interior tender and airy.
- → Why is my focaccia not rising properly?
-
Ensure your water temperature is warm but not hot—excessive heat can kill yeast. The dough requires adequate rising time in a warm, draft-free area. If your kitchen is cool, place the bowl near a preheating oven or in a slightly warm spot to encourage proper fermentation.
- → Can I use dried herbs instead of fresh?
-
Fresh rosemary provides superior aroma and flavor intensity, but dried works in a pinch. Use one-third the amount when substituting dried for fresh. Rehydrate dried herbs in a little warm olive oil before topping to prevent burning and release their essential oils.
- → What's the purpose of dimpling the dough?
-
The traditional fingertip dimpling serves multiple purposes: creates pockets for olive oil to collect, produces those signature crispy, caramelized spots, helps the dough hold its shape during baking, and creates that distinctive textured appearance that makes focaccia instantly recognizable.
- → How should I store leftover focaccia?
-
Fresh focaccia is best enjoyed the same day but can be stored in an airtight container at room temperature for up to two days. To refresh, wrap in foil and warm in a 180°C (350°F) oven for 8-10 minutes. For longer storage, slice and freeze individually, then thaw and reheat as needed.
- → Can I make this vegan?
-
This traditional focaccia contains no animal products and is naturally vegan-friendly. All ingredients—flour, water, olive oil, yeast, salt, and herbs—are plant-based, making it suitable for vegan diets without any modifications needed.
