 Save to Pinterest
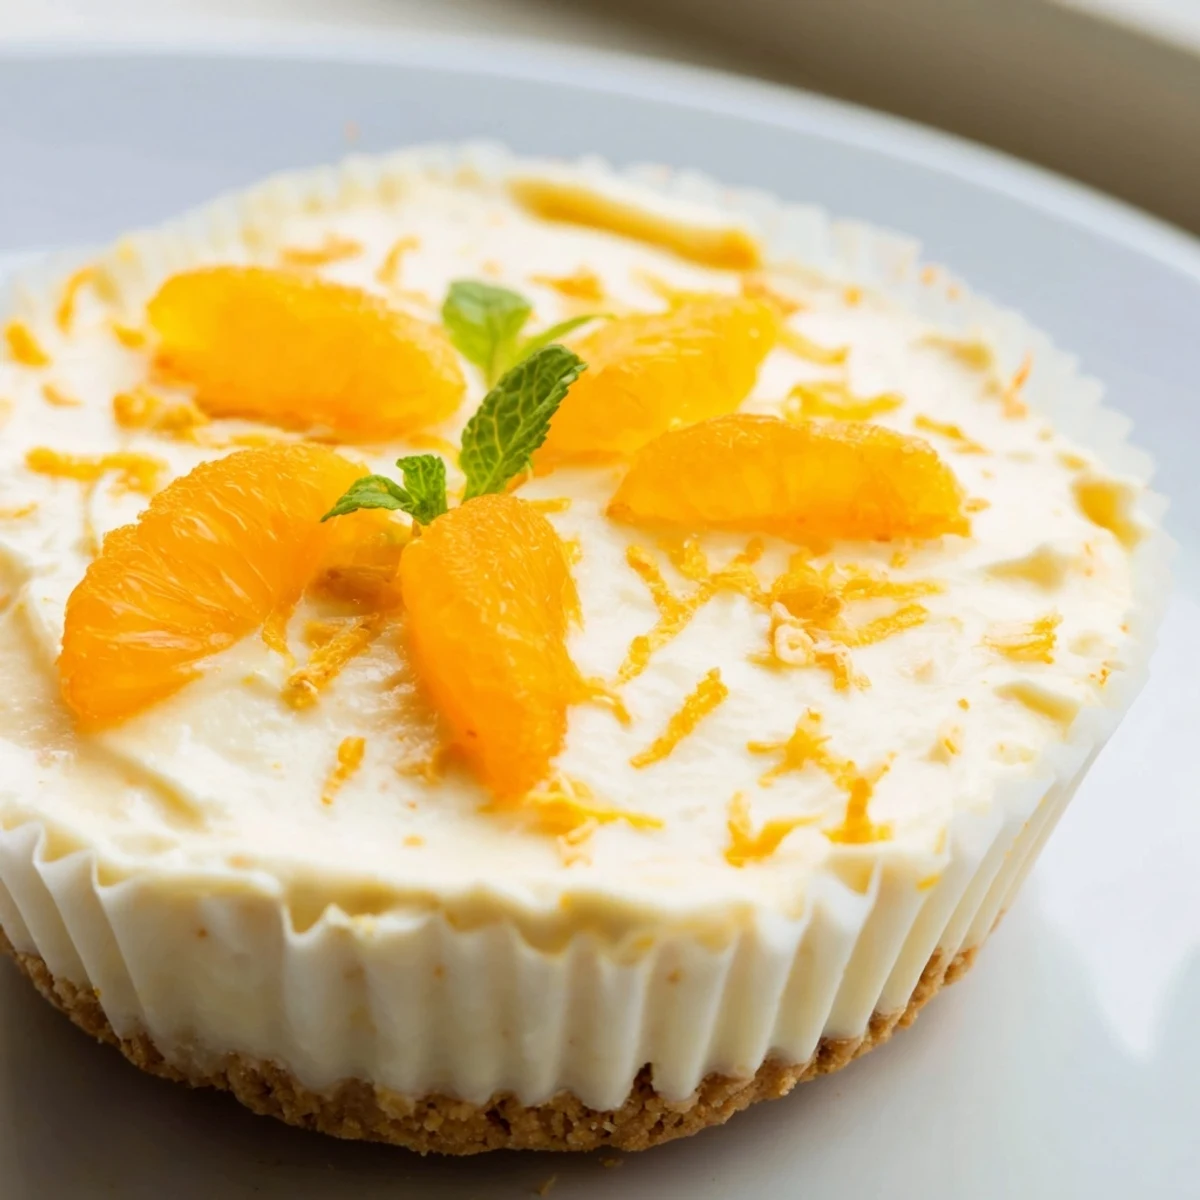
 These mini no-bake orange cheesecakes combine a buttery digestive biscuit crust with a light, creamy filling infused with fresh orange zest and juice.
Ready in just 25 minutes of hands-on time, they chill in the fridge for 3 hours until perfectly set. The whipped cream folded into the cream cheese creates an airy, mousse-like texture that pairs beautifully with the bright citrus flavor.
Topped with fresh orange segments and mint leaves, they make an elegant dessert for entertaining or a refreshing warm-weather treat.
My kitchen window was propped open on a humid July afternoon when I discovered that orange and cream cheese belong together in a way that feels almost defiant against the heat.
I brought these to a friends rooftop gathering once and watched someone close their eyes after the first bite, which is honestly the only review that matters.
Ingredients
- 120 g digestive biscuits or graham crackers: The backbone of the crust and you want them crushed to sandy rubble, not dusty powder.
- 55 g unsalted butter, melted: Binds the crumbs and adds a gentle richness that holds together after chilling.
- 250 g cream cheese, room temperature: Cold cream cheese will leave you with lumps so set it out early and be patient.
- 60 g powdered sugar: Dissolves seamlessly into the filling without any gritty surprises.
- 120 ml heavy cream, cold: Whipped to stiff peaks it gives the filling its cloud like airiness.
- 2 tsp orange zest from 1 large orange: This is where the magic lives so zest before you juice and avoid the bitter white pith.
- 2 tbsp fresh orange juice: Just enough to carry the flavor without watering down the filling.
- 1 tsp vanilla extract: Rounds out the citrus and adds quiet warmth underneath.
- Segments from 1 orange, zest of half an orange, mint leaves: Entirely optional but they turn a simple cheesecake into something that looks like it came from a bakery case.
Instructions
- Prepare Your Tins:
- Line a standard muffin tin with paper liners or reach for silicone molds if you have them, because the flexibility makes releasing the cheesecakes almost satisfying.
- Build the Crust:
- Pulse the biscuits in a food processor until you have fine crumbs then pour in the melted butter and blitz again until everything feels like damp sand that holds together when you pinch it.
- Press and Chill:
- Divide the crumb mixture among the liners and press down firmly with the back of a spoon or the flat base of a small glass, then tuck the tin into the fridge so the bases can firm up while you work.
- Make the Filling Base:
- Beat the room temperature cream cheese and powdered sugar together in a medium bowl until the mixture is completely smooth with no pale streaks or stubborn lumps remaining.
- Whip the Cream:
- In a separate cold bowl whisk the heavy cream to stiff peaks, meaning when you lift the whisk the cream stands tall without flopping over.
- Bring It All Together:
- Fold the whipped cream into the cream cheese mixture with a gentle hand then stir in the orange zest, juice, and vanilla until everything is uniformly dreamy and fragrant.
- Fill and Smooth:
- Spoon or pipe the filling over the chilled bases and use a small offset spatula or the back of a spoon to coax the tops into neat even surfaces.
- Chill Patiently:
- Refrigerate for at least three hours because the filling needs that time to set properly and rushing this step leads to sadness.
- Garnish and Serve:
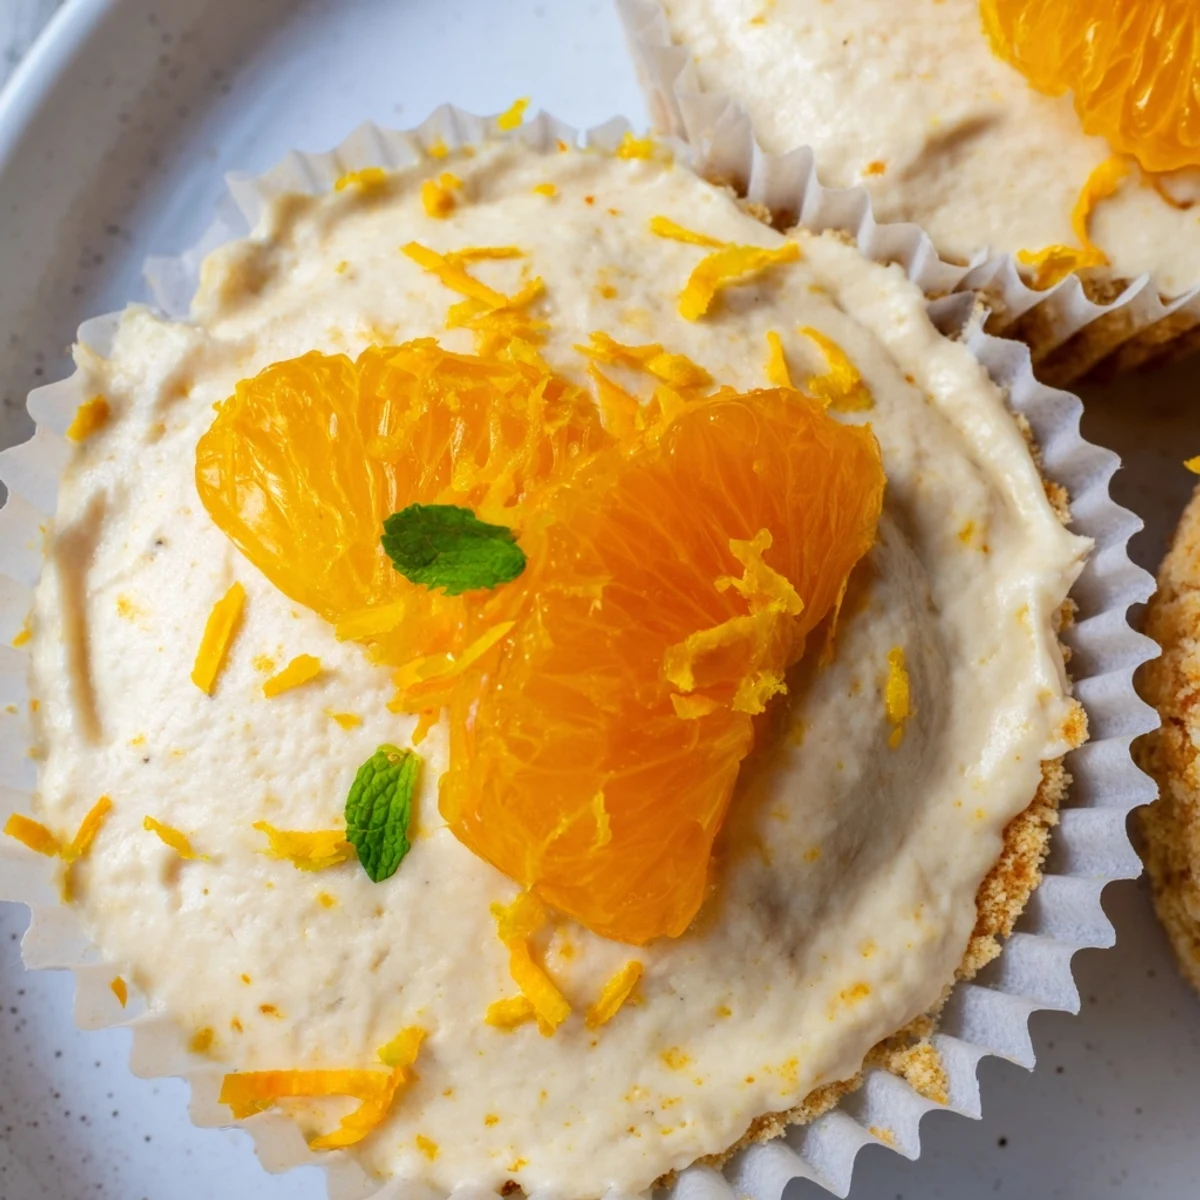
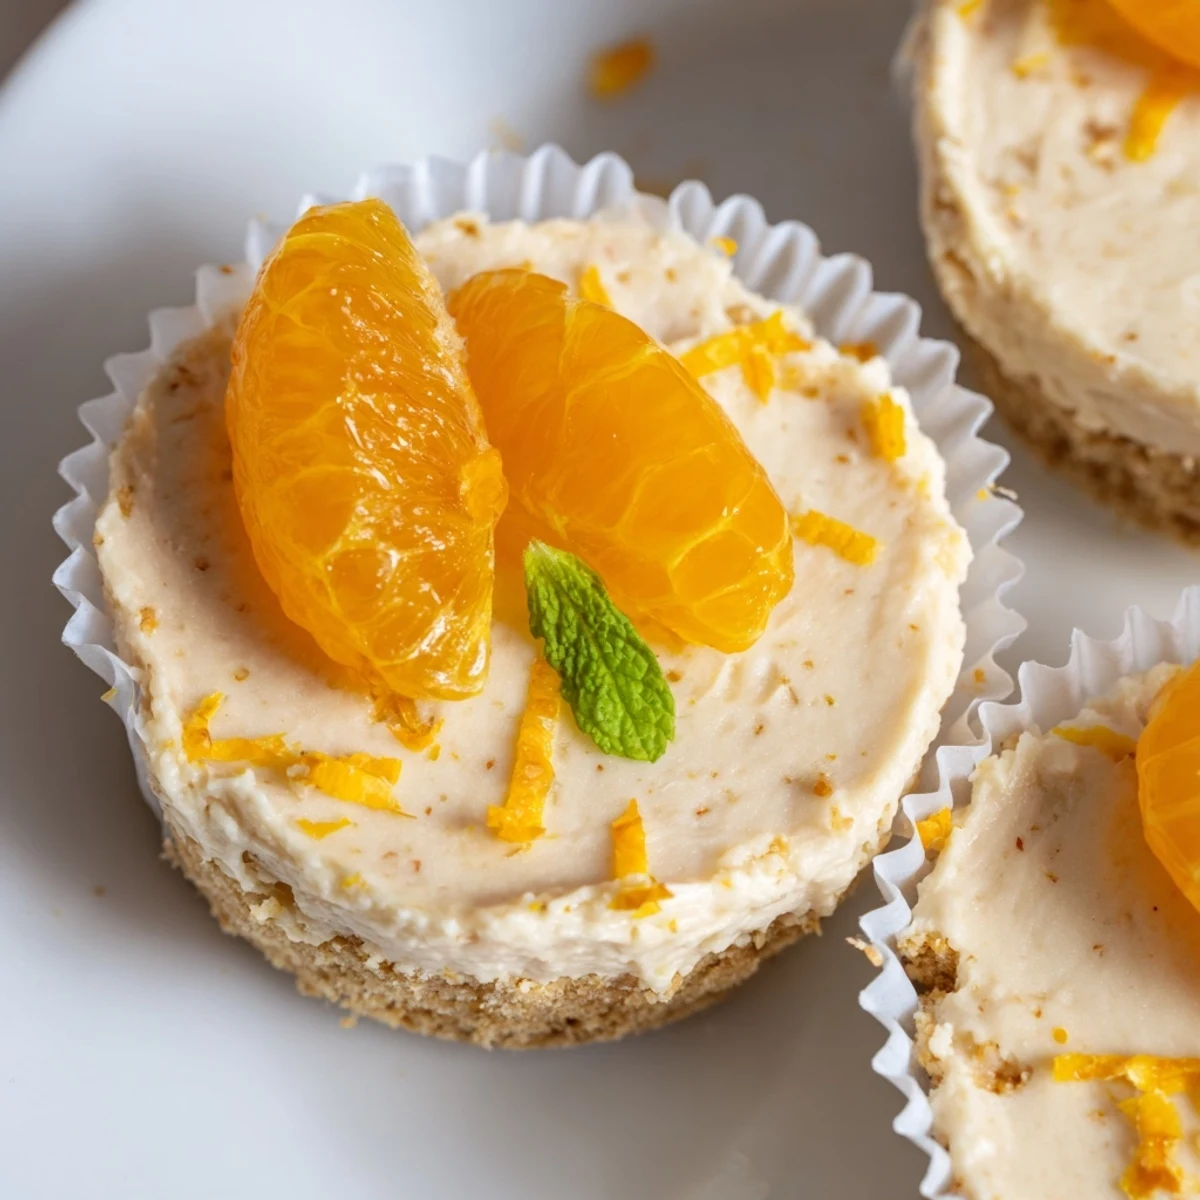
- Top with orange segments, a scatter of fresh zest, and mint leaves just before serving so everything looks vibrant and nothing wilts.
 Save to Pinterest
 Somewhere between assembling and serving I realized these little cheesecakes had become my go to for any situation that called for effortlessness dressed up as elegance.
Storing and Making Ahead
These cheesecakes keep beautifully in the fridge for up to two days if you cover them loosely so the tops do not pick up refrigerator smells.
Swaps and Dietary Tweaks
Gluten free cookies work perfectly for the crust and a tablespoon of orange liqueur folded into the filling turns a casual dessert into something that feels celebratory.
Tools You Will Want
A food processor makes quick work of the crumbs but a rolling pin and a sturdy ziplock bag will get you there too if you do not mind the noise.
- Chill your mixing bowl before whipping cream for faster stiffer peaks.
- A zester with fine holes gives you fluffy aromatic zest without any bitter pith attached.
- Always taste your orange before zesting because a dull dry orange will let down the entire filling.
 Save to Pinterest
 Keep these in your back pocket for warm evenings when you want something sweet without any effort and watch them disappear faster than you expect.
Recipe Questions & Answers
- → Can I make these mini cheesecakes ahead of time?
-
Yes, these cheesecakes can be prepared up to 2 days in advance. Keep them covered in the refrigerator until ready to serve. The flavors actually develop nicely as they chill.
- → How do I get clean edges when removing them from the muffin tin?
-
Use paper liners or silicone molds for the easiest removal. If you prefer a cleaner look without liners, lightly grease the tin before pressing in the crust and run a thin knife around the edges before gently popping them out.
- → Can I use bottled orange juice instead of fresh?
-
Fresh orange juice and zest will give you the brightest, most vibrant flavor. Bottled juice works in a pinch, but the zest is essential — it carries the aromatic oils that deliver the most intense orange taste throughout the filling.
- → What can I substitute for digestive biscuits?
-
Graham crackers are the closest substitute. You can also use gingersnaps for a spiced twist, chocolate sandwich cookies for a darker base, or gluten-free cookies if you need a gluten-free version.
- → Why did my filling turn out runny?
-
The most common cause is not whipping the heavy cream to stiff peaks before folding it in, or overmixing after combining. Make sure your cream is very cold, whip it firmly, and fold gently to keep the air in the mixture.
- → Can I freeze these mini cheesecakes?
-
Yes, they freeze well for up to 1 month. Wrap each one tightly in plastic wrap and store in an airtight container. Thaw overnight in the refrigerator before serving. Add any fresh toppings after thawing.
