 Save to Pinterest
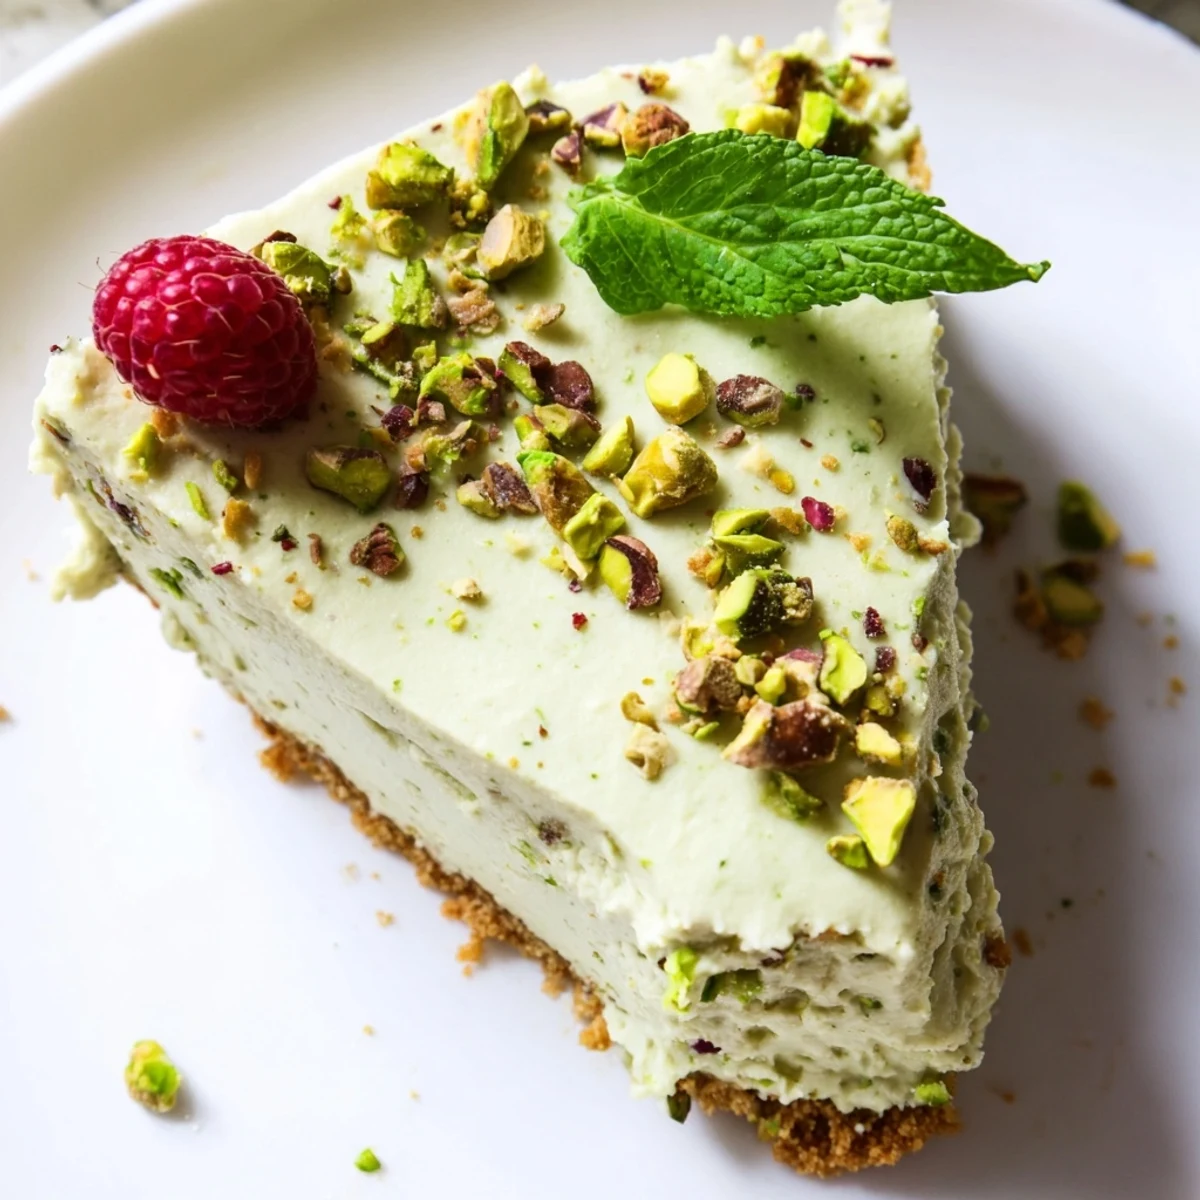
 This no bake pistachio cheesecake delivers a luxuriously creamy filling bursting with real pistachio flavor, all nestled on a buttery graham cracker crust. Simply crush the biscuits, press into your pan, and chill while you prepare the filling.
The filling comes together by folding whipped cream into a smooth blend of cream cheese, pistachio paste, and a touch of lemon. Gelatin ensures a perfect set after four hours in the fridge. Finish with chopped pistachios and fresh berries for an elegant dessert that's surprisingly easy to make.
There is something almost magical about a dessert that comes together entirely on the countertop, no oven required, while the kitchen stays cool and quiet. My obsession with pistachio anything started at a tiny bakery in Istanbul where the display cases glowed green under fluorescent lights. This no bake pistachio cheesecake captures that same nutty sweetness with minimal effort and maximum reward. It is the kind of dessert that makes people think you spent all day when you really spent twenty five minutes.
I brought this to a friends rooftop birthday dinner last summer, forgetting it was nearly forty degrees outside, and it held up beautifully for hours. Everyone kept asking which bakery I had ordered it from, and I just smiled and let them believe what they wanted. The leftover slice I took home tasted even better the next morning with cold coffee.
Ingredients
- Graham crackers or digestive biscuits (200 g): The foundation of your crust, so pick a biscuit you actually enjoy eating on its own.
- Unsalted butter, melted (80 g): Binds the crumbs together and adds a richness that salted butter can sometimes overpower.
- Sugar (1 tbsp, optional): Only needed if your biscuits lean toward the savory side.
- Cream cheese, softened (300 g): Full fat is nonnegotiable here for that dense, luxurious mouthfeel.
- Heavy cream, cold (250 ml): Whipped into soft peaks, it becomes the airy backbone that lifts the whole filling.
- Powdered sugar (120 g): Dissolves seamlessly into the filling without any gritty texture.
- Pistachio paste (120 g): The star ingredient, so invest in a good quality paste with vibrant color and pure pistachio flavor.
- Vanilla extract (1 tsp): Rounds out the nuttiness with a gentle warmth.
- Lemon juice (1 tbsp): A splash of acidity that balances the richness and brightens everything.
- Gelatin sheets or powdered gelatin (3 sheets or 7 g): Ensures a clean, sliceable set without baking.
- Cold water (3 tbsp): Used to bloom the gelatin before incorporating.
- Chopped pistachios (2 tbsp): For that essential crunch on top.
- Fresh berries or mint leaves (optional): A decorative touch that adds color contrast and freshness.
Instructions
- Prep the pan:
- Line the base of a 20 cm springform pan with parchment paper, pressing it flat so your crust bakes evenly without sticking.
- Build the crust:
- Crush the biscuits into fine crumbs using a food processor, then pour in the melted butter and sugar, pulsing until the mixture feels like wet sand. Press it firmly and evenly into the base of your prepared pan, then tuck it into the fridge to firm up while you work on the filling.
- Bloom the gelatin:
- If using sheets, soak them in cold water for five minutes until they turn soft and pliable. For powdered gelatin, simply sprinkle it over cold water and let it sit undisturbed until it swells and absorbs the liquid.
- Dissolve the gelatin:
- Gently warm the soaked gelatin in a small saucepan just until it melts completely, then set it aside to cool slightly while you mix the filling.
- Make the filling base:
- Beat the cream cheese, pistachio paste, powdered sugar, vanilla, and lemon juice together until the mixture is completely smooth and pale green throughout.
- Whip the cream:
- In a separate chilled bowl, whip the heavy cream until soft peaks form, stopping before it turns stiff and grainy.
- Combine everything:
- Fold the whipped cream gently into the cream cheese mixture with a spatula, then stir a few tablespoons of this filling into the dissolved gelatin before folding it all back together. This two step tempering prevents gelatin lumps from forming.
- Set and chill:
- Pour the filling over your chilled crust and smooth the top with a spatula, then refrigerate for at least four hours until it is firm enough to slice cleanly.
- Decorate and serve:
- Release the cake from the pan, scatter chopped pistachios over the top, and add berries or mint if you like, then slice and serve chilled.
 Save to Pinterest
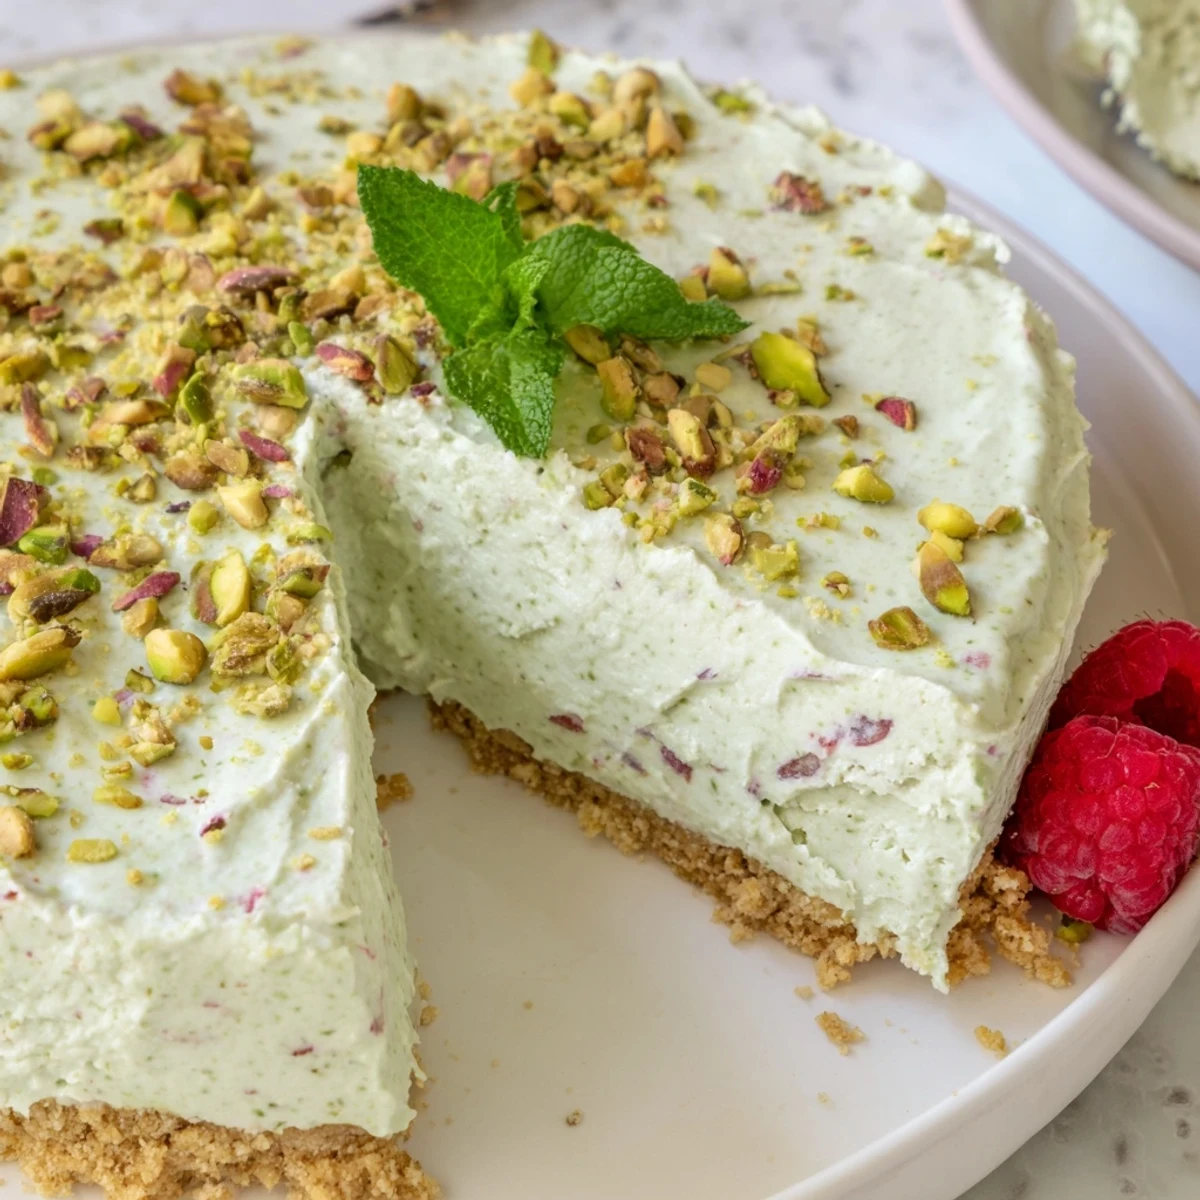
 The first time I served this, my aunt who claims to dislike all things pistachio went back for seconds and pretended she never said that.
Choosing Your Pistachio Paste
Not all pistachio pastes are created equal, and the one you choose will define the entire character of this cheesecake. Some are dark and earthy, while others are bright and almost electric green. I have found that Sicilian pistachio paste tends to have the deepest, most complex flavor, though it costs considerably more. If you cannot find a paste you love, you can make your own by blending shelled pistachios with a neutral oil and a touch of sugar until perfectly smooth.
Making It Your Own
This recipe is wonderfully adaptable once you understand the basic structure. Swapping half the cream cheese for mascarpone creates an even silkier, more indulgent texture. A friend of mine adds a thin layer of raspberry jam between the crust and filling, and the tartness cuts through the richness beautifully. For a gluten free version, simply use your favorite gluten free biscuits and everything else stays the same.
Serving and Storage
This cheesecake actually improves after resting overnight in the fridge, making it the perfect make ahead dessert for entertaining. Keep it covered and chilled, and it will hold beautifully for up to three days. The pistachios on top will stay crunchy if you add them at the last minute rather than before chilling.
- A warm knife dipped in hot water and wiped dry gives the cleanest slices.
- Pair each slice with a glass of sparkling dessert wine for an unforgettable finish.
- Always let the cheesecake sit at room temperature for ten minutes before slicing for the best texture.
 Save to Pinterest
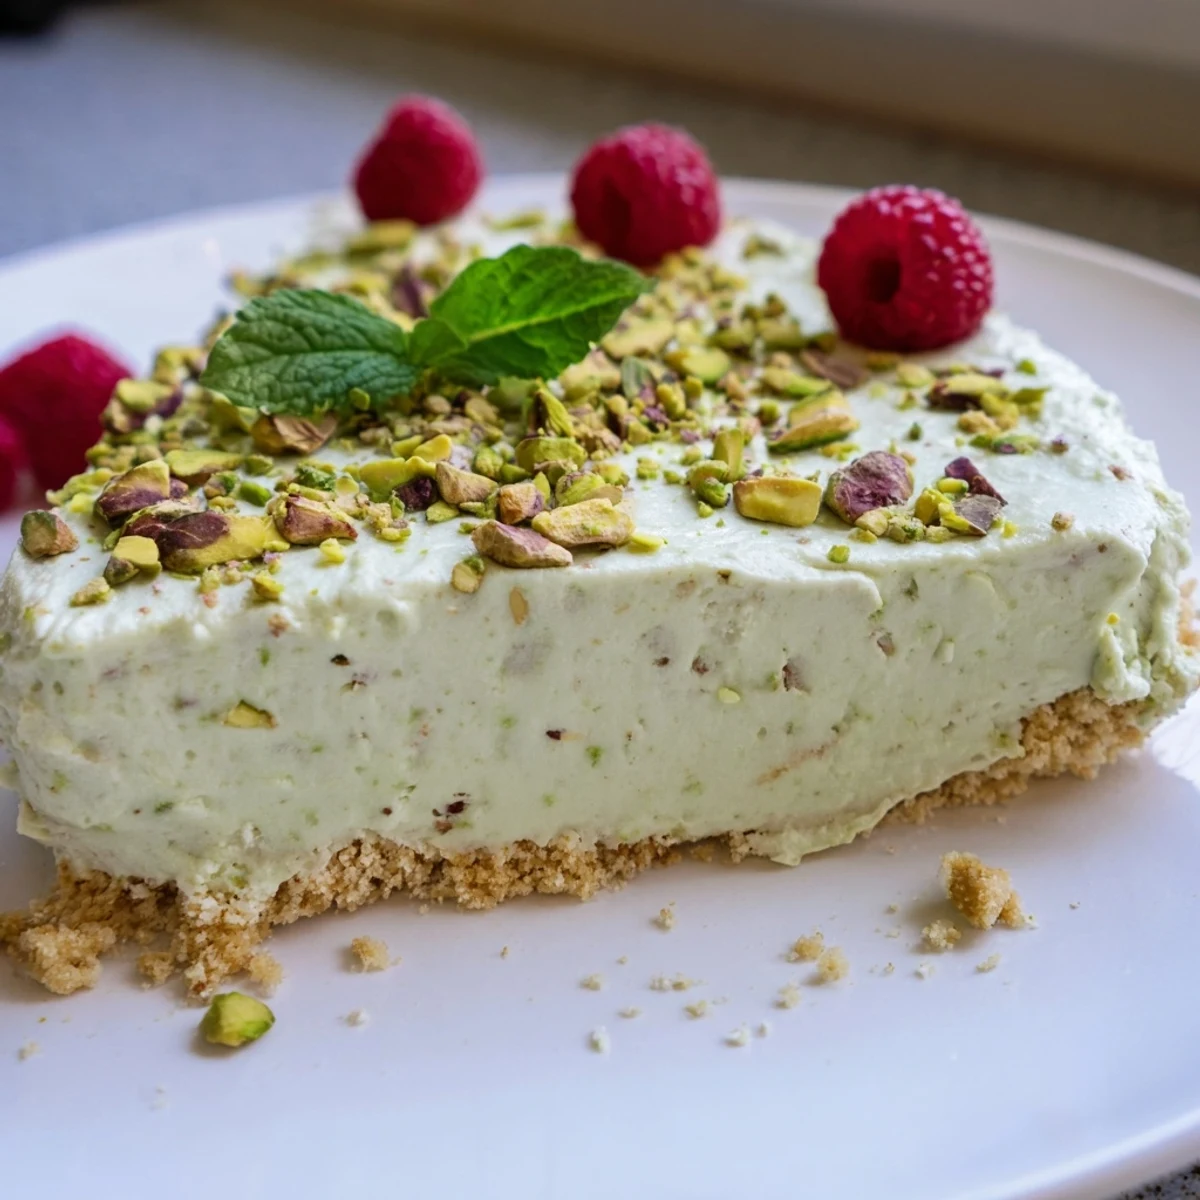
 Some desserts feed people, and some desserts make them close their eyes and go quiet for a moment. This one does both, and you never even had to turn on the oven.
Recipe Questions & Answers
- → Can I make this pistachio cheesecake ahead of time?
-
Yes, it actually benefits from being made in advance. You can prepare it up to two days before serving and keep it refrigerated. The flavors meld and the texture firms up beautifully overnight.
- → What can I substitute for pistachio paste?
-
You can make your own by blending shelled pistachios with a small amount of neutral oil and sugar until smooth. Alternatively, almond paste works, though the flavor will differ. Store-bought pistachio paste gives the most vibrant color and concentrated taste.
- → Do I need to use gelatin for the filling to set?
-
Gelatin provides the most reliable set, especially in warm conditions. You can use either sheet or powdered gelatin. For a vegetarian alternative, agar-agar works but may alter the texture slightly, giving a firmer, less creamy result.
- → How do I get clean slices when cutting the cheesecake?
-
Use a sharp knife dipped in hot water and wiped dry between each cut. The warm blade glides through the filling cleanly. Always slice while the cheesecake is well-chilled for the neatest results.
- → Can I freeze this cheesecake?
-
Yes, it freezes well for up to one month. Wrap the whole cheesecake or individual slices tightly in plastic wrap, then foil. Thaw overnight in the refrigerator before serving. The texture remains creamy after freezing.
- → What size pan should I use for this dessert?
-
A 20 cm or 8-inch springform pan is ideal. This size gives the right ratio of crust to filling and ensures the cheesecake sets properly. A larger pan will produce a thinner slice, while a smaller one may overflow.
