 Save to Pinterest
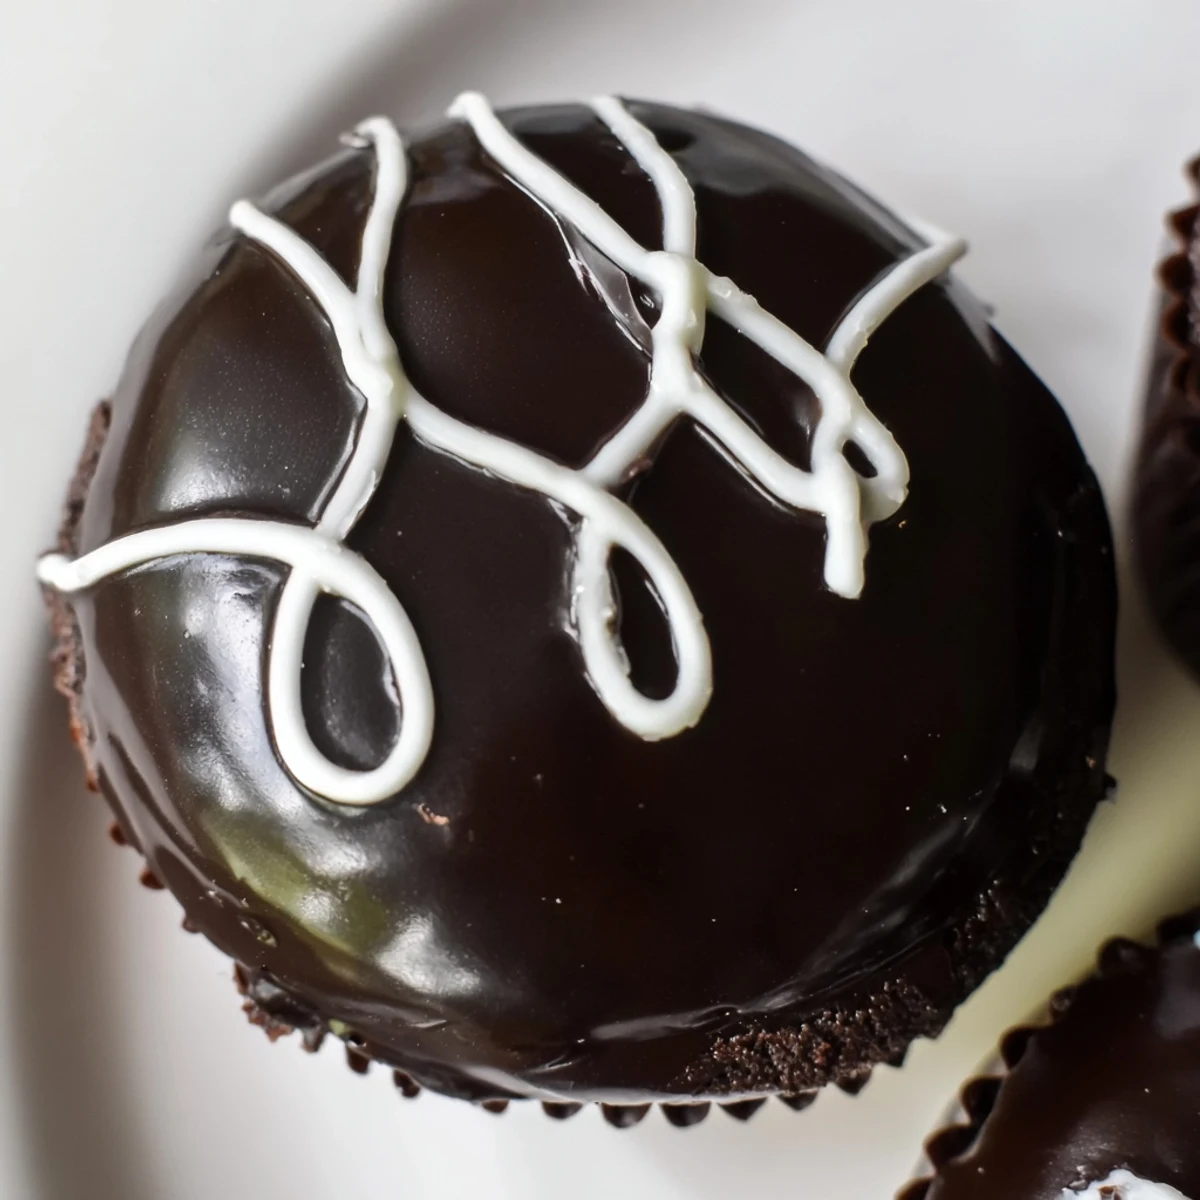
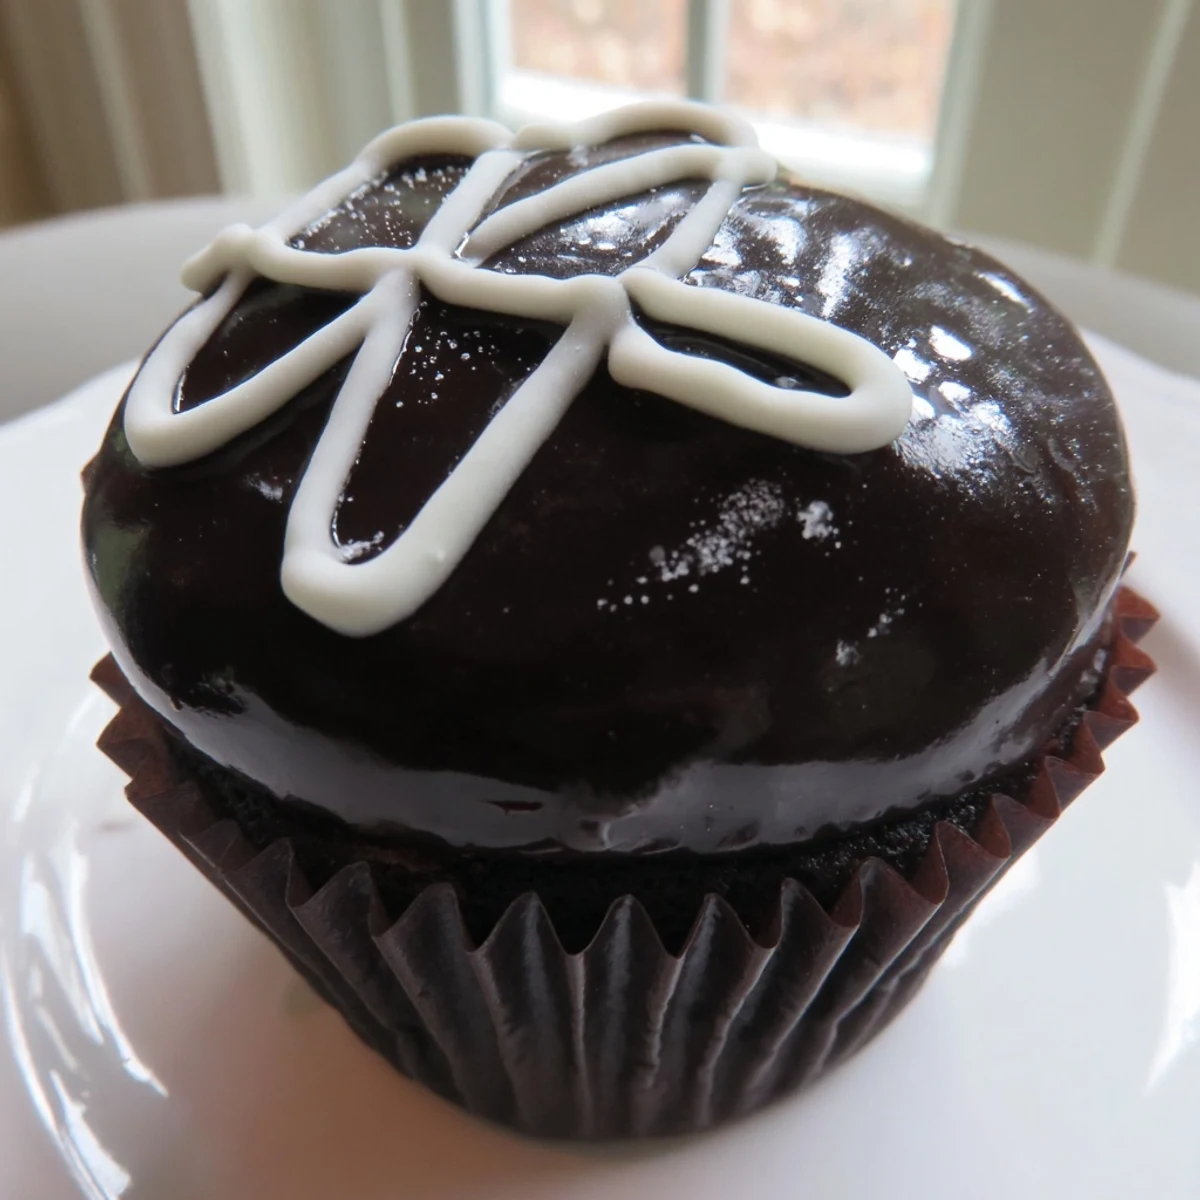
 These homemade Hostess cupcakes deliver everything you love about the iconic store-bought treat — a tender, deeply chocolatey cake base, a pillowy marshmallow center that oozes with every bite, and a mirror-smooth ganache cap finished with that unmistakable white squiggle.
The cupcake batter comes together with a simple reverse-cream method: alternating dry ingredients with milk and finishing with hot water for an ultra-smooth, pourable consistency. Once baked and cooled, a butter-marshmallow fluff filling is piped directly into each center. A quick ganache of warm cream and chopped semi-sweet chocolate creates the shiny coating, and a quick mix of powdered sugar and milk gives you the classic swirl.
Plan for about 90 minutes total, including cooling and assembly time. They're best enjoyed the day they're filled and glazed but will keep covered at room temperature for up to three days.
My friend Jake bet me twenty dollars I couldnt recreate the vending machine cupcakes from our middle school cafeteria, and three batches later I realized the real challenge wasnt the chocolate cake, it was getting that white squiggle to look right without losing my mind.
I brought a tray of these to a coworkers birthday lunch and watched six adults go completely silent mid conversation, which is honestly the highest compliment any dessert can receive.
Ingredients
- All-purpose flour (1 cup, 120 g): The structural backbone, and sifting it makes a real difference in how tender the crumb turns out.
- Unsweetened cocoa powder (1/2 cup, 45 g): Use Dutch-processed if you want a deeper, richer chocolate flavor that comes through even under the ganache.
- Baking powder (1 tsp): Gives the cake its lift, and yes, it loses potency over time so check the date.
- Baking soda (1/2 tsp): Works alongside the acidic cocoa to keep things light.
- Salt (1/4 tsp): Just enough to make the chocolate taste more like itself.
- Unsalted butter, softened (1/2 cup, 115 g): Room temperature butter creams properly and traps the air that makes the cake fluffy.
- Granulated sugar (1 cup, 200 g): Sweetens and helps create that tender texture when beaten with butter.
- Large eggs (2): Bind everything together and add richness.
- Vanilla extract (1 tsp for cake, 1 tsp for filling): A quiet background note that makes all the chocolate flavors feel rounder.
- Whole milk (1/2 cup, 120 ml): The fat content matters here, so avoid skim if you can.
- Hot water (1/2 cup, 120 ml): Blooms the cocoa and thins the batter to that perfect pourable consistency.
- Unsalted butter for filling (1/2 cup, 115 g): Softened again, this becomes the base of that creamy center.
- Powdered sugar (1 cup, 120 g for filling, 1/4 cup, 30 g for icing): Dissolves into the filling smoothly where granulated would leave grainy specks.
- Marshmallow creme (1 cup, 100 g): The secret to that gooey, stretchy center that defines the whole experience.
- Heavy cream (1/2 cup, 120 ml): Creates the silky ganache cap when combined with chocolate.
- Semi-sweet chocolate, chopped (4 oz, 115 g): Chop it fine so it melts evenly when the hot cream hits it.
Instructions
- Get your oven ready:
- Preheat to 350 degrees F and line a 12 cup muffin tin with paper liners so nothing sticks later.
- Build the dry mix:
- Sift the flour, cocoa powder, baking powder, baking soda, and salt together in a bowl, and take a moment to appreciate how intense the cocoa smells at this stage.
- Cream butter and sugar:
- Beat the softened butter and granulated sugar in a large bowl until the mixture turns pale and fluffy, then add the eggs one at a time, mixing well after each before stirring in the vanilla.
- Bring the batter together:
- Add the flour mixture in three parts, alternating with the milk, and mix just until combined before stirring in the hot water until everything is smooth and glossy.
- Bake and cool:
- Divide the batter evenly among the liners and bake 18 to 20 minutes until a toothpick comes out clean, then let them cool completely because warm cupcakes will melt your filling.
- Whip the filling:
- Beat the butter and powdered sugar until fluffy, then mix in the marshmallow creme and vanilla until you have something that tastes dangerously good on a spoon.
- Fill the centers:
- Transfer the filling to a piping bag with a small round tip, insert the tip into the center of each cupcake, and squeeze gently until you feel a slight resistance, saving a little filling if you want to add extra later.
- Make the ganache:
- Heat the cream until it steams, pour it over the chopped chocolate, wait two minutes, then stir until glossy and let it cool for five minutes so it coats instead of runs.
- Dip and set:
- Dip the top of each filled cupcake into the ganache, let the excess drip off, and give them about ten minutes to set up before adding the swirl.
- Pipe the iconic swirl:
- Mix the powdered sugar with the milk until smooth, put it in a small piping bag, and pipe squiggles across each cupcake top, accepting that perfection is overrated and a little wobbly charm is part of the homemade appeal.
 Save to Pinterest
 The moment my niece pulled one apart and watched the filling stretch between the two halves, she declared it the best day of her life, which made every messy piping bag worth it.
Making Them Ahead
Bake the cupcakes a day in advance and keep them in an airtight container, but wait to fill and dip them until the day you plan to serve.
Storage Without Sadness
These hold up well at room temperature for about three days if kept covered, and honestly they taste best on day two when the filling has had time to settle into the cake.
Getting the Squiggle Right
The white icing swirl is where personality shows through, so do not stress about making it look factory perfect.
- Use a resealable plastic bag with a tiny corner snipped off if you do not have a piping bag handy.
- Practice on a piece of parchment paper first to get a feel for the pressure needed.
- Remember that slightly wonky squiggles just prove someone made these by hand with care.
 Save to Pinterest
 Some desserts are about impressing people and some are about making them giggle with delight, and these little cupcakes manage to do both without even trying.
Recipe Questions & Answers
- → How do I get the marshmallow filling inside the cupcake?
-
Use a piping bag fitted with a small round tip. Insert the tip about halfway into the center of each cooled cupcake and gently squeeze while slowly pulling upward. You'll feel the cupcake expand slightly as the filling spreads inside.
- → Can I use store-bought marshmallow fluff instead of homemade?
-
Absolutely. Jarred marshmallow creme (like Marshmallow Fluff or Jet-Puffed) is exactly what this filling calls for. Simply beat it with softened butter, powdered sugar, and vanilla until smooth and pipeable.
- → Why does the batter include hot water?
-
Hot water blooms the cocoa powder, deepening the chocolate flavor and helping the batter achieve a silky, pourable texture. It also activates the baking soda for a lighter, more even crumb.
- → How do I get a smooth ganache topping?
-
Heat the heavy cream until it's steaming but not boiling, then pour it over finely chopped chocolate. Let it sit undisturbed for two minutes before stirring gently from the center outward. This prevents blooming and keeps the finish glossy. Let it cool for about five minutes before dipping the cupcakes.
- → What's the best way to pipe the white swirl?
-
Mix powdered sugar with just enough milk to reach a thick but pipeable consistency — it should hold its shape on the cupcake. Use a small piping bag or a zip-top bag with a tiny corner snipped off. Pipe quick, wavy lines across the ganache surface before it fully sets.
- → Can I make these ahead of time?
-
You can bake the cupcakes a day in advance and store them in an airtight container. For the best texture and appearance, fill and glaze them on the day you plan to serve. Once assembled, they'll stay fresh for up to three days covered at room temperature.
- → What if I don't have a piping bag for the filling?
-
A zip-top plastic bag works in a pinch — just fill it with the marshmallow mixture, seal it, and snip a small hole in one corner. You can also use a plastic squeeze bottle with a narrow tip for injecting the filling.
