 Save to Pinterest
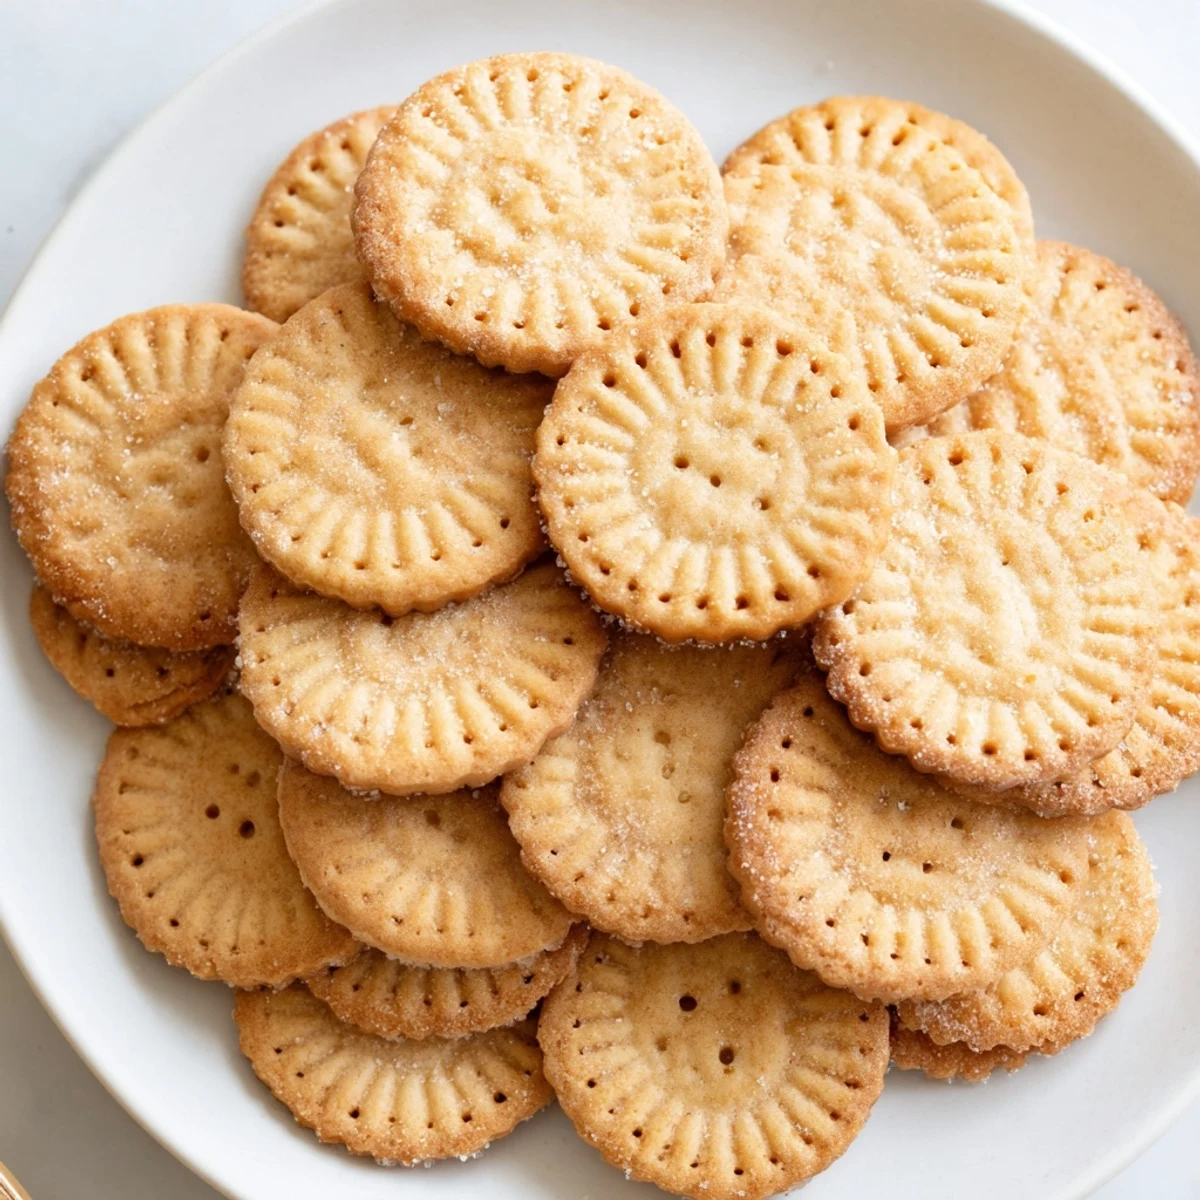
 Les petits beurre sont des biscuits emblématiques de la pâtisserie française, reconnaissables à leur forme caractéristique et leurs bords dorés. Préparés à partir d'une pâte simple au beurre, ils offrent une texture craquante et fondante à la fois.
La préparation est rapide et accessible : il suffit de fondre le beurre avec le lait et le sucre, puis d'incorporer le mélange à la farine et à la levure. Après un repos au réfrigérateur, la pâte est étalée et découpée avant d'être cuite au four à 180°C pendant 12 minutes.
Ces biscuits se conservent parfaitement dans une boîte hermétique et peuvent être personnalisés avec de la vanille, du zeste de citron ou une trempette au chocolat pour encore plus de gourmandise.
The butter melted faster than I expected, pooling golden in the saucepan while rain streaked the kitchen window on a Tuesday afternoon. I had bookmarked a French biscuit recipe weeks earlier and kept scrolling past it, always finding some excuse to bake something more elaborate instead. That day, with nowhere to be and a tin of loose leaf Earl Grey begging for company, I finally gave in. Forty petite biscuits later, my apartment smelled like a Parisian patisserie and I understood why simplicity wins.
I packed a tin of these for a picnic with friends, expecting them to disappear among the cheeses and fruit tarts. Within ten minutes, someone was holding the empty tin and asking if I could make more. There is something disarming about a plain butter biscuit that no amount of frosting or filling can replicate.
Ingredients
- 100 g unsalted butter: The soul of this biscuit, so use good quality butter if you can find it.
- 100 g granulated sugar: Just enough sweetness without making them cloying.
- 60 ml whole milk: Whole milk gives the dough a tenderness that water or skim milk cannot match.
- 1 pinch of salt: A small but essential gesture that lifts all the flavors.
- 250 g all purpose flour: Standard flour works perfectly here, no need for anything fancy.
- 5 g baking powder (about half a packet): Gives the biscuits a whisper of lift without making them cakey.
Instructions
- Melt and combine the wet ingredients:
- In a saucepan over low heat, melt the butter with the milk, sugar, and salt, stirring gently until the butter disappears completely into a glossy liquid. Let this mixture cool until it feels just warm to the touch, not hot.
- Mix the dry ingredients:
- In a large bowl, whisk together the flour and baking powder until evenly distributed. Take a moment to enjoy the cloud of flour dust catching the light.
- Bring the dough together:
- Pour the warm butter mixture into the flour and stir with a wooden spoon until a shaggy dough forms. Then use your hands to knead gently until everything comes together into a smooth, cohesive ball.
- Rest the dough:
- Wrap the dough tightly in plastic film and tuck it into the refrigerator for thirty minutes. This rest firms the butter and makes rolling infinitely easier.
- Preheat the oven:
- Set your oven to 180 degrees Celsius with conventional heat and let it come fully to temperature while the dough chills.
- Roll and cut the biscuits:
- On a lightly floured surface, roll the dough out to about five millimeters thick and cut out shapes using a petit beurre cutter or a simple knife. The edges should look clean and deliberate.
- Prepare for baking:
- Transfer the cut biscuits to a baking sheet lined with parchment paper and prick each one a few times with a fork for that classic dotted pattern.
- Bake until golden:
- Slide the tray into the oven for about twelve minutes, watching for the edges to turn a toasty golden brown while the centers stay pale.
- Cool completely:
- Move the biscuits to a wire rack and let them cool until they crisp up and feel firm to the touch. Patience here rewards you with the perfect snap.
 Save to Pinterest
 One evening I found my roommate sitting cross legged on the kitchen floor, dunking petit beurres into a mug of chamomile and rereading a paperback with dog eared pages. She looked up and said these were the kind of biscuits that make you slow down.
Flavor Variations Worth Trying
A pinch of vanilla powder or the finely grated zest of half a lemon folded into the flour transforms these without complicating anything. I tried lemon zest once on a whim and now I alternate between plain and citrus depending on my mood.
Dipping in Chocolate
Melted dark chocolate turns a humble biscuit into something worthy of a gift box. Dip half of each cooled biscuit and let them set on parchment paper before stacking.
Storage and Serving
Keep them in an airtight tin and they stay crisp for a full week, though in my experience they rarely last that long. Serve them alongside tea, coffee, or a glass of cold milk for an afternoon that feels intentionally quiet.
- A metal tin keeps them crisper than a plastic container.
- Layer parchment paper between stacks to prevent sticking if you dip them in chocolate.
- Always let them cool completely before storing or trapped moisture will soften them.
 Save to Pinterest
 A good petit beurre asks nothing of you except a cup of something warm and a few quiet minutes, and honestly that is enough.
Recipe Questions & Answers
- → Pourquoi faut-il laisser reposer la pâte au réfrigérateur ?
-
Le repos au froid permet à la pâte de se figer, ce qui facilite grandement l'étalage et le découpage. Il permet également aux saveurs de se développer et à la texture de devenir plus homogène pour des biscuits parfaitement craquants.
- → Peut-on remplacer le lait entier par un autre ingrédient ?
-
Oui, vous pouvez utiliser du lait demi-écrémé sans problème. Pour une version sans lactose, optez pour une boisson végétale comme le lait d'avoine ou d'amande, qui apportera également une saveur subtile différente.
- → Comment obtenir la forme traditionnelle du petit beurre ?
-
L'idéal est d'utiliser un emporte-pièce spécial petit-beurre qui reproduit la forme rectangulaire aux coins arrondis avec les petites dents caractéristiques. À défaut, un simple emporte-pièce rectangulaire ou un couteau fera l'affaire.
- → Combien de temps se conservent ces biscuits ?
-
Conservez vos petits beurre dans une boîte hermétique à température ambiante. Ils resteront craquants et savoureux pendant environ une semaine. Vous pouvez également les congeler jusqu'à trois mois.
- → Pourquoi piquer les biscuits avec une fourchette ?
-
Le piquage à la fourchette n'est pas uniquement décoratif. Il permet à la vapeur de s'échapper pendant la cuisson, ce qui évite que les biscuits ne gonflent de manière irrégulière et garantit une cuisson uniforme et une texture plane et craquante.
- → Comment éviter que les biscuits ne durcissent trop ?
-
Surveillez attentivement la cuisson : les biscuits doivent être à peine dorés sur les bords. Le centre restera légèrement souple à la sortie du four et durcira en refroidissant sur la grille. Un temps de cuisson de 12 minutes à 180°C est généralement parfait.
